Salt a steak and wait ten minutes, and you’ll see beads of liquid pooling on the surface. Wait about forty minutes more, and most of that liquid quietly soaks back into the meat, carrying the salt with it.
I love that steak basically seasons itself if you give it time.
That little trick changed how I think about flavor. Big, bold taste usually comes from small choices, not fancy gear or a pricey cut.
A dry surface browns better. A pat of butter can turn a good crust into a great one.
Even the direction of your knife changes how each bite feels.
None of these ideas take special skills. Most use stuff already sitting in your kitchen right now.
So what happens when you stack a few of them together on the same steak? Your grill or skillet is about to find out.
1. Dry Brine It Ahead of Time
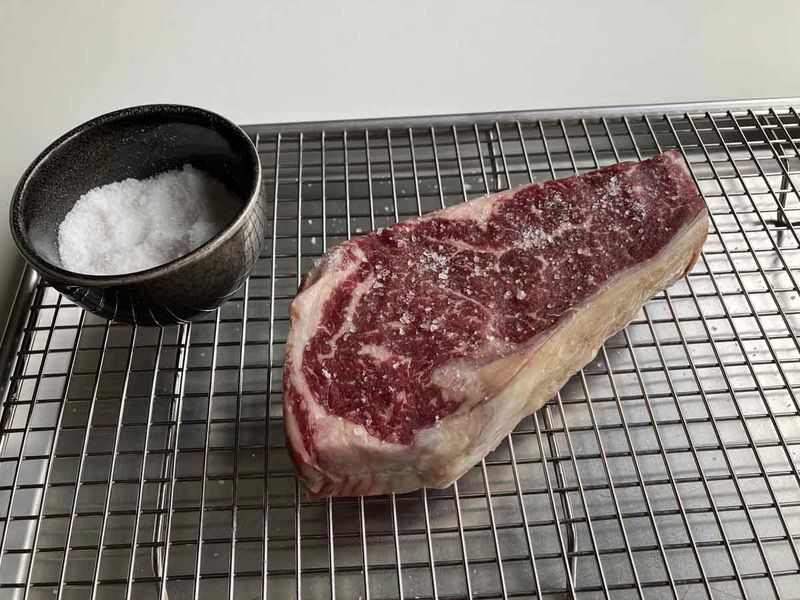
Salt is the cheapest flavor booster in your kitchen, and it does its best work when you give it a head start. Sprinkling it on right before cooking helps, but salting hours ahead helps a lot more.
Dry brining just means seasoning your steak with salt and letting it sit in the fridge. No buckets of salty water, no mess, and no special tools required.
The science is pretty neat. Salt pulls moisture to the surface, dissolves into it, and then that briny liquid slowly sinks back into the meat.
The result is a steak seasoned deeper than the outside edge. You also get a drier surface, which browns faster once it hits the heat.
To try it, use about one teaspoon of kosher salt per pound of steak. Coarse kosher salt spreads more evenly than fine table salt and is harder to overdo.
Set the steak on a wire rack over a plate or small sheet pan. That lets air reach the bottom so it doesn’t sit in a puddle.
Leave it uncovered in the fridge for at least an hour, though overnight is even better. Thicker cuts like ribeyes and strip steaks love a full day of chilling out.
Short on time? Salt it right before it hits the pan instead of twenty minutes ahead, since that’s when the surface is wettest.
Hold off on pepper until closer to cooking if you plan to sear very hot. Some cooks find black pepper can taste a little bitter when it scorches.
Once you try this, plain last-minute salting might feel like a step backward. Your steak will taste more like itself, only louder.
Best of all, the work takes about thirty seconds. The fridge handles the rest while you go about your day, nap, or argue about grill brands.
2. Pat It Dry and Sear It Hot
Brown means flavor, and that’s not just a fun saying. That tasty crust comes from the Maillard reaction, a chemical change named after French scientist Louis-Camille Maillard.
He described it in 1912 while studying how sugars and proteins react. More than a century later, your skillet runs the same experiment whenever you cook dinner.
The catch is that water gets in the way. A wet steak steams before it browns, and steamed beef looks gray and tastes flat.
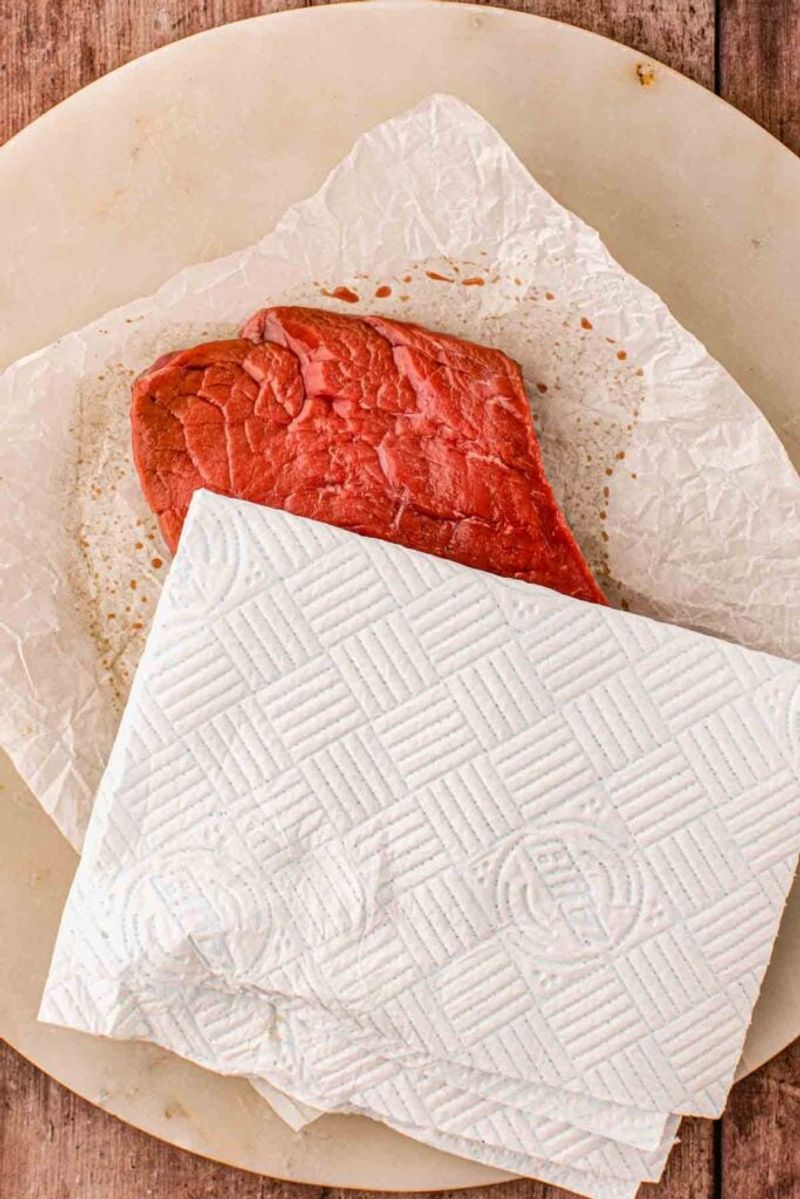
So grab paper towels and pat the surface dry on both sides. Press firmly, like you’re drying off a puppy that just ran through a sprinkler.
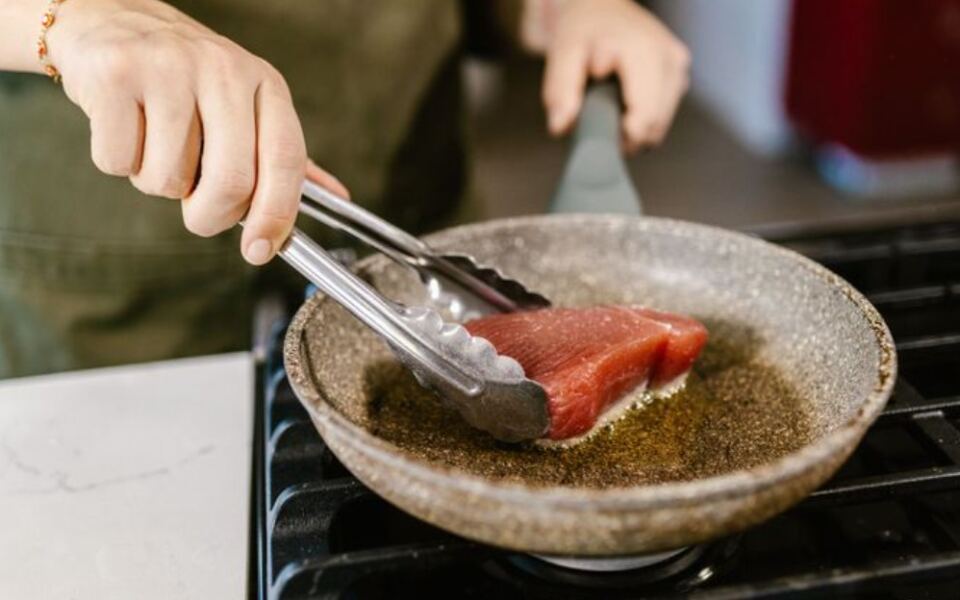
Next, heat matters a lot. Cast iron or heavy stainless steel holds heat well, so the pan doesn’t cool down the moment the meat lands.
Let the pan heat for several minutes before adding a thin layer of oil. Pick one with a high smoke point, like avocado, canola, or vegetable oil.
When the oil shimmers, lay the steak down away from you to avoid splashes. Then comes the hardest part, which is leaving it alone.
Moving it around too soon tears the crust before it forms. Give it a few minutes, and it will usually release from the pan on its own.
Crowding is another sneaky problem. Too many steaks in one pan drop the temperature fast, so cook in batches if your skillet is small.
Turn on the fan or crack a window, because a good sear gets smoky. Your smoke alarm may cheer you on loudly, which is part of the fun.
For thick cuts, sear the edges too by holding the steak on its side with tongs. That fat cap turns crispy and rich instead of chewy.
A dry surface and a hot pan cost nothing extra. Yet together they deliver more flavor than most fancy marinades ever could.
3. Baste With Butter, Garlic, and Herbs
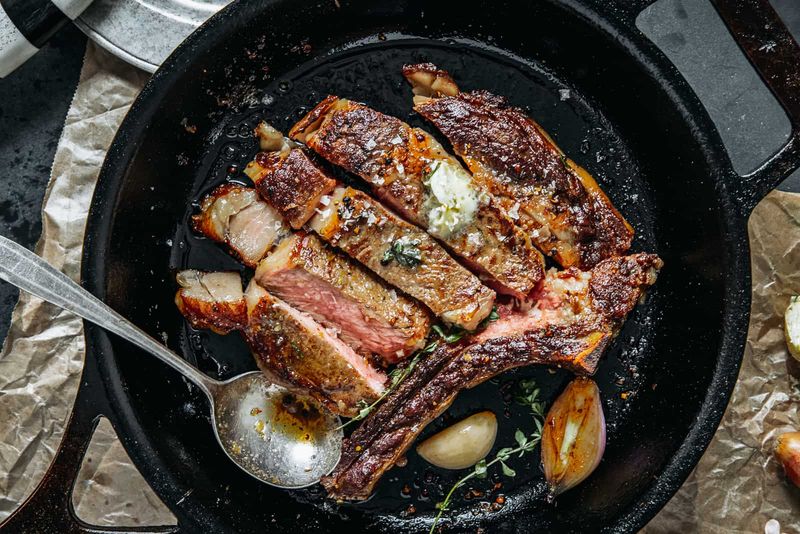
Restaurant chefs have a showy move that looks fancy but takes zero special training. It’s called butter basting, and it makes your kitchen smell incredible.
After your steak has a good sear on both sides, lower the heat to medium. Then toss in a few tablespoons of butter, some smashed garlic cloves, and a couple of herb sprigs.
Thyme and rosemary are classic choices because they stand up to heat well. Sage works too if you want something a little earthier.
Tilt the pan toward you so the melted butter pools at one side. Use a large spoon to scoop it up and pour it over the steak again and again.
The bubbling butter browns as it cooks, turning nutty and golden. Meanwhile the garlic and herbs flavor the fat, which then coats the meat.
Keep spooning for about a minute or two. You’ll hear sizzling and smell toasted garlic, which is basically the best alarm clock ever invented.
Butter burns fast at high heat, so sear first with oil, then switch. You get the crust plus a rich, toasty finish without a burnt taste.
Thin steaks may not need basting since they cook so fast. Thicker cuts around an inch or more benefit most, because they spend enough time in the pan.
Don’t toss the garlic and herbs when you’re done. Spoon the leftover butter over the sliced steak, or smear that soft garlic on toast.
Kids usually love helping with the spoon part, as long as an adult handles the hot pan. It feels like cooking on a TV show, minus the dramatic music.
Simple ingredients, one spoon, and two minutes of attention. That’s a pretty great trade for a steak that tastes like a fancy night out.
4. Try a Coffee Rub
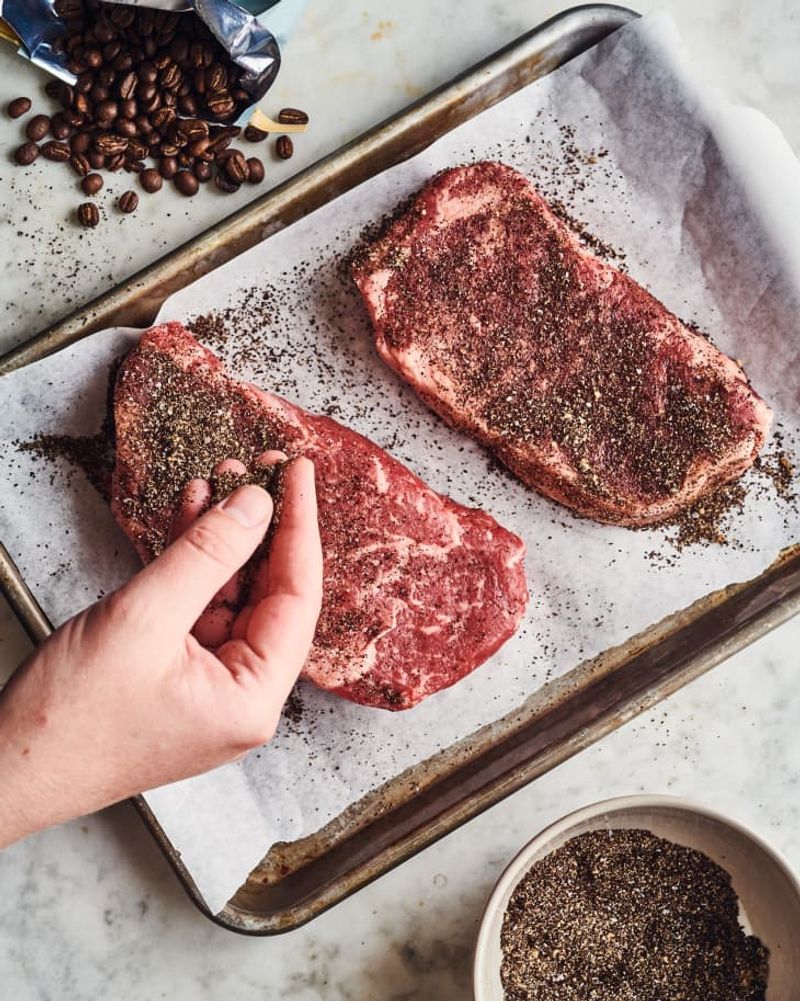
Your morning coffee might be the secret steak seasoning you never knew you owned. Ground coffee adds a deep, slightly bitter, roasty flavor that plays nicely with beef.
It won’t make your dinner taste like a latte, promise. Instead, it boosts the dark, toasty notes you already get from a good sear.
Coffee rubs show up a lot in barbecue, especially on brisket and tri-tip. Steakhouse cooks and backyard grillers have borrowed the idea for good reason.
A simple version starts with finely ground coffee and brown sugar. Add kosher salt, black pepper, garlic powder, and a pinch of smoked paprika or chili powder.
Try roughly equal parts coffee and brown sugar, then smaller amounts of the rest. Taste a pinch and adjust until it makes you nod.
Grind matters here. Use a fine grind, close to espresso, because big chunks stay gritty and crunchy in a way nobody enjoys.
Rub a thin, even coat onto the steak and press it in with your fingers. Let it sit for at least thirty minutes so the flavors can settle.
Brown sugar can scorch over very high heat, so keep an eye on things. Medium-high heat works well, and a grill with a cooler zone gives you more control.
Cuts with plenty of fat, like ribeye, pair beautifully with coffee. That rich fat softens the bitterness and balances out the sweet edge.
Leftover rub keeps for weeks in a sealed jar away from heat and light. It also tastes great on pork chops, burgers, and even roasted sweet potatoes.
Don’t have fresh grounds? Instant espresso powder works in a pinch and blends in smoothly since it dissolves easily.
Your guests probably won’t guess the secret ingredient right away. Feel free to act mysterious about it for as long as you can keep a straight face.
5. Top It With Compound Butter
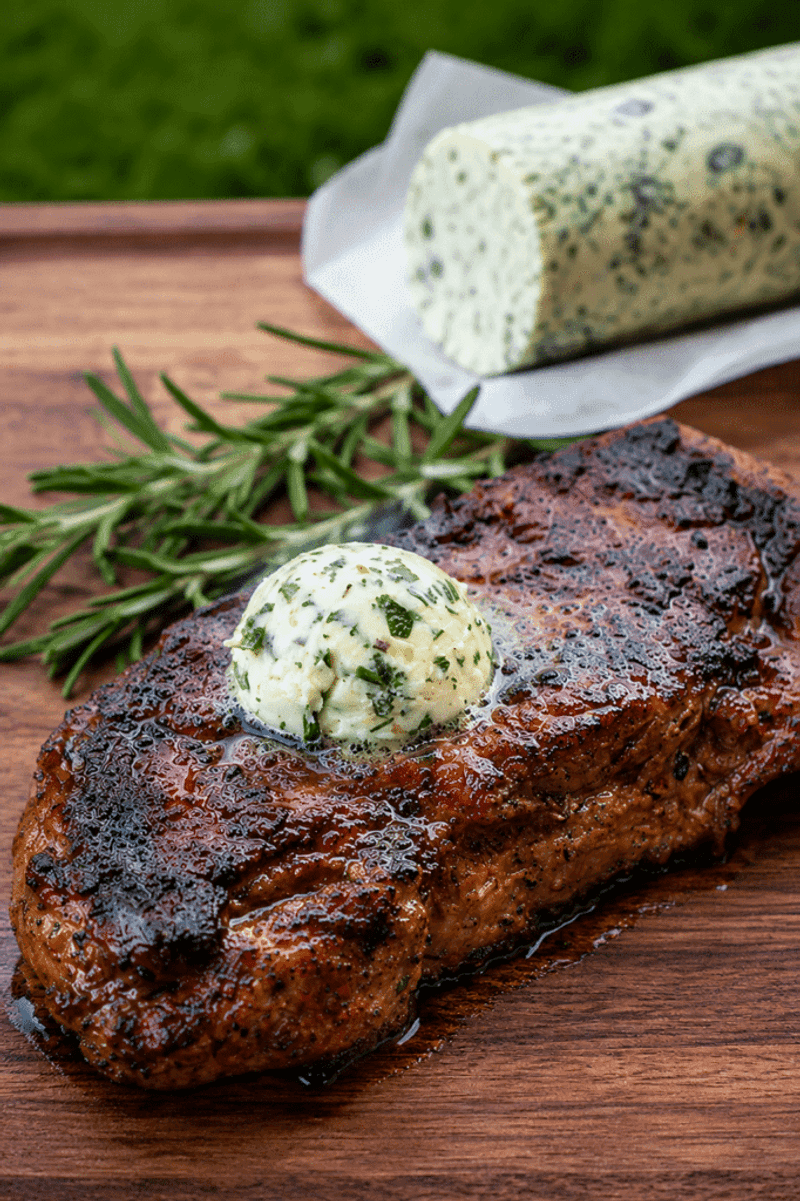
Fancy name, simple idea. Compound butter is just softened butter mixed with tasty add-ins, then chilled until firm.
French cooks made it famous with a classic called maître d’hôtel butter. That one mixes butter with parsley, lemon juice, salt, and pepper.
Making your own takes about five minutes. Let a stick of unsalted butter soften on the counter until a spoon pushes through it easily.
Then stir in whatever sounds good to you. Minced garlic, chopped chives, lemon zest, and a pinch of flaky salt make a great starting lineup.
Feeling bold? Blue cheese crumbles, chopped chipotle peppers, or a spoonful of miso each give the butter a whole new personality.
Spoon the mixture onto plastic wrap and roll it into a log, like a tiny butter burrito. Twist the ends tight and chill it for an hour or more.
When your steak comes off the heat, slice a round about half an inch thick. Set it right on top and watch it slowly melt into a glossy sauce.
The melting butter mixes with the meat juices on the plate. Each bite picks up a little extra richness and a burst of whatever flavors you added.
Best part, you can make a big batch ahead of time. It keeps in the fridge for about a week and freezes for a few months.
Slice off frozen coins whenever you need them, no thawing required. They melt fast on a hot steak anyway.
This trick also rescues a steak that came out a little plain or slightly overcooked. A rich topping covers small mistakes like a good pair of sunglasses.
Make two or three flavors and let people pick their favorite. Suddenly your weeknight dinner feels like a steakhouse with a very short, very delicious menu.
6. Let It Rest and Slice Against the Grain
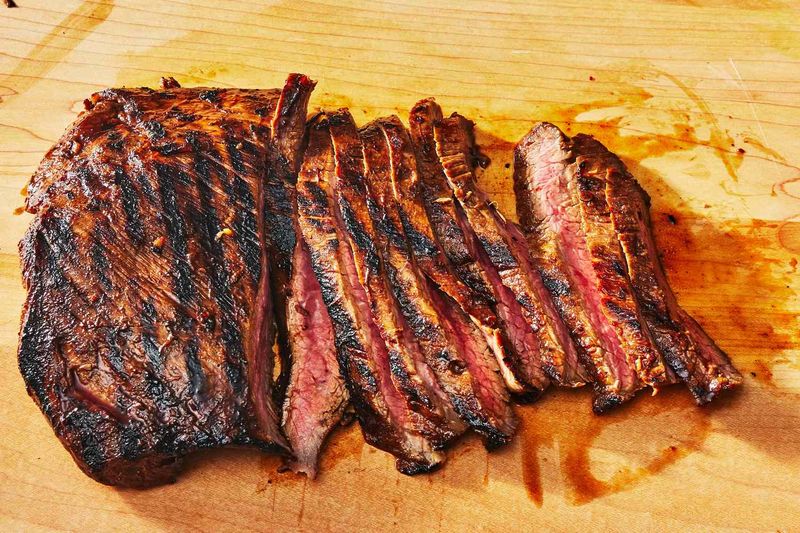
Patience might not sound like an ingredient, but your steak would argue otherwise. What you do after cooking matters almost as much as the cooking itself.
Resting simply means letting the steak sit before you cut into it. Five to ten minutes on a cutting board or plate usually does the trick.
During that time, the meat relaxes a bit and the juices thicken slightly. Cut too soon and more of that flavorful liquid ends up on the board instead of in your mouth.
Keep in mind the steak keeps cooking a little while it rests. Pull it off the heat a few degrees before your target temperature to land right where you want.
An instant-read thermometer takes out the guesswork. Many cooks aim for about 130 degrees Fahrenheit for medium-rare, while the USDA recommends 145 degrees plus a three-minute rest.
Now for the knife part, which surprises plenty of people. Look closely at the steak and you’ll spot lines running in one direction, called the grain.
Those lines are muscle fibers. Slice across them, not alongside them, so each piece has short fibers that are easy to chew.
Cutting with the grain leaves long, stringy strands that feel tough. The same steak can seem tender or chewy depending only on your knife angle.
Flank steak and skirt steak show this the most because their grain is easy to see. With those cuts, slicing thin and against the grain makes a huge difference.
Use a sharp knife so you cut cleanly instead of squishing the meat. Then pour any juices from the board right back over the slices.
It’s almost funny how much a little waiting and one smart slice can do. Your steak gets a serious upgrade, and you don’t spend a single extra penny.
7. Spoon On Some Chimichurri
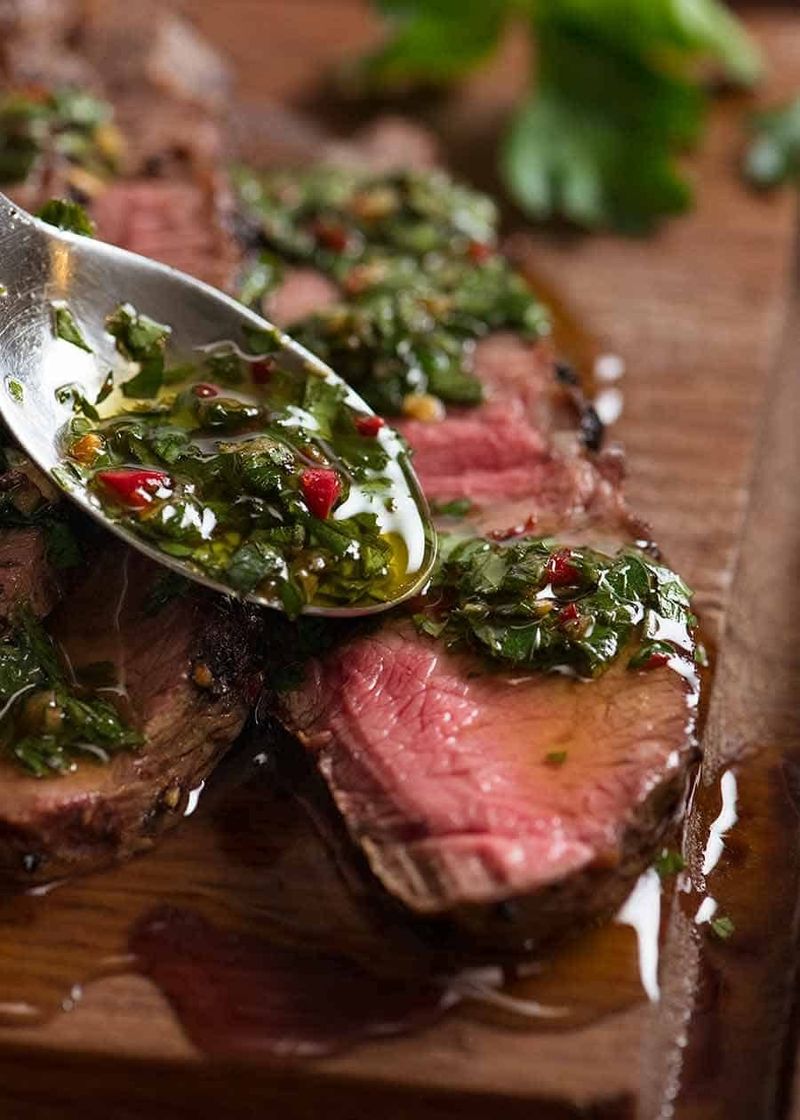
Argentina takes beef seriously, and its favorite steak sauce looks like a garden exploded in the best possible way. Chimichurri is a fresh, tangy mix of herbs, garlic, vinegar, and oil, served cold over grilled meat.
Nobody knows exactly where the name came from, and the stories behind it vary a lot. Most cooks agree on one thing, though, which is that it tastes amazing on steak.
Rich, fatty beef loves something sharp and bright next to it. The vinegar cuts through the richness, so each bite tastes fresh instead of heavy.
To make a basic batch, finely chop a big handful of flat-leaf parsley. Add a few minced garlic cloves, dried oregano, and a pinch of red pepper flakes.
Stir in a few tablespoons of vinegar and about twice as much olive oil. Season with salt and pepper, then taste and adjust.
Chop by hand if you can, since a blender can turn it into a smooth paste. A slightly chunky texture is what makes it feel homemade and lively.
Give the sauce at least twenty minutes to sit before serving. The garlic mellows and the herbs soak up that tangy dressing.
Prefer some variety? Add chopped cilantro, a bit of fresh oregano, or shallots for a slightly different twist.
Spoon it over sliced steak right before eating, or set out a bowl so people can add their own. It works great on skirt and flank steak, two cuts that are popular in Argentina.
Leftovers make a terrific next-day lunch. Toss chimichurri with rice, spread it on a sandwich, or drizzle it over scrambled eggs.
Store extra sauce in a jar in the fridge for a few days. A layer of oil on top helps keep the herbs bright green.
After all that searing, basting, and buttering, a fresh green sauce brings balance to the plate. Your steak gets a bright finish, and you get bragging rights.
Share this story