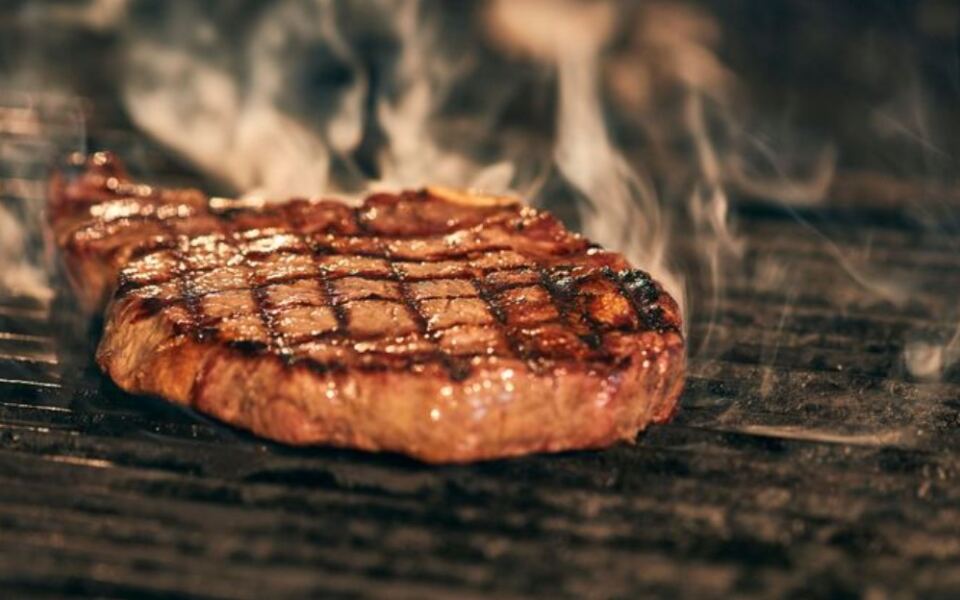
A thick steak can come out of a hot pan with a dry gray edge and a raw, cold center. That mismatch happens because the outside cooks fast while the inside lags behind.
Reverse searing flips the usual order. You cook the steak low and slow first, then finish it with a quick, blazing-hot sear.
I like how simple the idea is. The payoff is a steak that stays pink from edge to edge, wrapped in a crisp, deeply browned crust.
It takes a little patience and a good thermometer. But once you see that even color inside, I can’t imagine going back to guessing.
Flipping the Script on Steak Night
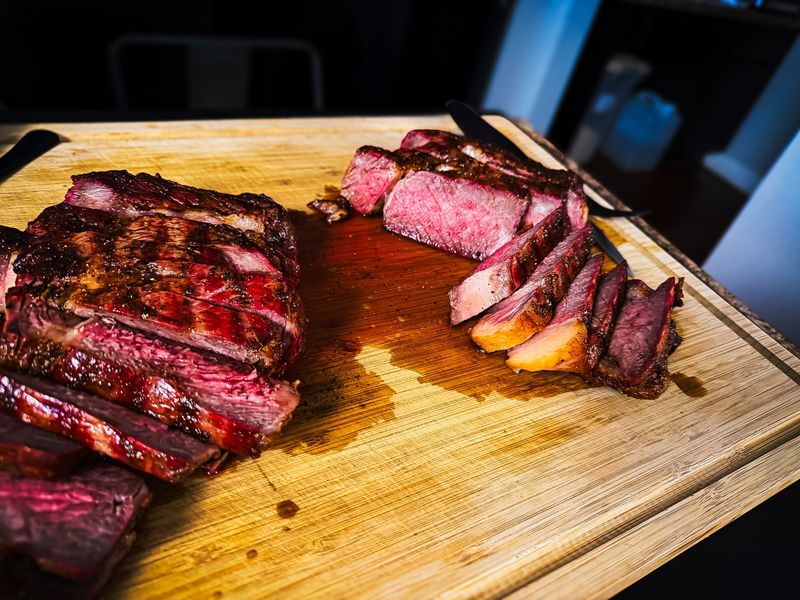
Most of us learned to cook steak backward, at least according to fans of this method. The classic way starts with a hot sear and then finishes the inside more gently.
Reverse searing turns that order around. First, the steak cooks slowly at a low temperature, usually in an oven or on the cool side of a grill.
That gentle heat warms the meat little by little, all the way through.
Once the inside is nearly where you want it, the steak moves to a screaming-hot pan or grill. A quick sear on each side builds a dark, caramelized crust.
The whole point is a juicy, evenly cooked middle paired with a crispy outside.
Think of it like warming up before a race. The steak gets ready slowly, then finishes with a short burst of energy.
You get control during the long phase and flavor during the fast one.
The best part? The method doesn’t need fancy restaurant gear.
An ordinary oven, a sturdy skillet, and a thermometer handle the job nicely. Steakhouse-style results can happen right in your own kitchen on a regular weeknight.
Goodbye to the Gray Band
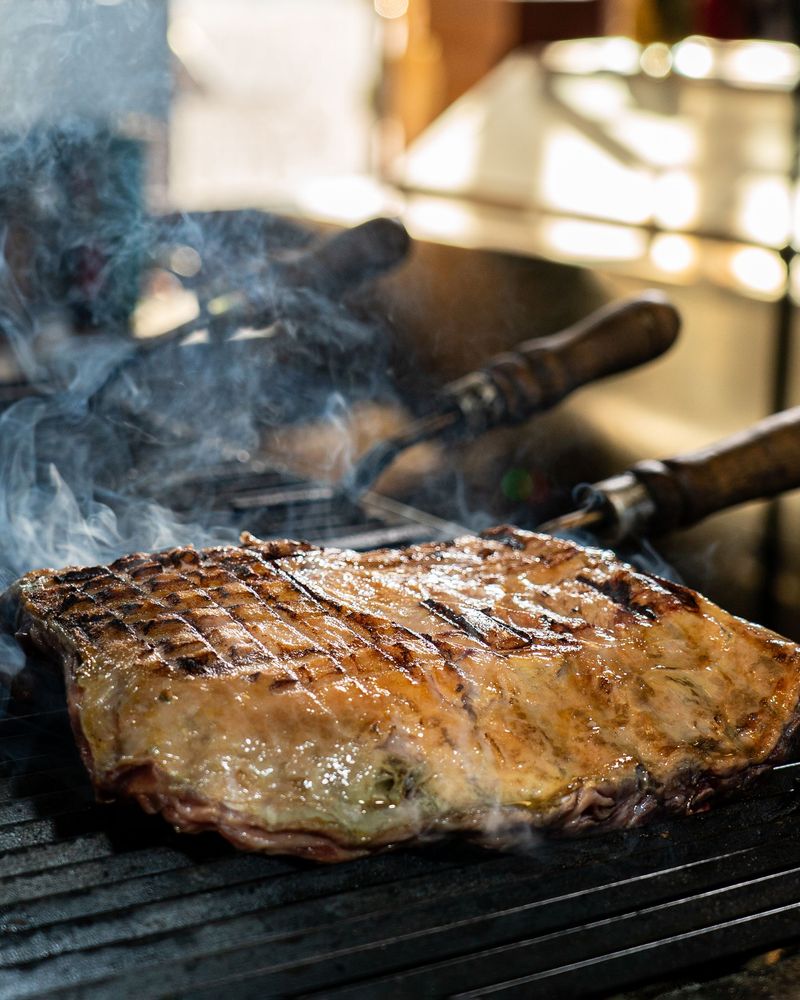
Slice into a thick, pan-seared steak and you might spot a ring of dull gray meat under the crust. Cooks call it the gray band, and it’s overcooked beef hiding in plain sight.
High heat causes that ring. When a steak hits a blazing pan right away, the outer layers cook far faster than the center.
By the time the middle is ready, the edges have gone too far.
Low heat changes the story. A gentle oven lets warmth travel slowly from the edge toward the center.
Every part of the steak climbs in temperature at a more similar pace, so nothing races ahead.
Slow cooking also helps with moisture. Fast, intense heat makes muscle fibers tighten quickly and squeeze out juice.
A gradual rise is kinder to the meat, so more of that juice stays put.
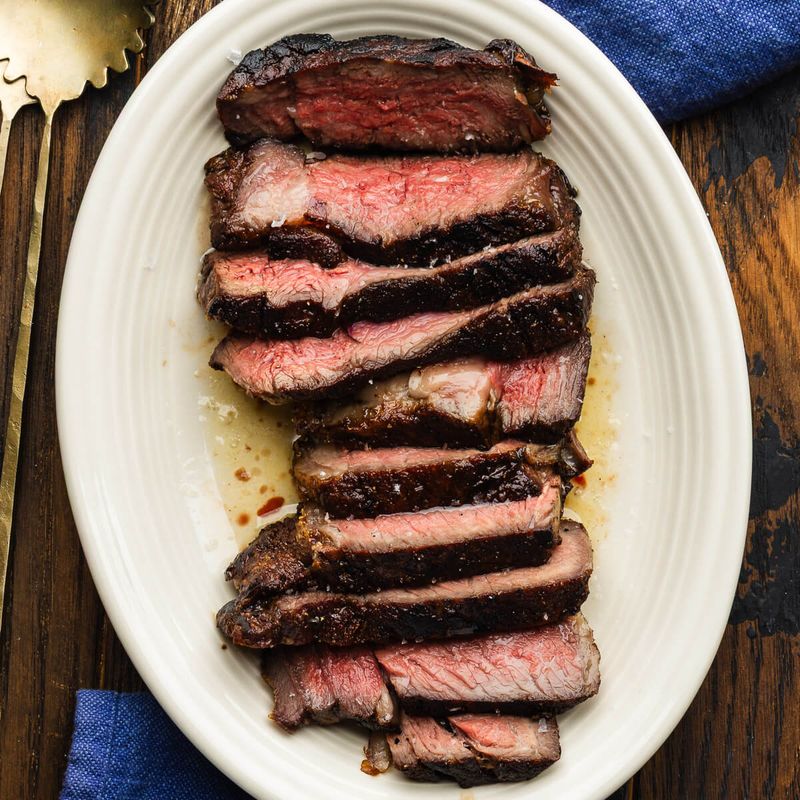
What you end up with looks almost too good to be homemade. The inside shows one steady shade of pink from one side to the other.
No thick gray border, no cold center, and no sad slices that look like a bullseye target.
A Drier Surface Means a Better Crust
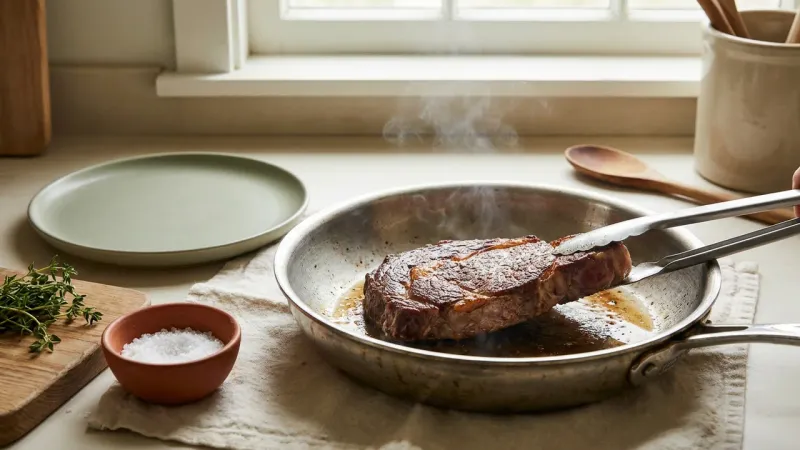
Here’s a sneaky bonus nobody expects. While the steak relaxes in a low oven, its surface slowly dries out.
That dryness matters more than you’d guess. Browning comes from the Maillard reaction, a chemical process that creates rich, savory flavors and that gorgeous brown color.
Moisture gets in the way, because a wet surface steams before it can brown.
A steak fresh from the package is often damp. Toss it into a hot pan and much of the early heat goes into boiling off water.
After an oven session, though, the surface is already prepared for action.
So when the steak lands in a very hot skillet, browning starts almost instantly. A deep, crispy crust forms in about a minute or so per side.
The interior barely budges in that short window.
Fast browning protects all the careful work you did in the oven. You aren’t stuck choosing between a great crust and a perfect middle anymore.
Both show up together, which feels a little like getting dessert and not having to finish your vegetables first. Okay, maybe not quite that thrilling, but close.
Thick Cuts Win This Game
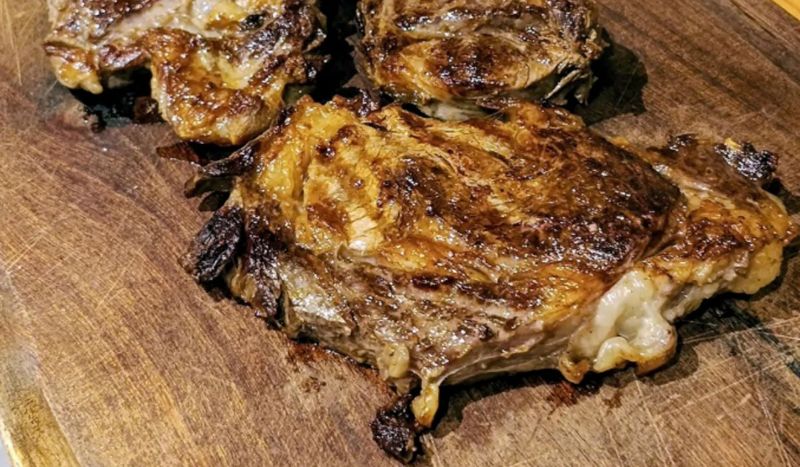
Thickness is everything with this technique. Steaks around 1.5 to 2 inches thick are the sweet spot for reverse searing.
Thin steaks just don’t benefit much. They cook so quickly, even at low temperatures, that the slow phase barely has time to help.
For a skinny cut, a regular hot sear usually does the job fine.
So which cuts deserve a turn? Ribeyes are a fantastic pick, including big showpieces like Tomahawk and Cowboy cuts.
New York strip, porterhouse, and T-bone also shine with this method.
Leaner choices work too. Filet mignon and top sirloin can turn out beautifully when cooked slowly and seared fast.
Their mild flavor gets a big boost from a dark, crunchy crust.
Marbling adds another perk. Those thin streaks of fat melt slowly during the gentle oven phase.
As the fat renders, it adds flavor and helps the meat stay juicy.
A quick tip for shopping: ask the butcher counter to cut a steak to your preferred thickness. Many stores will happily do it.
A thicker steak can also feed two people, which makes the splurge feel smarter.
Gear That Makes the Magic Happen
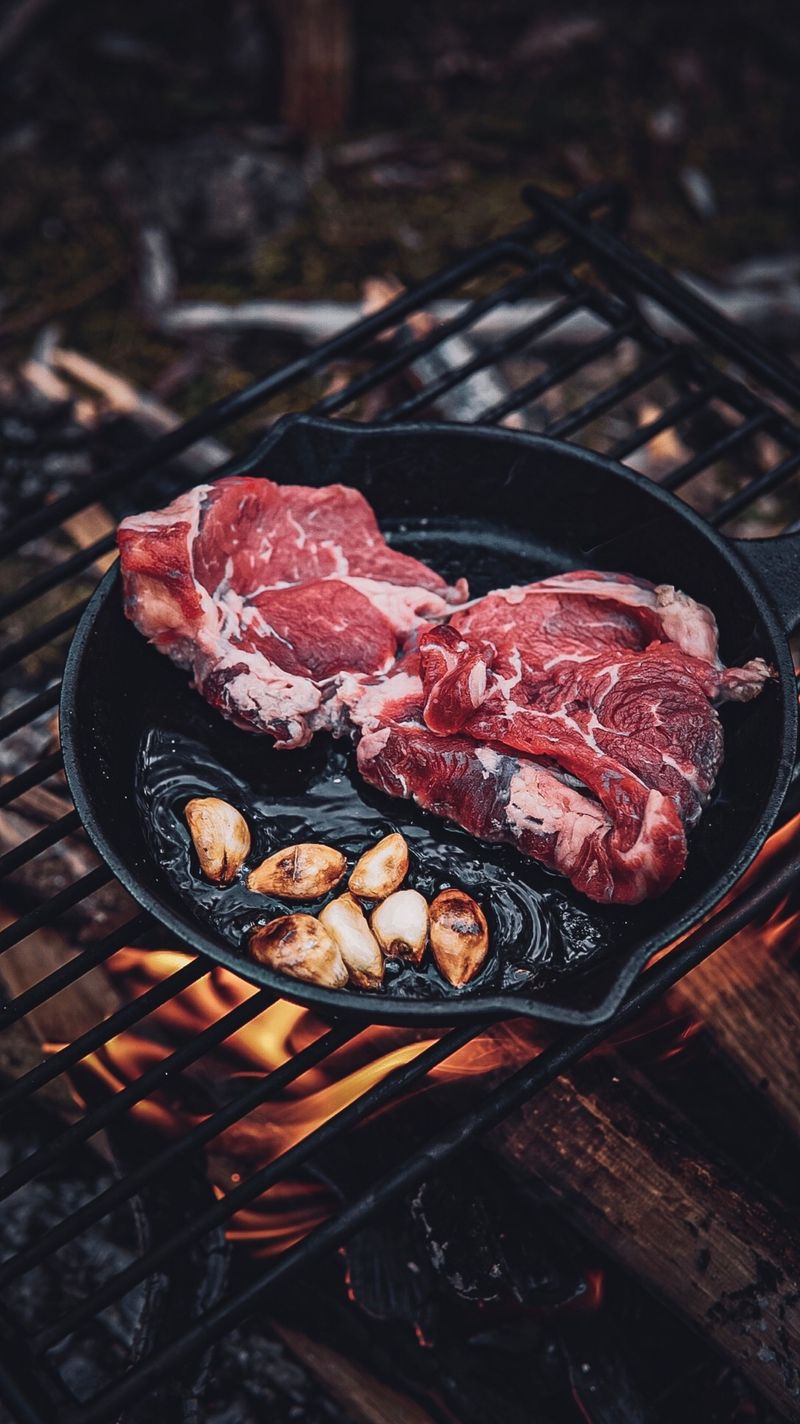
A wire rack set over a rimmed baking sheet might be the most underrated tool in your kitchen. During the oven phase, it lets air flow all around the steak, so every side dries evenly.
Next comes the real star: a meat thermometer. Accuracy matters here, since this whole method depends on internal temperature.
A probe thermometer that stays inside the steak while it cooks is ideal, because you never have to open the oven to guess.
For searing, reach for a heavy skillet. Cast iron is the classic choice, since it holds heat extremely well.
When a cool steak hits it, the pan stays hot instead of losing its fire.
Grab a high-smoke-point oil too. Regular olive oil can start smoking too early at searing temperatures.
Pick something built for high heat instead.
Finally, keep tongs nearby for flipping without poking holes. Some cooks like adding butter, garlic, and fresh herbs during the sear for extra flavor.
Those extras are optional, but they make the kitchen smell amazing. Your neighbors may start wondering what’s for dinner.
Walking Through the Cook, One Step at a Time
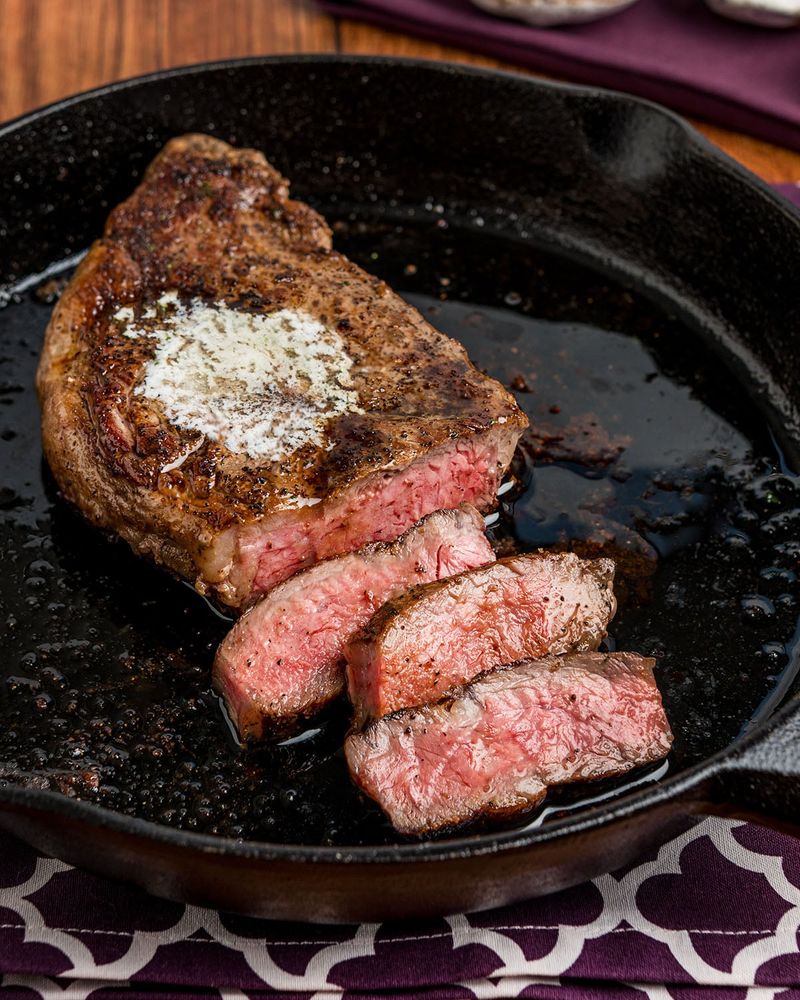
Start with a paper towel. Pat the steak completely dry, then season it generously with kosher salt and black pepper or your favorite rub.
Want an even better crust? Try a dry brine.
Leave the seasoned steak uncovered on a wire rack in the fridge for 45 minutes or up to overnight.
When you’re ready, heat the oven to a low temperature, usually between 200 and 275 degrees Fahrenheit. Slide the steak in on its rack.
Then let the thermometer guide you, not the clock.
Pull the steak out when it reads 10 to 20 degrees below your final goal. Let it rest for 5 to 15 minutes.
Meanwhile, heat your heavy skillet over high heat with a splash of high-smoke-point oil.
Wait until that pan is truly hot. Then sear each side for 45 to 90 seconds, until a deep brown crust appears.
Toss in butter and aromatics if you like, and spoon the melted butter over the top.
That’s it. Six simple stages, and none of them require culinary school.
Numbers That Nail Your Doneness
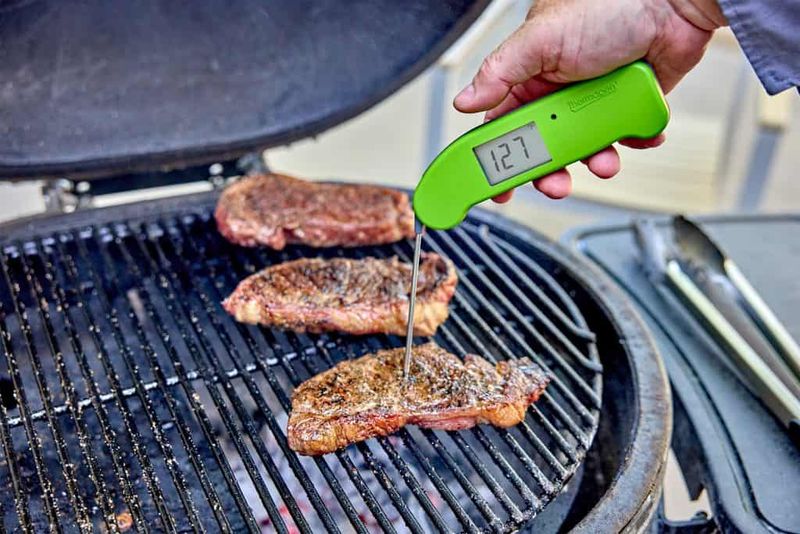
Cooking time is a rough guess. Internal temperature is the truth, and reverse searing leans completely on it.
Every oven runs a bit differently, and every steak has its own shape. Two steaks of the same weight might finish minutes apart.
A thermometer cuts through all that confusion.
For rare, pull the steak from the oven at about 105 to 110 degrees. After searing, it should land around 120 to 125 degrees.
Medium-rare is a favorite for many steak lovers. Take it out at roughly 115 to 120 degrees, aiming for a final 130 to 135.
Prefer a little less pink? For medium, remove the steak at about 125 degrees.
The sear should carry it to around 140 to 145.
Notice the gap between the oven number and the final number. The quick sear adds heat, so you stop early on purpose.
Leaving that room keeps you from sailing past your target.
Checking in the thickest part of the steak gives the most honest reading. Avoid touching bone, since it can throw the number off.
A reliable thermometer makes these targets easy to hit every time.
How It Stacks Up Against the Old-School Sear
Traditional searing isn’t wrong. It just works best for a different kind of steak.
With the old method, you start in a hot pan to build a crust. Afterward, the steak finishes at a lower temperature to cook the inside.
For thinner cuts, that approach is quick and reliable.
Thick steaks tell a different story. Starting hot often leaves that wide gray band of overcooked meat beneath the surface.
The center can still be catching up while the edges are long finished.
Reverse searing gives you far more control with big cuts. Because the slow phase comes first, the meat cooks evenly before any intense heat shows up.
The gray band shrinks to a thin line, and doneness stays steady from edge to edge.
Crust quality tilts in its favor too. A surface that dried out in the oven browns faster and crisps better in the pan.
So, which should you choose? Thin steak on a busy night, sear it hot and fast.
Thick, special steak worth celebrating? Give it the reverse sear treatment, and let that evenly pink slice do the bragging for you.
Share this story