Few things are sadder than biting into a baked chicken wing and getting soft, rubbery skin. You wanted crunch, and you got something closer to a damp sponge.
The good news is that soggy wings usually come from a few simple mistakes. Once you know what they are, your oven can turn out wings with a crackly, golden bite that rivals the fryer.
Wet Skin Is the Biggest Crunch Killer
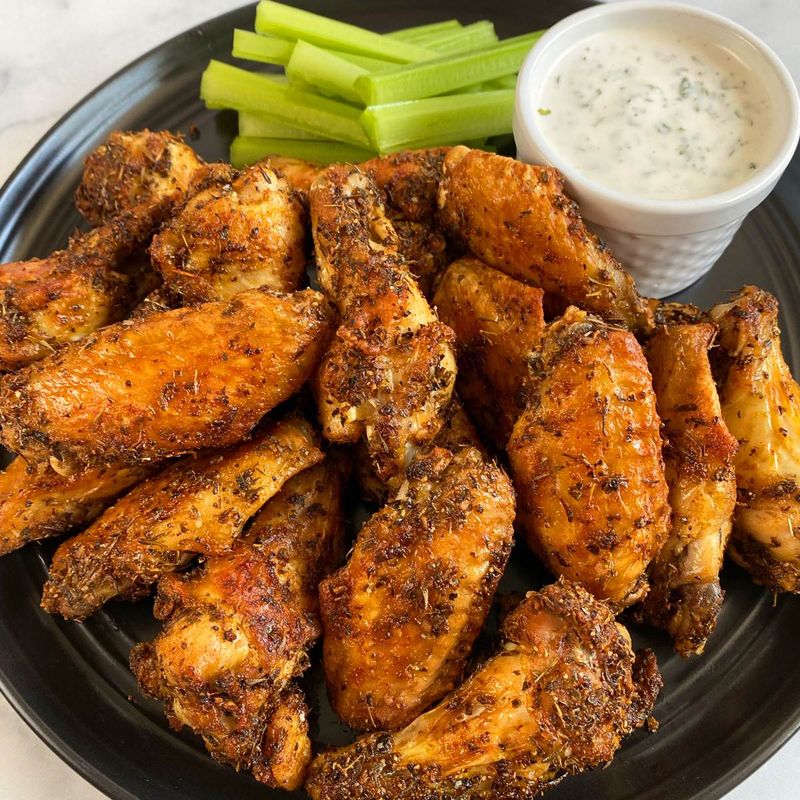
Water is the sneaky villain behind most floppy wings. When wet skin hits a hot oven, that moisture turns into steam before anything else can happen.
Your wings end up steamed instead of crisped, which is not the same thing at all.
The fix starts with a roll of paper towels. Pat every wing dry on all sides, pressing gently into the folds and joints.
You want the skin to feel tacky, not slick. It may seem like a small chore, but it makes a huge difference.
Want even better results? After patting the wings dry, set them on a wire rack over a tray.
Slide them into the fridge uncovered for several hours or overnight. The cold, dry air pulls even more moisture from the skin, almost like a tiny dehydrator.
Planning ahead pays off here. If you know wings are on the menu for game night, prep them the evening before.
By the time you bake them, the skin will look slightly dry and papery. That is exactly what you want, because dry skin browns fast and crisps beautifully.
Think of it as giving your wings a head start on crunch.
Your Pan Is Throwing a Wing Party That’s Too Crowded
Picture an elevator packed with people on a hot day. Nobody can breathe, and everyone gets sweaty.
Chicken wings feel the same way when you cram them onto one baking sheet.
Wings release moisture as they cook. When they sit shoulder to shoulder, that moisture has nowhere to go.
It hangs around the wings and steams them, leaving pale, soft skin where you hoped for golden crackle.
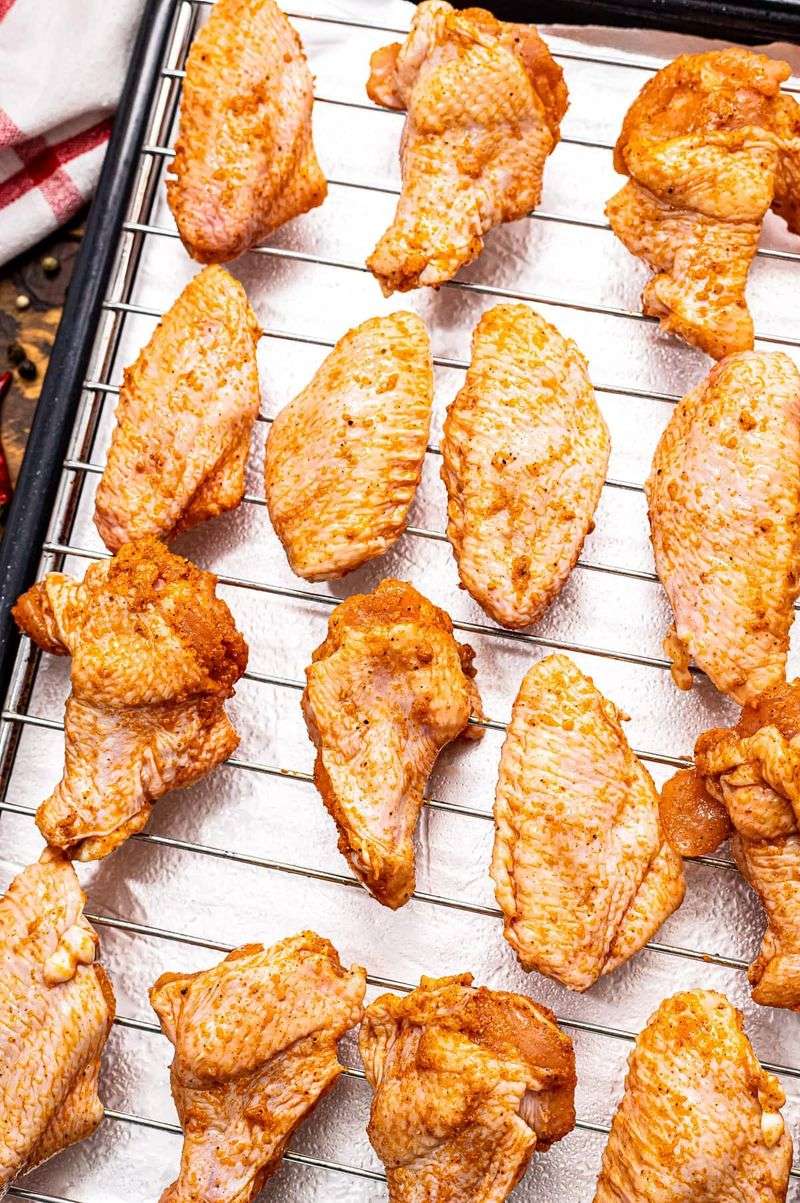
Spacing is your friend. Lay the wings in a single layer and leave a little gap between each piece.
Hot air needs room to move around every side. If they don’t all fit, grab a second pan instead of squeezing them together.
Yes, it means one more tray to wash. But the payoff is real.
Wings with breathing room brown evenly and crisp up much faster than their crowded cousins.
A handy tip is to buy pre-cut party wings, which are already split into drumettes and flats. They are more even in size, so they cook at the same pace.
That makes it easier to arrange them neatly and keep every piece crisp from edge to edge.
Skipping the Wire Rack Leaves Wings Sitting in a Puddle
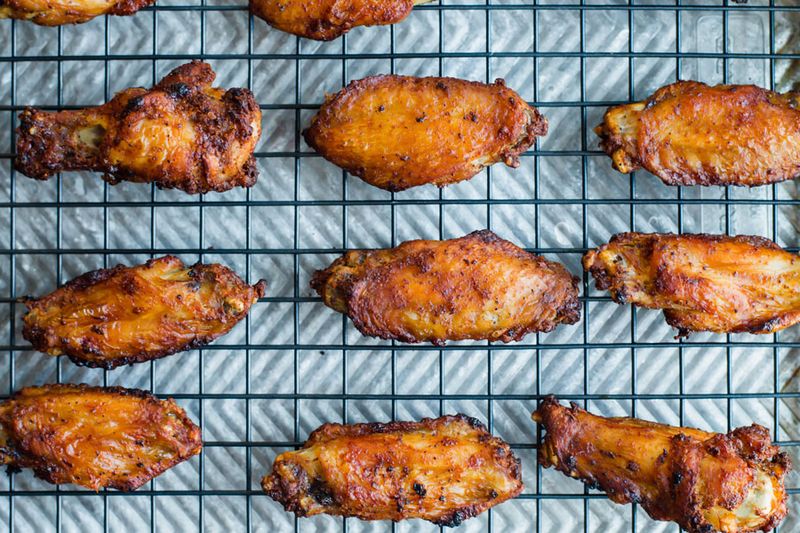
Flat pans have one big problem. The bottom of every wing sits right in the fat and juices that drip out during baking.
Instead of crisping, that side basically simmers in a greasy little bath.
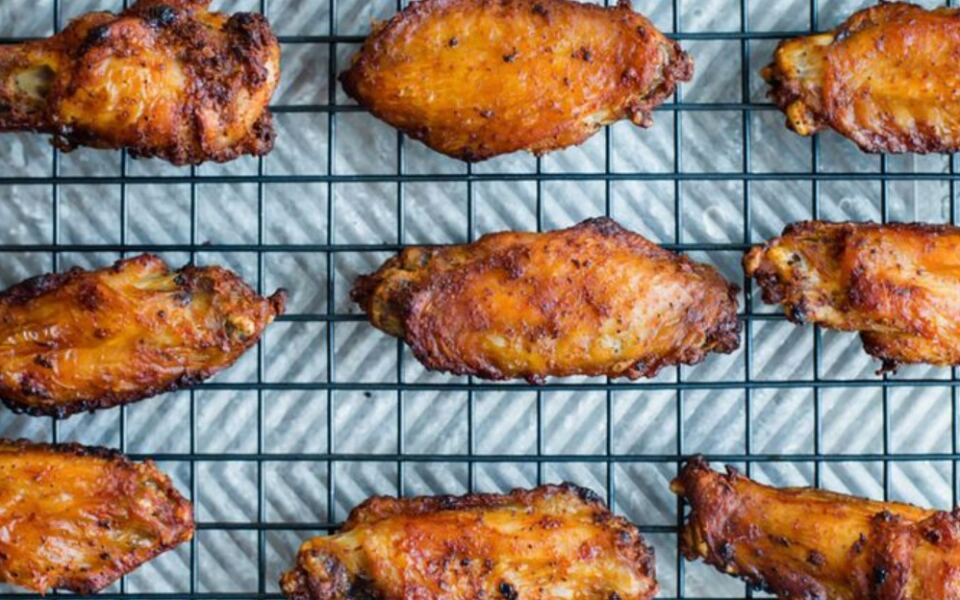
A simple wire rack solves it. Set an oven-safe rack on top of a foil-lined baking sheet, then arrange your wings on the rack.
Now the wings float above the mess.
Two great things happen. First, hot air flows under, over, and around each wing, so every side gets equal attention.
Second, the fat drips down onto the foil and stays away from the skin. The result is crunch on the top and the bottom.
The foil is a bonus for whoever does dishes. Once the pan cools, you can toss the foil and skip most of the scrubbing.
Lightly greasing the rack also helps keep the skin from sticking and tearing.
If you bake wings often, a sturdy cooling rack that fits your sheet pan is a smart buy. It is one of the cheapest upgrades in the kitchen, and it works hard for crispy chicken, roasted vegetables, and even bacon.
A Spoonful of Baking Powder Works Real Magic
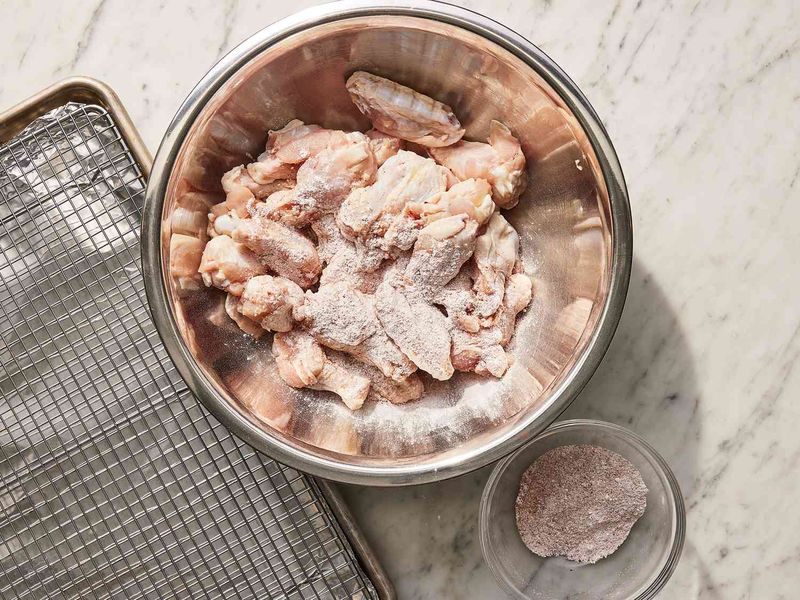
Here is a kitchen trick that sounds strange but works wonders. A light coating of baking powder can turn ordinary oven wings into crackly, bubbly beauties.
Many recipe writers call it their secret weapon.
So why does it work? Baking powder raises the pH of the chicken skin.
That change helps proteins break down and brown faster. It also creates tiny air pockets on the surface, and those little bubbles turn super crisp in the heat.
On top of that, it pulls moisture to the surface so it can dry off more easily.
Choose aluminum-free baking powder. Regular kinds can leave a bitter or metallic taste that nobody wants on game day.
And remember, this is baking powder, not baking soda. Mixing them up will make your wings taste soapy.
A common amount is about one teaspoon per pound of wings. Toss the dry wings in a bowl with the powder and your favorite dry seasonings until evenly coated.
Don’t overdo it, because a heavy layer can taste chalky. A thin, even dusting is all you need for that shatter-crisp bite.
Cornstarch and a Splash of Oil Can Back Up the Crunch
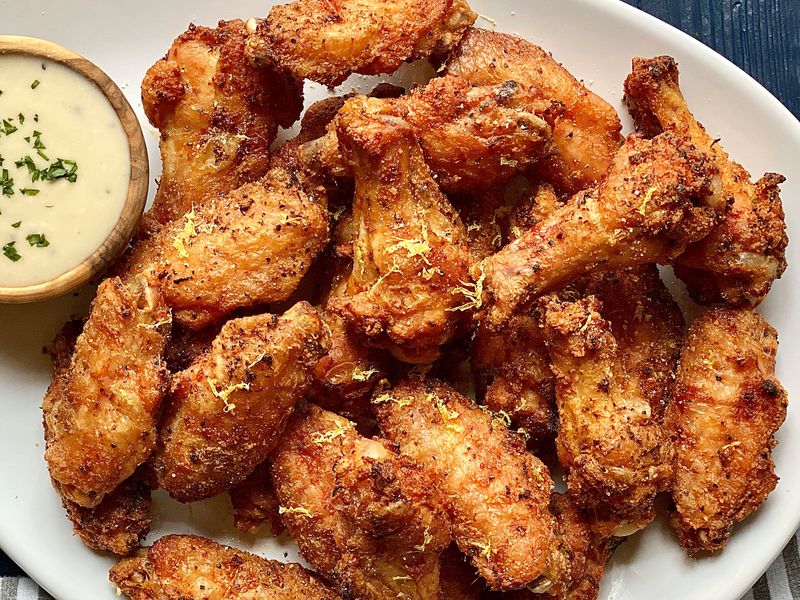
Baking powder isn’t the only helper in your pantry. Cornstarch is another favorite for anyone chasing crunchy wings.
It soaks up extra liquid and forms a light, crispy shell around the skin.
Some cooks mix cornstarch with baking powder for a double boost. The cornstarch acts like a thin barrier that keeps things dry, while the baking powder handles browning.
Together, they make a pretty strong team. Just keep the coating light, so it bakes up crisp instead of pasty.
Then there’s oil. A small drizzle of a neutral oil, like canola, avocado, or vegetable oil, helps seasonings stick to the wings.
It also encourages even browning in the oven. These oils handle high heat well, which matters when you’re cranking the temperature.
The key word is small. You aren’t frying here, so there’s no need to drench the chicken.
A light toss in a big bowl is enough to give every piece a thin shine.
Fun bonus: cornstarch is the same stuff many restaurants use in fried chicken coatings. Bringing a little of it home is an easy way to borrow some of that famous crunch.
Turn Up the Heat, Because Low and Slow Won’t Cut It
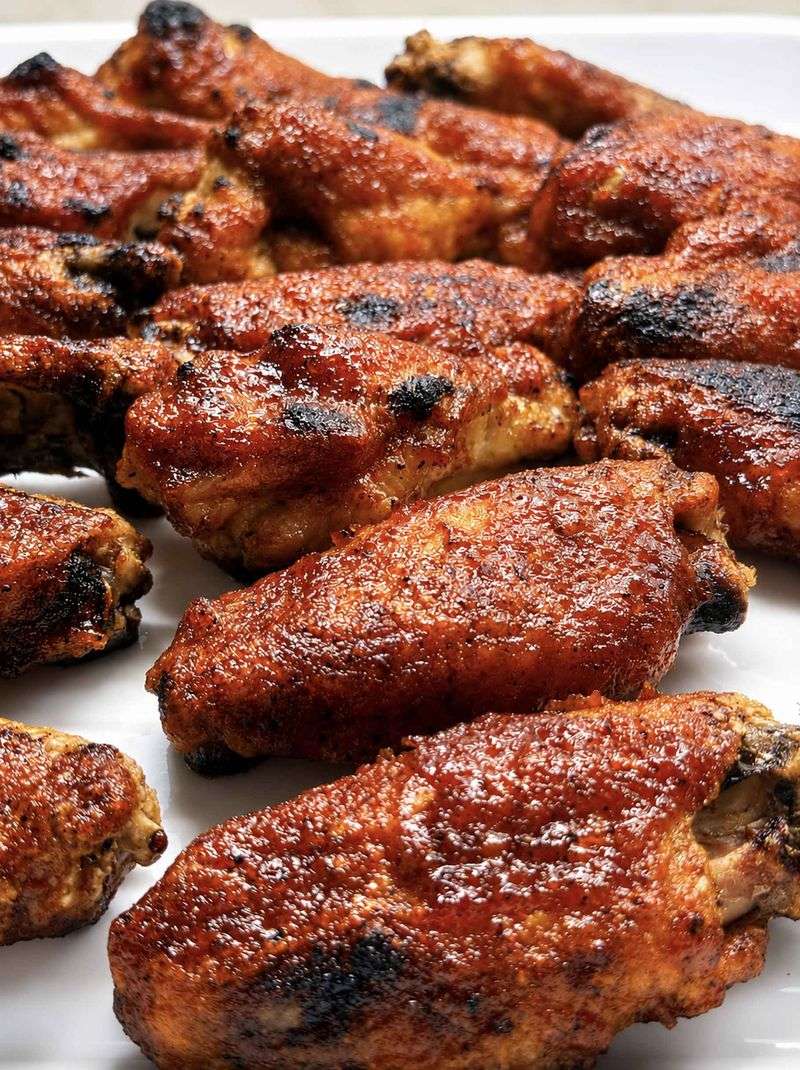
Low oven temperatures are great for some dishes. Crispy wings are not one of them.
At gentle heat, the chicken cooks through, but the fat under the skin never fully melts away, and the skin stays chewy.
Most recipes land somewhere between 400 and 450 degrees Fahrenheit. That range is hot enough to render the fat and dry the skin into a golden crust.
If your wings have been coming out pale, the dial might be the problem.
Some cooks use a clever two-step method. They start the wings at a low temperature, around 250 degrees, to slowly melt the fat.
Then they bump the heat up to 400 or 450 to crisp everything. It takes longer, but the results can be impressive.
Got a convection setting? Use it.
Convection runs a fan that pushes hot air around the oven, which dries the skin faster and boosts browning.
Also, give your oven time to fully preheat before the wings go in. Sliding them into a lukewarm oven gives moisture extra time to linger.
A hot start keeps things moving in the right direction.
A Quick Flip and a Broiler Blast Finish the Job
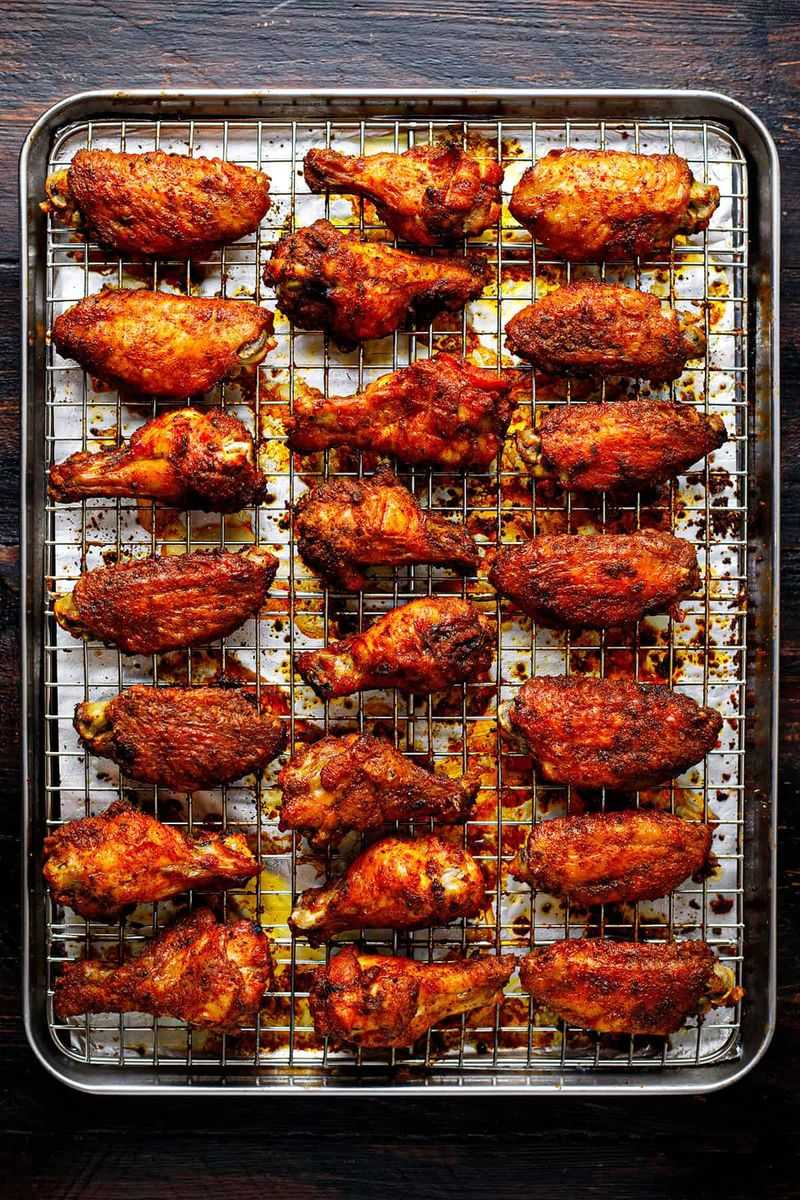
Halfway through baking, your wings deserve a little attention. Grab a pair of tongs and flip each piece over.
Even on a wire rack, the side facing up tends to get more heat, so flipping helps both sides crisp evenly.
It only takes a minute. Work quickly so your oven doesn’t lose too much heat while the door is open.
Then slide the pan back in and let the wings keep going.
Now for the grand finale. Once the wings are cooked through and nicely browned, switch your oven to broil.
Give them about one to two minutes under that intense top heat. The skin will blister and crackle in the best way.
Stay close during this step. Broilers work fast, and wings can go from gorgeous to scorched in a blink.
Keep the oven light on and peek often. This is not the time to wander off and check your phone.
When they come out, let the wings rest for about five minutes. That short pause helps keep their crispiness intact.
It also saves your tongue from a molten-hot first bite, which is a win for everyone.
Salting Too Early Can Backfire
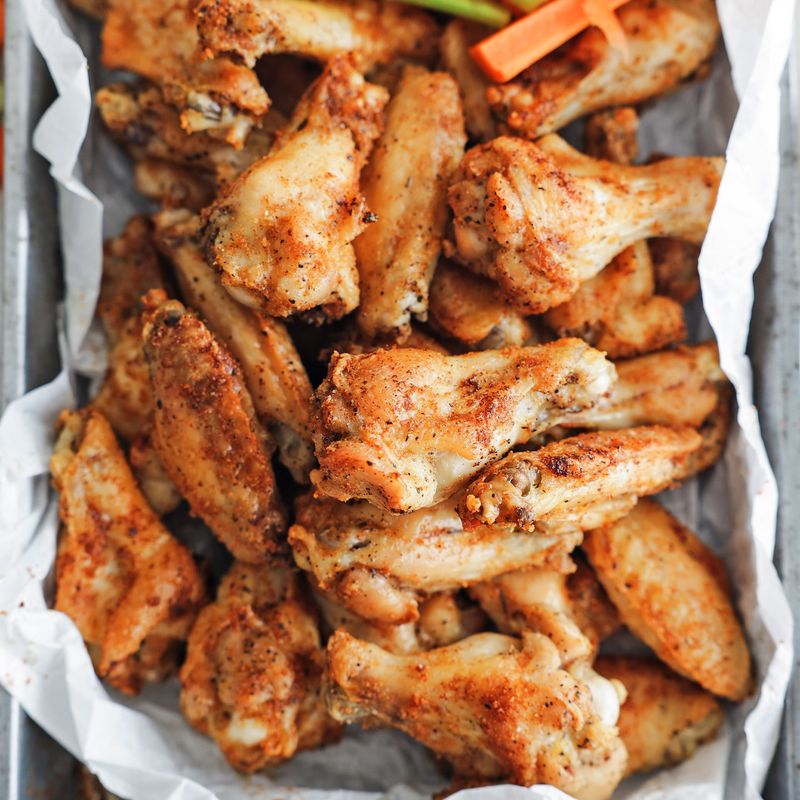
Salt makes food taste great, so it feels natural to sprinkle it on wings early. But timing matters more than you might guess.
Salting wings right before baking can draw moisture up to the skin’s surface.
That extra water then has to cook off in the oven. Until it does, your wings steam a bit instead of browning.
The result can be skin that looks dull and feels softer than you’d like.
So what should you do? One option is to season with your other spices and baking powder first, then add salt near the end or in your sauce.
Many sauces, like buffalo, already bring plenty of salty flavor anyway.
Another approach ties back to air-drying. If you salt the wings and then let them rest uncovered in the fridge for hours, the surface has time to dry again.
That way, you get flavor without the soggy side effect.
The big lesson is simple. Watch what adds moisture to your wings, and plan around it.
A little thought about when you season can mean the difference between a limp wing and one that crunches loud enough for the whole table to hear.
Sauce Belongs at the Very End
All that hard work can vanish in seconds if you sauce too soon. Tossing raw wings in sauce before baking brings back the very moisture you worked so hard to remove.
Wet wings, as you now know, steam instead of crisp.
Sugary sauces add another problem. Barbecue and honey-based sauces can burn in a hot oven long before the chicken is done.
Instead of a sticky glaze, you might end up with bitter, blackened spots.
The better plan is easy. Bake the wings until they’re fully cooked and crispy.
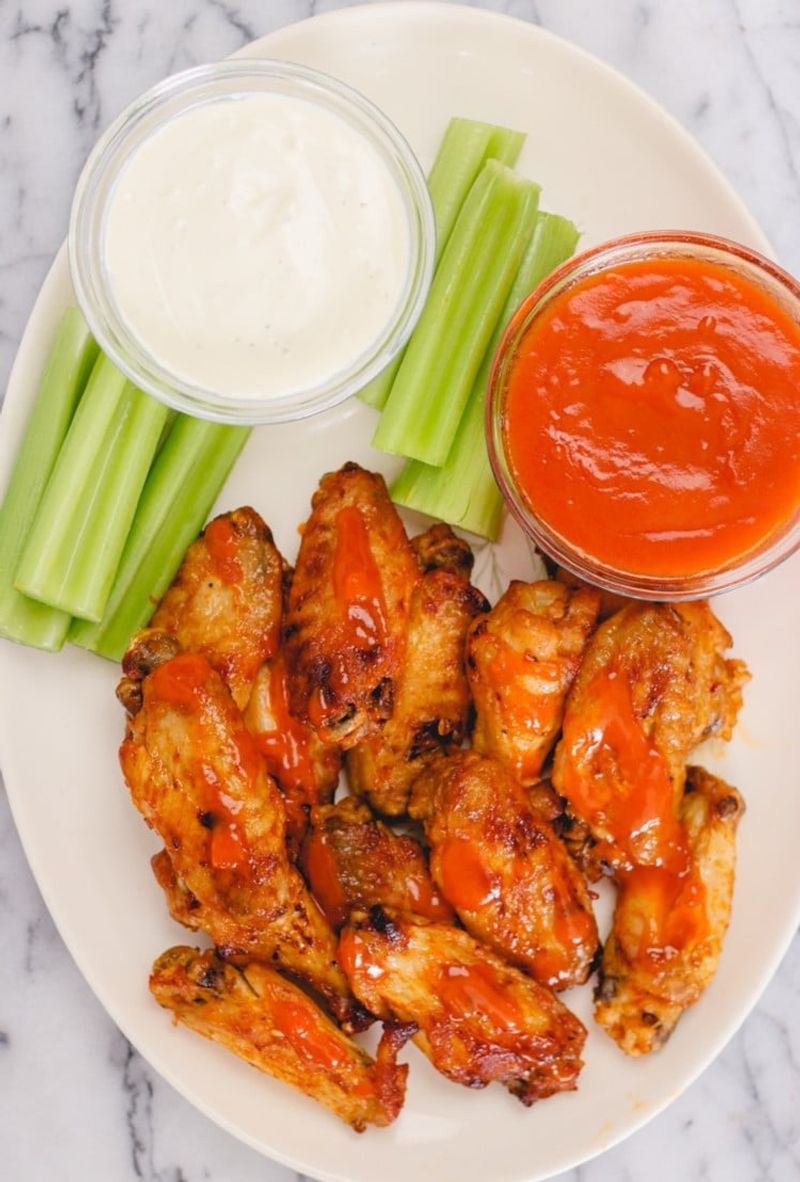
Then toss them in a big bowl with warm sauce right before serving. The crust holds up nicely and grabs onto the flavor.
Want to keep maximum crunch? Serve the sauce on the side for dipping.
That way, every wing stays crisp until the moment it meets your mouth. It also lets picky eaters choose their own flavors, which keeps the peace at parties.
Either way, serve sauced wings quickly. Even the crispiest skin softens if it sits in sauce too long.
Wings are at their best fresh, hot, and loud.
Share this story