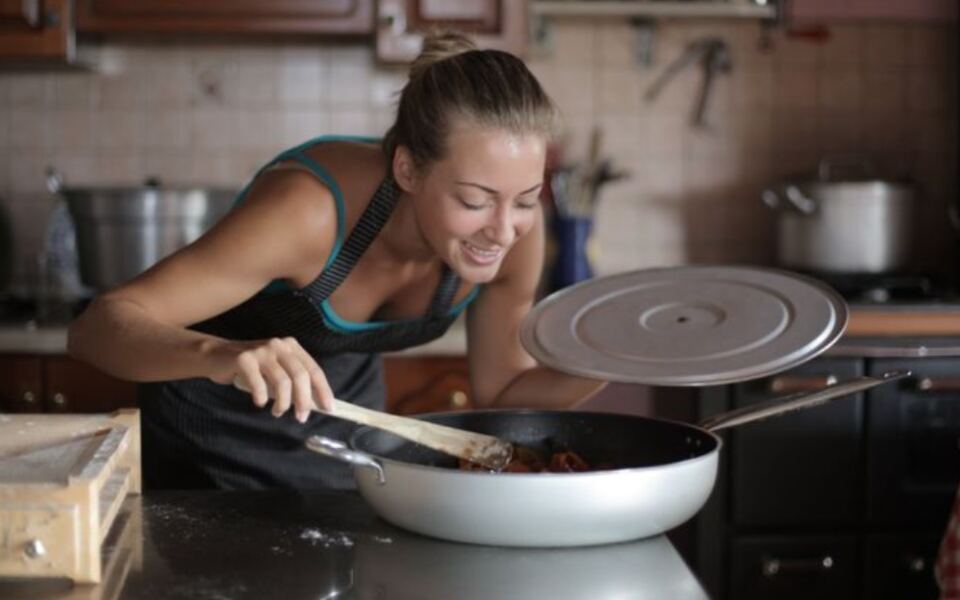
A crisp potato or juicy chicken breast is not just a lucky break. Heat, water, salt, and timing all change what happens to your food.
Understanding a little kitchen science can help you avoid common mistakes and make dinner taste better. A few small changes can turn your usual cooking routine into something much more reliable.
1. Dry the Surface for Better Browning
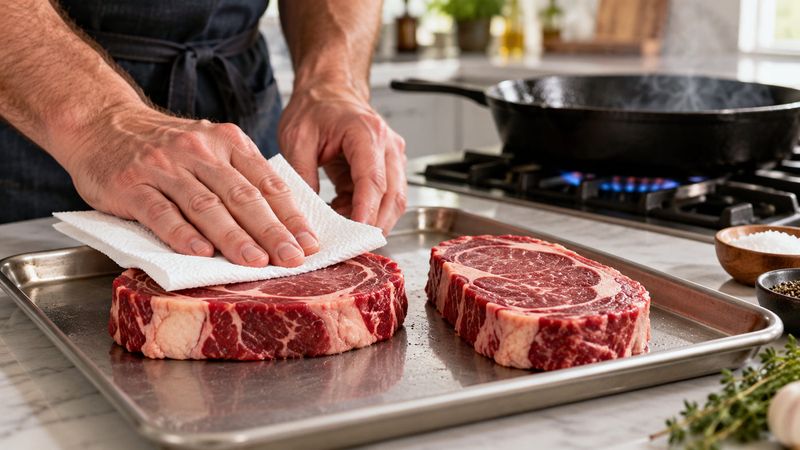
That golden crust starts before your food touches the pan. When a surface is wet, much of the heat goes toward turning water into steam instead of building the deep color and roasted flavor you want.
Pat meat, fish, and drained vegetables dry with clean paper towels before cooking. For mushrooms, brush away dirt or rinse briefly, then dry them well rather than leaving them soaking in water.
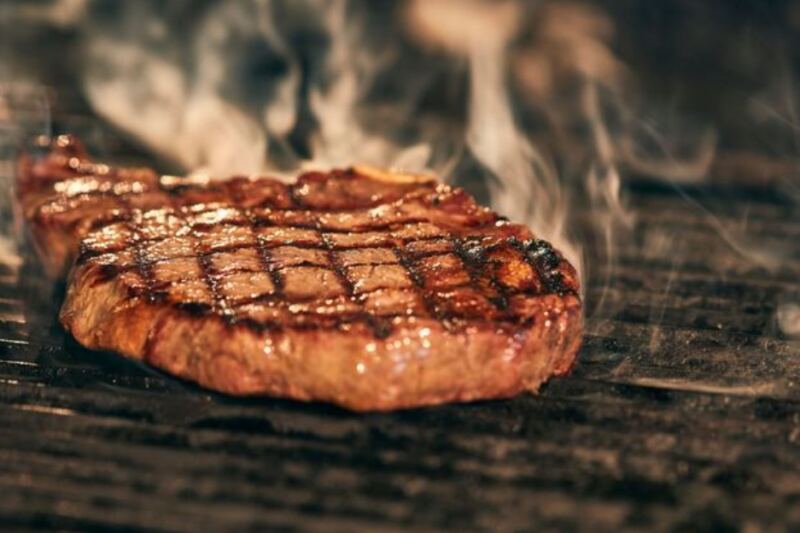
The flavor boost comes largely from the Maillard reaction, a series of changes involving proteins and sugars. It happens faster on hot, relatively dry surfaces, which explains why a damp steak often looks gray before it looks brown.
Heat your pan, add an appropriate cooking oil, and leave space around each piece. Crowding traps moisture and cools the pan, so cook in batches when needed.
Give the food a little time before moving it. A formed crust often releases more easily from stainless steel than a surface that has barely started cooking.
Keep raw meat juices away from ready-to-eat foods, and wash your hands after handling them. A dry surface improves flavor, but it never replaces cooking food to a safe internal temperature.
2. Give Salt Time to Work
A pinch of salt can do more than wake up a bland bite. Given enough time, it moves into meat and changes how muscle proteins hold water, which can help the cooked result stay juicy.
For chicken breasts or thick pork chops, salt ahead and refrigerate until cooking time. Even an hour can help, while larger cuts may benefit from several hours or overnight, depending on their size and the recipe.
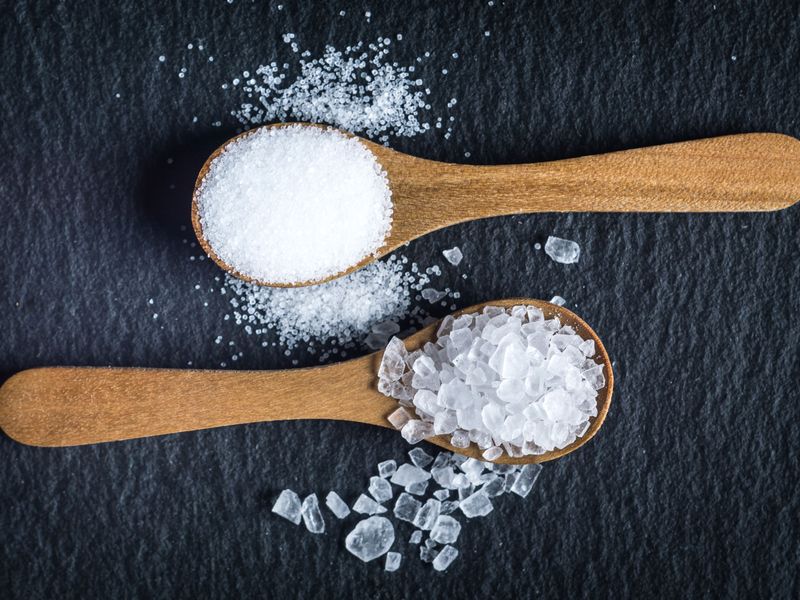
Use a measured amount rather than covering everything in a snowy blanket. Salt crystals vary in size, so a teaspoon of one brand may weigh much more than another.
Following a recipe that lists salt by weight gives you better control.
Keep salted raw meat in the refrigerator, not on the counter. Set it on a rimmed tray away from foods that will not be cooked, and follow safe storage times.
Already using soy sauce, cheese, or a salty seasoning blend? Count those ingredients before adding more salt.
You can always finish a dish with a small sprinkle, but removing salt is another story. Seasoning early builds flavor inside the food; seasoning at the end mainly changes the surface.
3. Trust a Thermometer, Not the Color
Pink does not always mean raw, and white does not always mean safe. Meat color changes for several reasons, so your eyes cannot reliably tell you whether the center has reached a safe temperature.
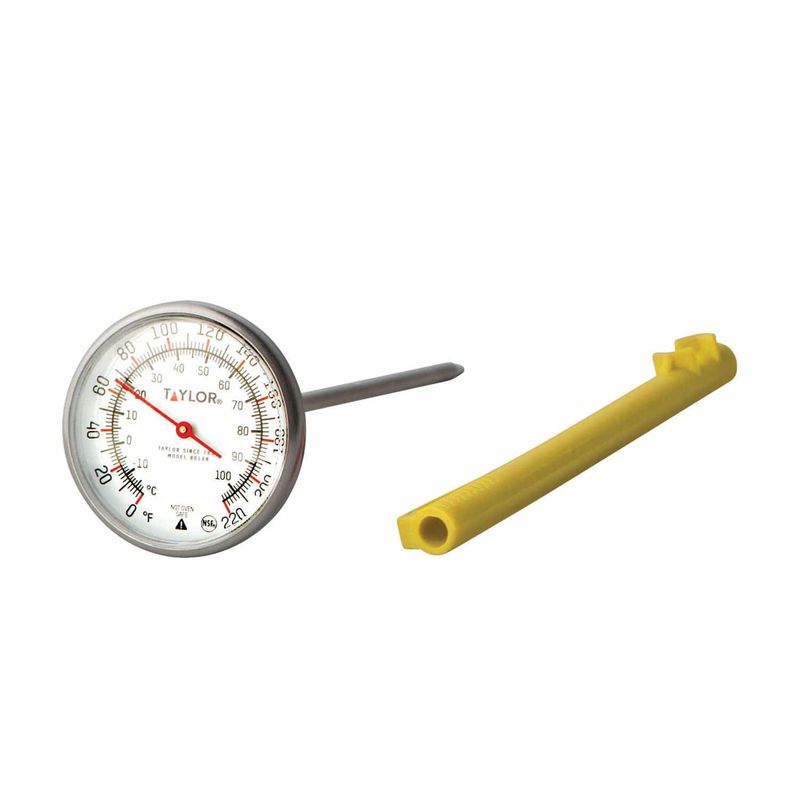
An instant-read thermometer takes the guessing out of dinner. Insert the probe into the thickest part, away from bones and large pockets of fat.
For a thin burger or chicken cutlet, slide it in from the side.
Check several spots if the food has an uneven shape. The coolest reading matters most, especially with poultry or a crowded tray where pieces may cook at different speeds.
For straightforward home cooking, chicken and other poultry should reach 165°F. Ground beef should reach 160°F, while whole cuts of beef, pork, and lamb should reach 145°F followed by a three-minute rest.
Clean the probe after checking raw or partly cooked food and before using it again. Follow the thermometer maker’s care instructions, and replace a damaged unit.
A thermometer also helps you avoid cooking food far beyond its target temperature. That means fewer dry chicken breasts and less time hovering over the stove, hoping that dinner is finally done.
4. Make Room on the Roasting Pan
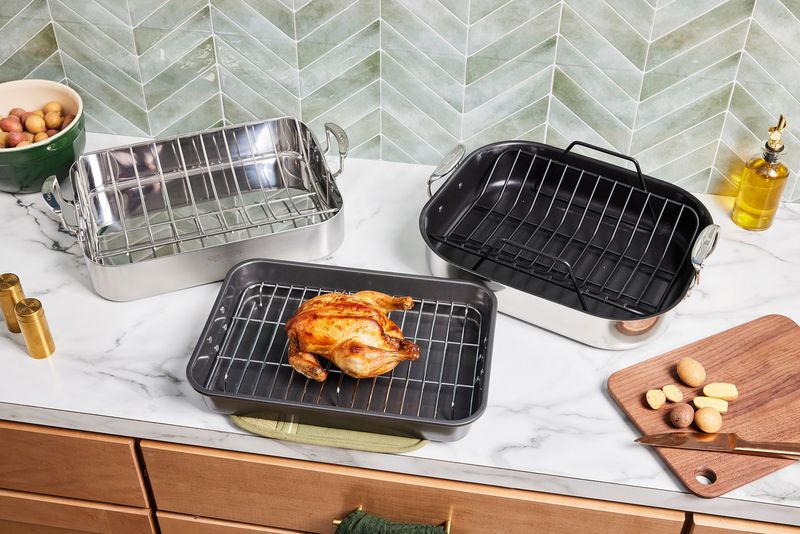
Crowded vegetables throw a steam party when you wanted crispy edges. As they heat, they release water, and a packed pan makes it harder for that moisture to escape into the oven.
Spread vegetables in a single layer with visible gaps between pieces. If the tray looks stuffed, grab a second one rather than piling everything higher.
A little extra washing beats a whole batch of soggy broccoli.
Cut pieces to roughly the same size so they finish together. Dense vegetables, such as carrots, often need smaller pieces or more time than tender vegetables like zucchini.
Toss with enough oil to lightly coat the surfaces, then roast at the temperature your recipe recommends. Many vegetables brown well around 425°F, though delicate pieces and sugary coatings can burn sooner.
Turn the vegetables when their undersides have browned, not every two minutes. If using two racks, rotate the pans as needed because home ovens often have warmer spots.
Look for browned edges and a tender center instead of following the clock alone. Frozen vegetables can roast nicely too, but give them plenty of space and expect extra moisture at the start.
5. Stop Mixing Once the Flour Disappears
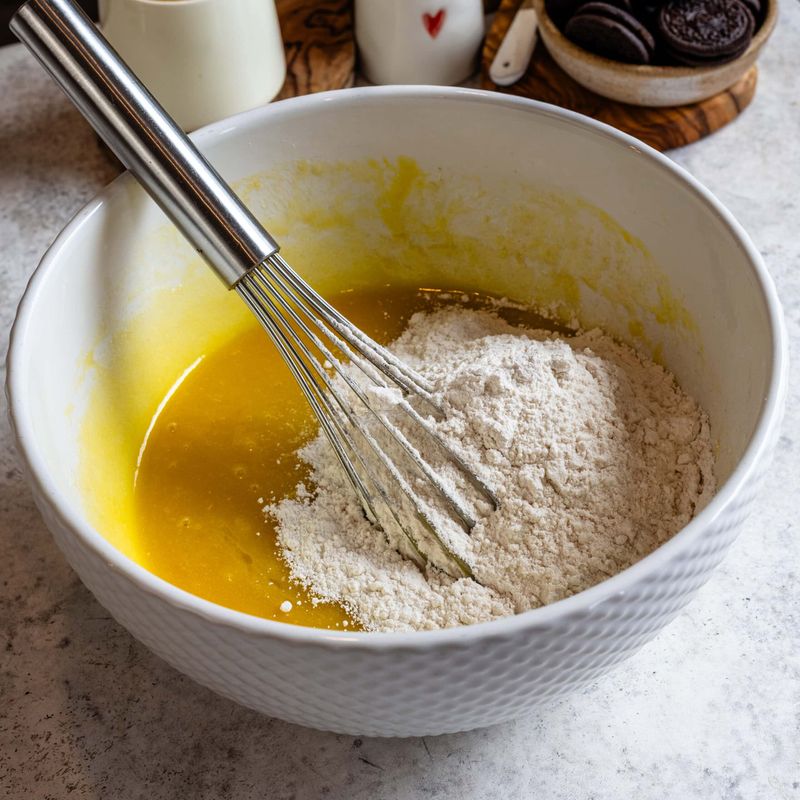
Tough muffins often begin with one extra enthusiastic stir. Once flour meets water, its proteins can join into gluten, the stretchy network that gives bread its chew but can make tender baked goods feel rubbery.
For pancakes, muffins, and many quick breads, combine the wet and dry ingredients just until no dry flour remains. A few small lumps are usually fine, so resist chasing a perfectly smooth batter.
Read the recipe before choosing your mixing method. Some cakes need longer beating at a specific stage, and bread dough usually needs enough mixing or kneading to build strength.
The goal changes with the food.
A flexible spatula helps you scrape the bottom of the bowl and fold ingredients together without beating everything hard. Add berries, nuts, or chocolate chips with a few gentle turns near the end.
Measure flour carefully as well, since too much can make baked goods dry even when your mixing is spot on. A kitchen scale is useful, or spoon flour into a measuring cup and level it without packing.
Tender baking is less about fancy equipment and more about knowing when to put the spoon down and stop.
6. Add Acid When a Dish Tastes Flat
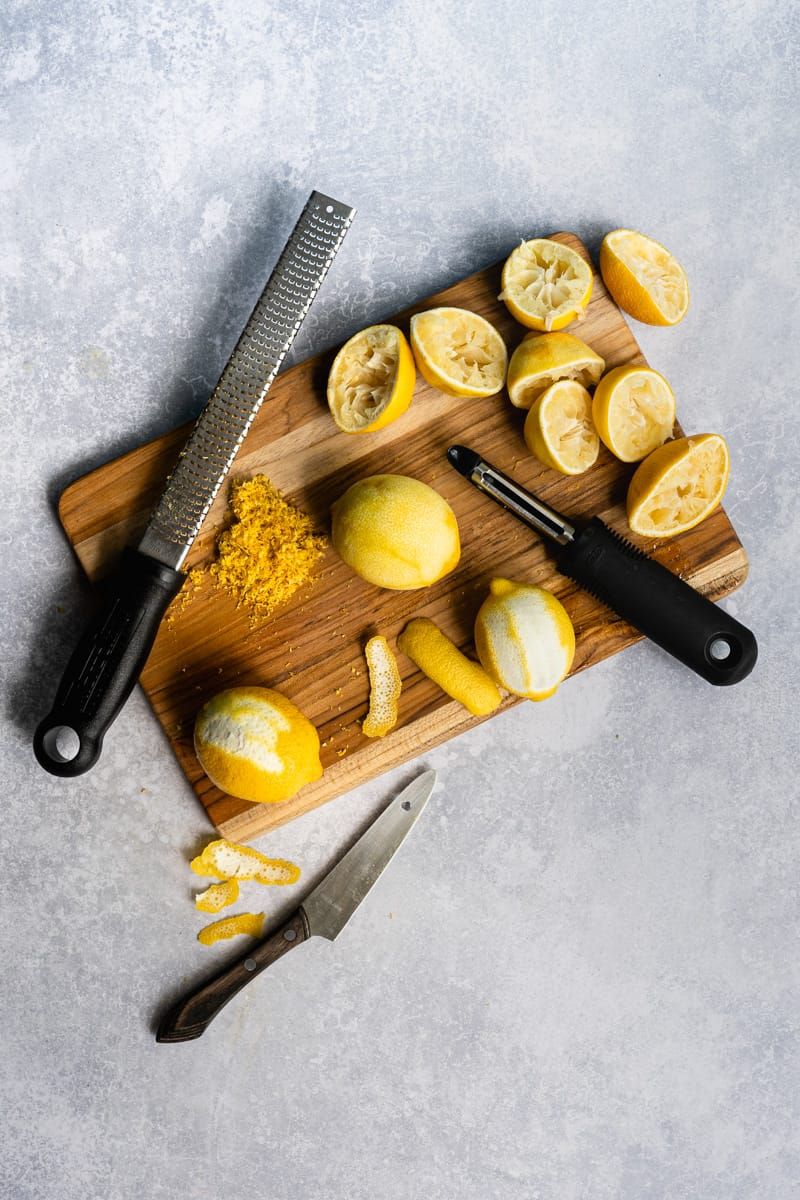
Your soup may not need another handful of salt. Sometimes a rich or dull dish needs a small splash of something sour to make its flavors feel brighter and more balanced.
Lemon juice, lime juice, and vinegar bring acid to the table. They can cut the heavy feeling of fatty foods and help other flavors stand out without adding much extra liquid.
Start small, perhaps half a teaspoon for a bowl of soup or a teaspoon for a larger pot. Stir, taste a cooled spoonful, and add more only if needed.
Different vinegars have different strengths and flavors.
Timing matters, though. Acid can slow the softening of beans and some vegetables, so add tomatoes, vinegar, or citrus after they become tender when your recipe allows.
A bright finish is useful; stubborn beans are not.
For fresh citrus flavor, squeeze juice in near the end of cooking. Long heating can soften its fresh aroma, while zest adds fragrance without much sourness.
Acid does not make unsafe food safe, and a casual splash is not a substitute for a tested canning recipe. Think of it as a flavor tool, not a safety shortcut.
7. Let Cooked Meat Rest Before Slicing
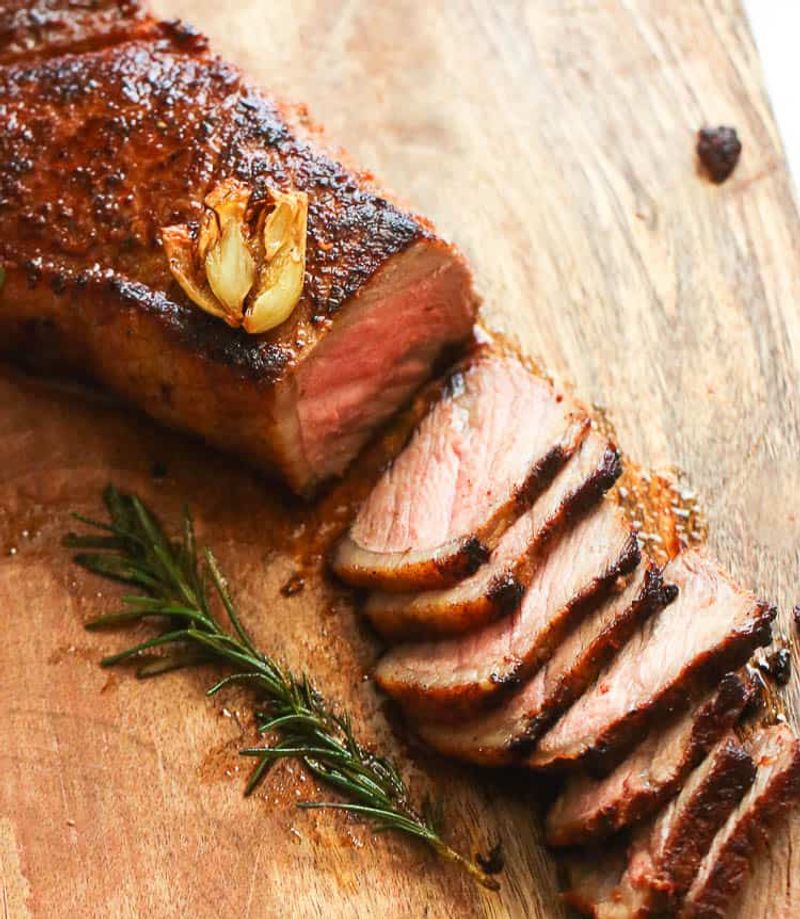
Slice a steak straight from the pan and the cutting board may collect part of your dinner. Resting gives the meat time to cool slightly and can reduce the juices lost when you cut it.
Heat also keeps moving after food leaves the stove. The hotter outer layers transfer energy toward the cooler center, so the internal temperature may rise during the rest.
This is called carryover cooking.
A thin chop may need only a few minutes, while a large roast often needs much longer. Follow a reliable recipe, and use a thermometer rather than assuming every cut gains the same number of degrees.
Keep any required food safety rest separate from guesswork about juiciness. Whole cuts of beef, pork, and lamb cooked to 145°F need at least a three-minute rest before carving or eating.
Loosely tent larger cuts with foil if needed, but avoid sealing a crisp crust inside a tight, steamy package. Use the pause to finish a sauce or bring vegetables to the table.
After resting, slice across the grain when appropriate to shorten the muscle fibers. That final move can make each bite feel noticeably easier to chew.
8. Build Smooth Sauces with a Slow Pour
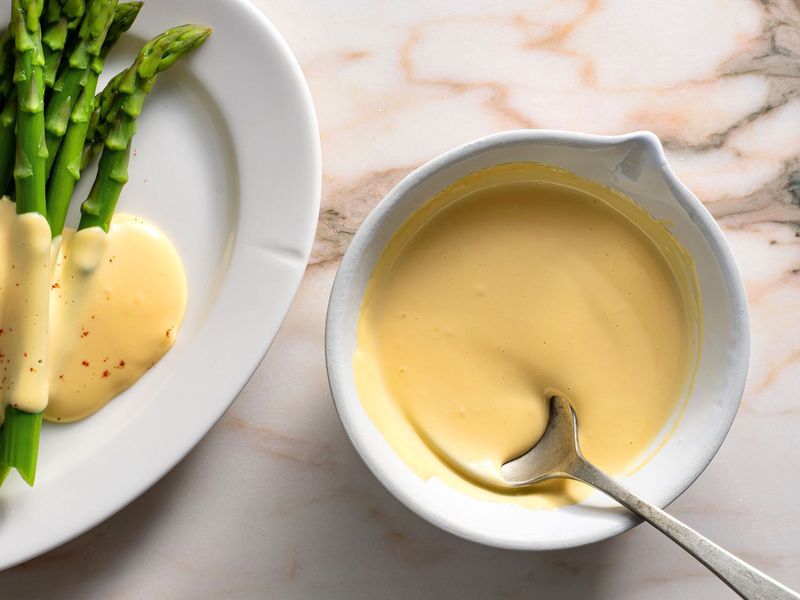
Oil and water are famously bad roommates. Leave them alone in a jar and they separate, but the right technique can help them share space in a creamy dressing or smooth sauce.
An emulsion is a mixture where tiny drops of one liquid spread through another. Whisking breaks the oil into smaller drops, while ingredients such as mustard or egg yolk help keep those drops from joining back together.
For a simple vinaigrette, mix vinegar, mustard, and seasonings first. Add oil in a thin stream while whisking steadily.
Pouring everything in at once can work for a quick shaken dressing, but separation may happen sooner.
If the dressing breaks, start with a little mustard and vinegar in a clean bowl. Slowly whisk the separated mixture into that base rather than adding more oil to the broken batch.
Warm sauces need temperature control too, since high heat can make some mixtures split or eggs scramble. Follow a tested recipe for hollandaise or mayonnaise, and use pasteurized eggs for recipes served without thorough cooking.
Refrigerate perishable homemade sauces promptly. A smooth texture comes from small droplets and steady mixing, not simply from adding extra fat.
9. Save Some Pasta Water Before Draining
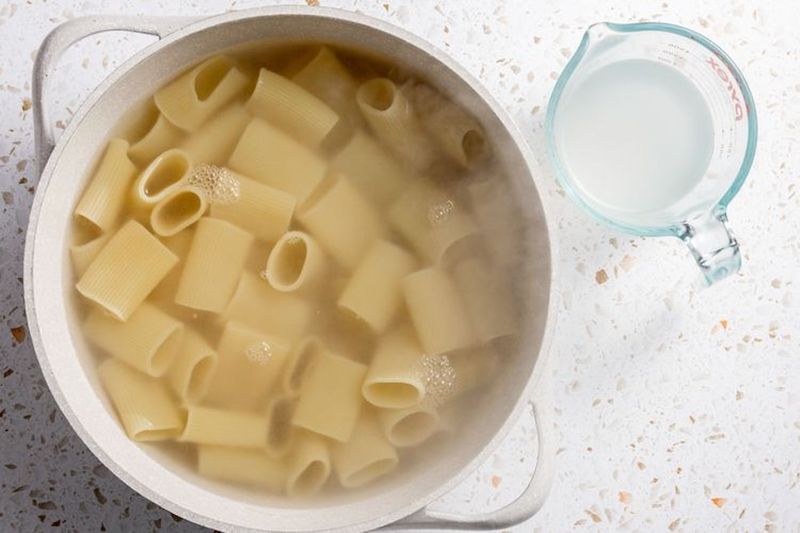
Cloudy pasta water looks forgettable, but it can help rescue a sauce that will not cling. As pasta cooks, it releases starch into the water, giving that liquid a useful job beyond boiling noodles.
Scoop out a mugful before draining the pot. Keep it beside the stove, then transfer the pasta into its sauce while it is still slightly firm, following the recipe’s timing.
Add a small splash of the reserved water and toss over moderate heat. The starch helps thicken the liquid and can support a smoother mixture of water and fat, especially when you keep the pasta moving.
Work in small additions instead of emptying the mug at once. Too much water turns dinner soupy, and the sauce may need a short simmer to reach the right texture.
Taste before adding more salt because the reserved water already contains whatever you used in the pot. For delicate cheese sauces, lower the heat or remove the pan from the burner before adding cheese to reduce clumping.
Ordinary pasta for a hot sauced dish usually does not need rinsing. Rinsing washes away surface starch that could otherwise help the sauce hold on.
10. Cool Leftovers in Shallow Containers
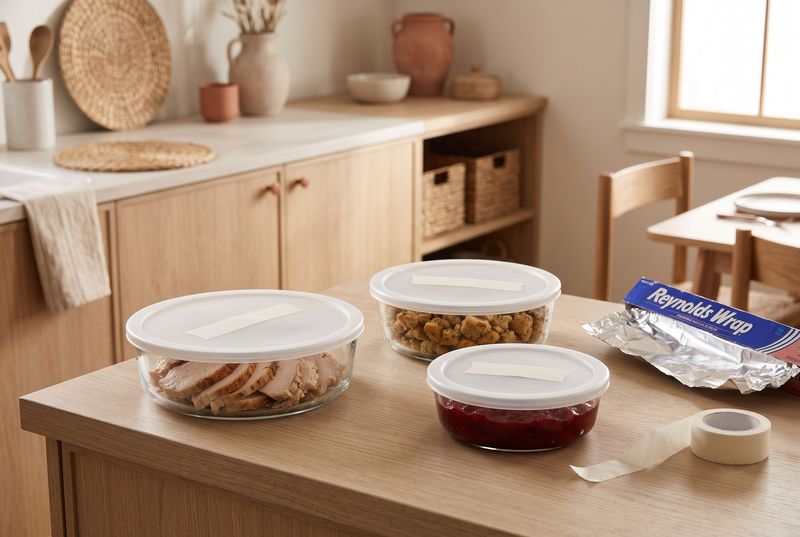
A giant pot of soup can stay warm in the middle long after the outside feels cool. That slow cooling gives harmful bacteria more time to grow, even when dinner started out properly cooked.
Divide leftovers into small, shallow containers so heat can escape faster. Slice large pieces of meat into smaller portions, and avoid packing hot food into one deep, tightly filled tub.
Refrigerate perishable food within two hours of cooking or serving. If the surrounding temperature is above 90°F, shorten that window to one hour.
Do not wait for food to reach room temperature first.
Small portions of hot food can go directly into the refrigerator. For a large batch of soup, an ice water bath with stirring can help bring the temperature down before you portion and chill it.
Keep the refrigerator at 40°F or below, and leave enough space for cold air to move around containers. Use most refrigerated leftovers within three to four days, or freeze them for longer storage.
Reheat leftovers to 165°F, checking more than one spot when needed. Smell and appearance cannot reliably reveal dangerous bacteria, so a tidy label with the date beats guessing.
Share this story