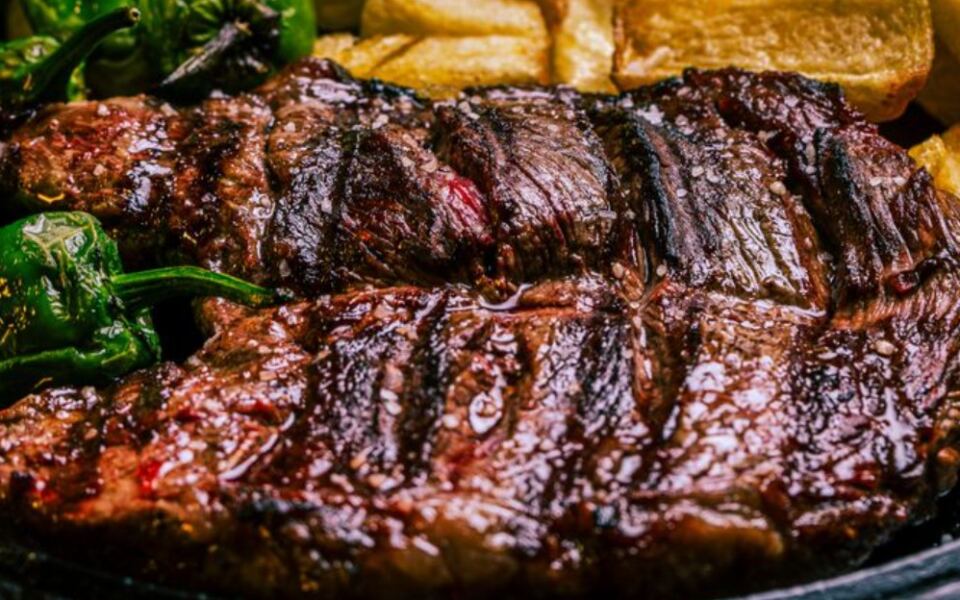
A great steak needs a brown, flavorful crust, not just a warm center. The best way to get there depends on your tools, your steak’s thickness, and how much time you have.
From a trusty skillet to a smoky grill, each method has its own sweet spot. For food safety, USDA guidance recommends cooking whole steaks to 145°F and resting them for at least three minutes.
1. Cast Iron: The Best All-Around Crust
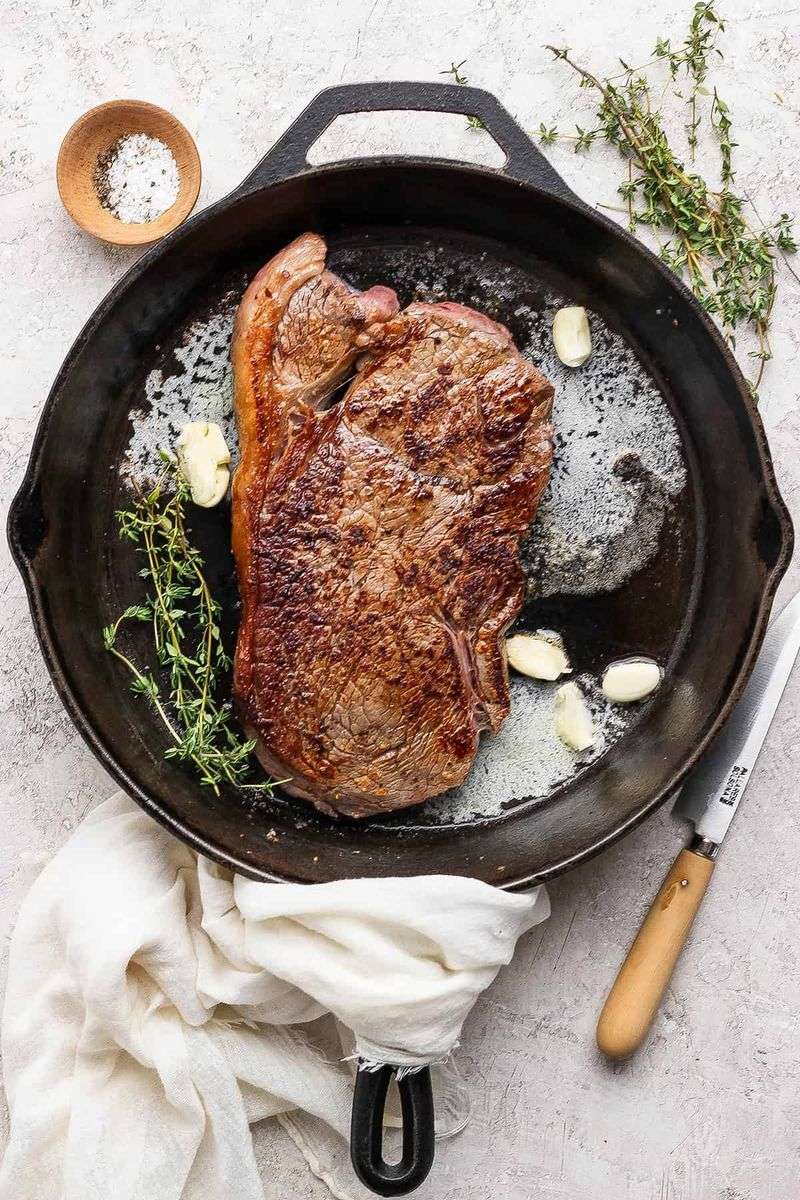
That loud sizzle when steak meets iron is the sound of dinner getting serious. A heavy cast iron skillet holds heat well, making it a strong choice for a deep, even crust at home.
Pat the meat very dry, then season with salt. Heat the pan over medium high heat until hot, add a thin layer of refined avocado or canola oil, and lay the steak away from you to limit splashes.
Start checking the underside after about two minutes, then flip when browned. Keep turning as needed, and use tongs to brown thick fatty edges without pressing out the juices.
For extra flavor, lower the heat near the end and add butter, garlic, and thyme. Spoon the melted butter over the steak briefly, watching closely so the milk solids do not burn.
Choose cast iron if you want bold browning without special equipment. It works especially well for steaks around one inch thick; thicker cuts may need oven time to finish.
The tradeoffs are smoke, a heavy pan, and a handle that stays dangerously hot. Run your kitchen fan, avoid crowding, and check the center with a thermometer before serving dinner.
2. Stainless Steel: A Steakhouse Pan Sauce Bonus
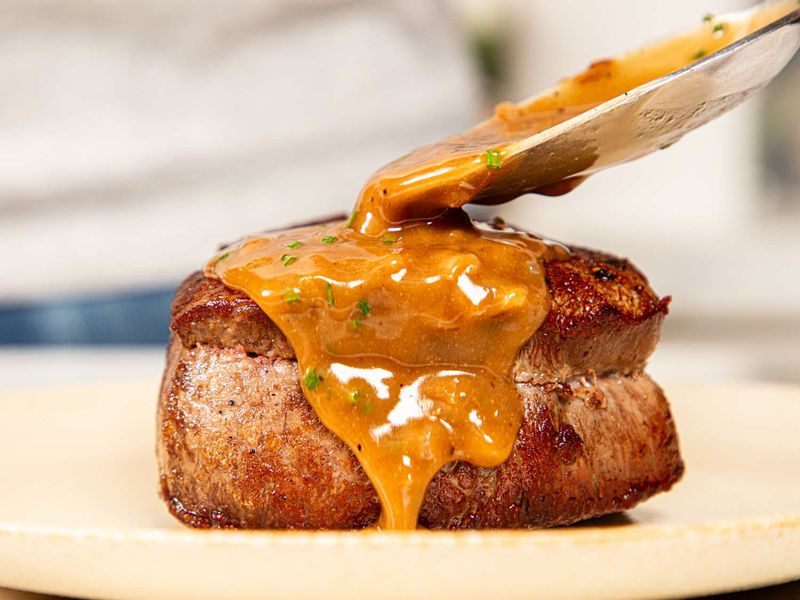
Those brown bits stuck to the pan are not a cleanup problem. In stainless steel, they are the starting point for a rich sauce that makes an ordinary steak dinner feel dressed up.
Use a heavy skillet rather than a thin pan that heats unevenly. Dry the steak thoroughly, preheat the pan over medium high heat, then add enough neutral oil to lightly coat the bottom.
Place the steak inside and leave it alone until a crust forms. Meat often releases more easily once browned, so do not wrestle it loose immediately; ease a spatula underneath when needed.
After cooking, move the steak to a plate and lower the heat. Pour off excess fat, add minced shallot if you like, then carefully pour in a little stock and scrape up the brown bits.
Simmer briefly and swirl in butter off the heat for a quick sauce. Pick stainless steel if you enjoy cooking with visual clues and want sauce from the same pan.
Expect a little more sticking than cast iron, especially with damp meat or weak preheating. Blackened bits taste bitter, so discard them rather than building your sauce around burned leftovers.
3. Direct Grilling: Big Heat With Backyard Flavor
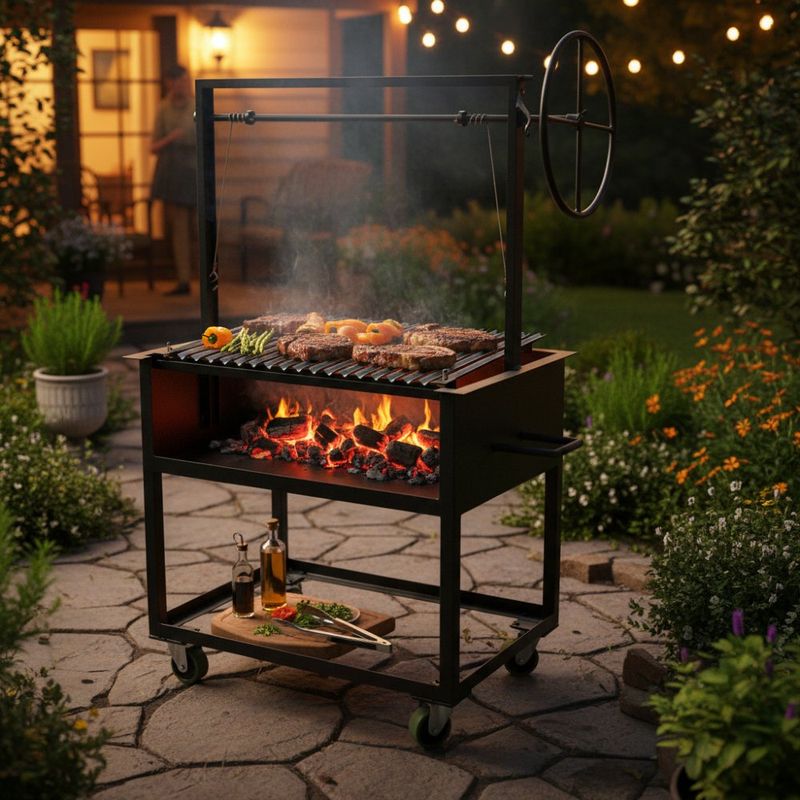
Backyard cooks get one advantage a stovetop cannot quite copy: the aroma of steak cooking over a live fire. Direct grilling brings strong heat, outdoor energy, and a lightly smoky edge, especially over charcoal.
Build two cooking zones, one hot and one cooler. On a gas grill, leave a burner low or off; with charcoal, bank the coals toward one side before heating the grate.
Brush the grates clean and dry the steak well. Lightly oil the meat, season it, and place it over the hot zone with the lid positioned as your grill instructions recommend.
Turn the steak when its surface browns, not just when grill marks appear. A broad crust brings more browned flavor than a few dark stripes, so moving and flipping the meat is perfectly fine.
If dripping fat causes flames, shift the steak to the cooler area instead of spraying water onto the fire. Finish thicker cuts away from direct heat and check their centers with a thermometer.
Grilling suits anyone who values outdoor cooking and less kitchen smoke. Its weak spots are weather, fuel use, and uneven heat, so stay nearby rather than wandering off during searing.
4. Reverse Searing: More Control for Thick Cuts
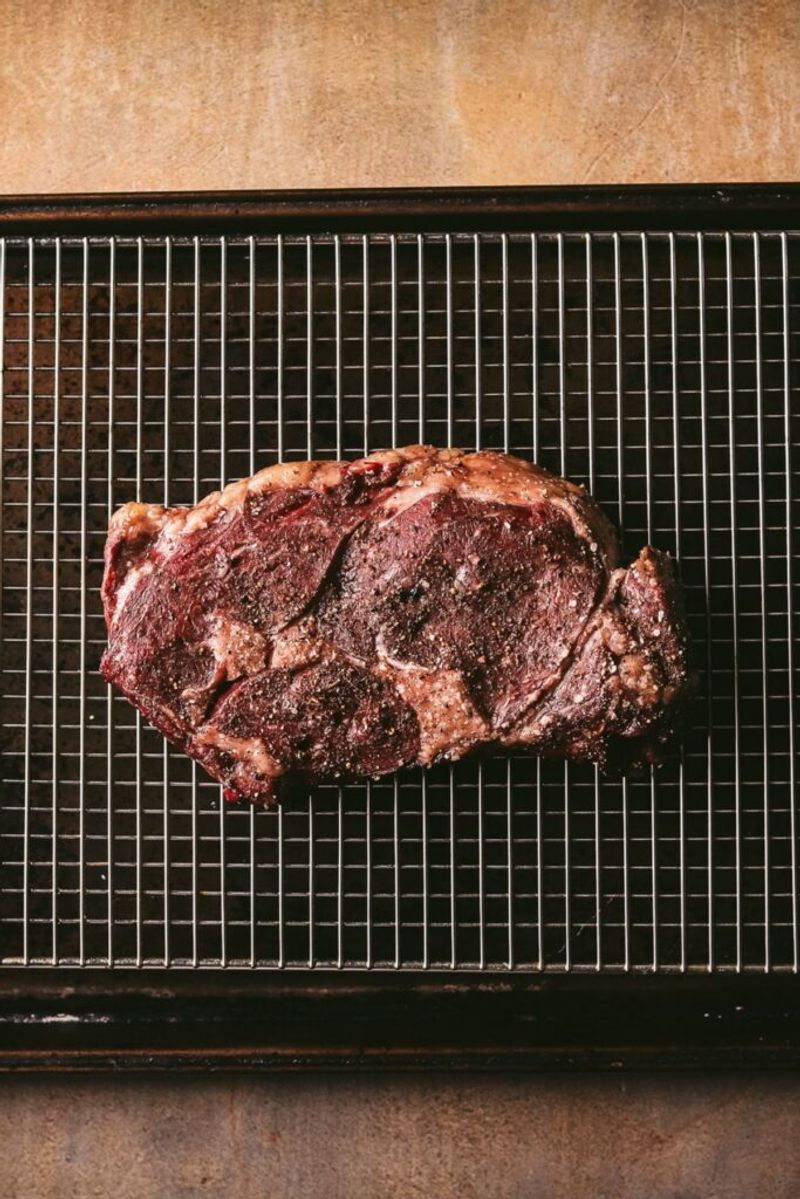
A thick steak can turn dark outside while its center barely warms. Reverse searing solves that timing problem by cooking gently first and saving the fierce heat for the final crust.
Set the oven around 250°F and place a salted steak on a wire rack over a baking sheet. Cuts at least one and a half inches thick benefit most because their centers need longer to heat.
Cook until the center approaches your intended final temperature, leaving room for the hot finish and any carryover cooking. A probe thermometer helps you track progress without repeatedly opening the oven door.
Next, pat away any surface moisture and move the meat into a hot, lightly oiled skillet. Sear briefly on both sides and along fatty edges, checking often because the inside is already nearly cooked.
The reward is an evenly cooked center with a fresh crust, plus less last minute guessing. Choose reverse searing for thick ribeyes, large strip steaks, or a special dinner where control matters more than speed.
Skip it for very thin steaks, which can overcook during the final browning. Allow extra time, and verify the finished temperature rather than trusting a timer.
5. Sous Vide, Then Sear: Precision Before the Sizzle
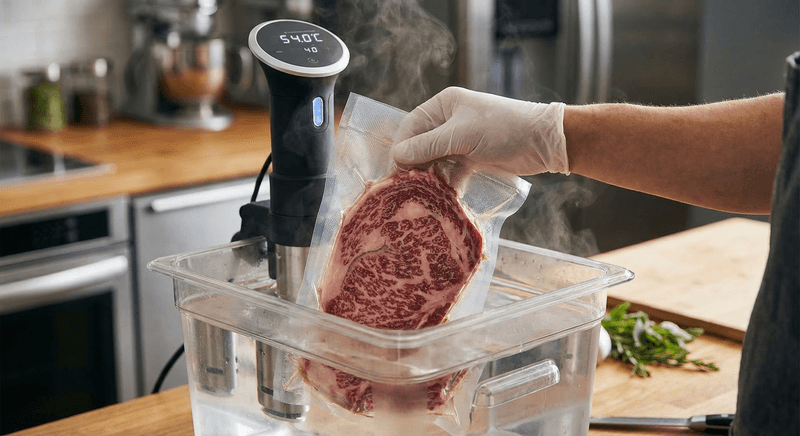
Imagine knowing the center is evenly cooked before the pan gets involved. Sous vide uses a controlled water bath to bring steak to a chosen temperature, followed by a short, hot sear.
Seal the steak in a suitable cooking bag and follow a reliable time and temperature guide for its thickness. Safe cooking depends on both factors, so a quick warm bath is not a substitute for tested instructions.
Once the bath stage is complete, remove the steak from its bag and dry it extremely well. Moisture is the enemy here: a wet surface spends precious pan time steaming instead of turning brown.
Heat a skillet, add a little oil, and brown the meat quickly on each side. Briefly sear the edges too, but avoid chasing a darker crust so long that you undo the careful temperature control.
This approach fits detail lovers, dinner hosts, and anyone already using an immersion circulator. It offers repeatable results and flexible scheduling within safe holding limits, though the equipment costs more and preparation takes longer.
Follow specific safety guidance for vulnerable diners, and do not assume that every low temperature setting makes steak safe to eat.
6. Broiling: Put Your Oven’s Top Heat to Work

No grill, no heavy skillet, no problem: your oven may have a powerful browning tool overhead. A broiler sends strong heat down onto the steak, much like an upside down grill.
Check your oven manual before starting because rack placement and door position vary by model. Use a broiler safe metal pan, never glass, and preheat as directed so the meat meets steady heat.
Dry the steak, season it, and apply only a light coating of oil. Position it several inches below the element according to the manual, leaving enough clearance that fat cannot easily touch the heat source.
Watch closely and flip once the top browns. If the outside darkens before the middle is ready, move the pan farther from the element or finish with regular oven heat at a lower setting.
Broiling makes sense for apartment cooks who want strong browning without buying another pan. Results depend heavily on the broiler, and the crust may be less even than a skillet sear.
Avoid sugary sauces until serving because they can scorch quickly. Keep the area ventilated, use a thermometer, and never leave the oven unattended while fat is sizzling near the element.
7. Flat-Top Griddling: Room for the Whole Steak Crew
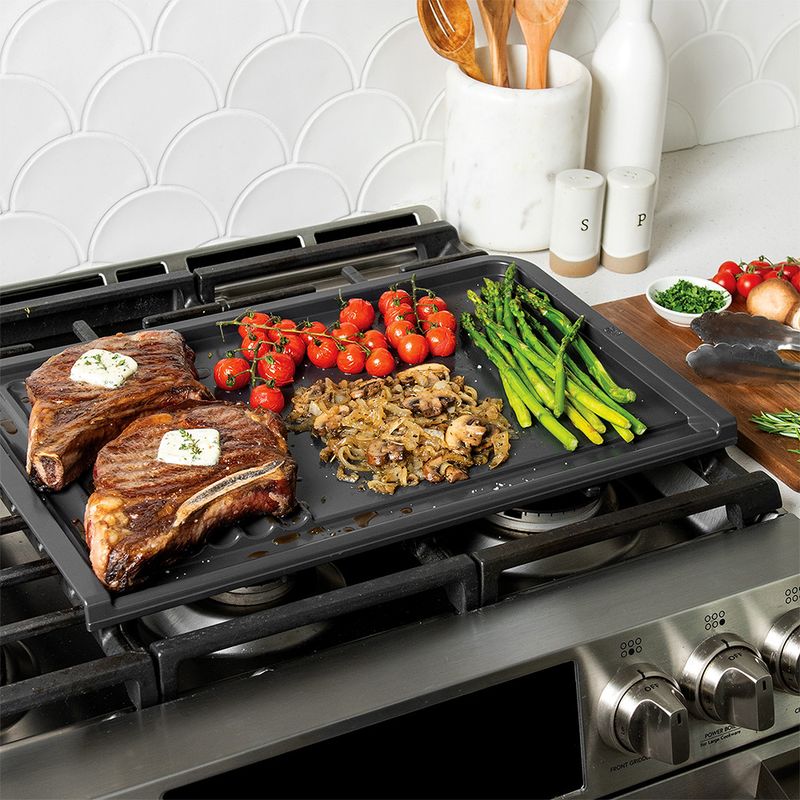
Feeding four people should not mean serving one steak while everyone else watches. A flat top griddle gives you a broad cooking surface, making it easier to brown several portions in one round.
Preheat the surface thoroughly and check for hotter and cooler areas. Add a thin film of high heat cooking oil, then arrange dry, seasoned steaks with open space between them so trapped moisture can escape.
Let the first side develop color before turning with tongs. Unlike grill grates, the solid surface touches more of the meat, creating wide patches of crust rather than narrow stripes.
Move steaks between heat zones as needed, especially if their thicknesses differ. A thicker cut can finish on a gentler section while thinner pieces come off sooner; check each steak separately with a thermometer.
Choose a griddle for family meals, outdoor gatherings, or quick steak sandwiches made with thinner cuts. You can cook onions nearby, but keep watery vegetables away from the searing area.
The downsides are storage space, grease cleanup, and heat loss if you overload the surface. For group cooking, this is the practical winner; for one thick steak, a skillet usually takes less effort.
Share this story