Making pasta by hand is one of those kitchen skills that connects us to centuries of culinary tradition. Without fancy equipment, you can create tender, delicious pasta using just your hands and a few simple tools. The satisfaction of creating something so fundamental from scratch is unmatched, and the taste difference between handmade and store-bought pasta is remarkable.
1. The Magic Flour Blend
Italian grandmothers have passed down the secret to perfect pasta texture for generations: combine 00 flour with semolina in a 2:1 ratio. The 00 flour brings silky smoothness while semolina adds that satisfying bite that holds sauce beautifully.
You can adjust this ratio depending on what you’re making. Want a more tender pasta for delicate ravioli? Increase the 00 flour. Craving a heartier pappardelle for rich ragù? Add more semolina for structure.
Don’t have 00 flour? All-purpose flour works in a pinch, though the texture won’t be quite as refined. The flour blend creates the foundation for everything that follows, so getting it right makes all the difference in your final pasta.
2. Farm-Fresh Eggs Make All The Difference
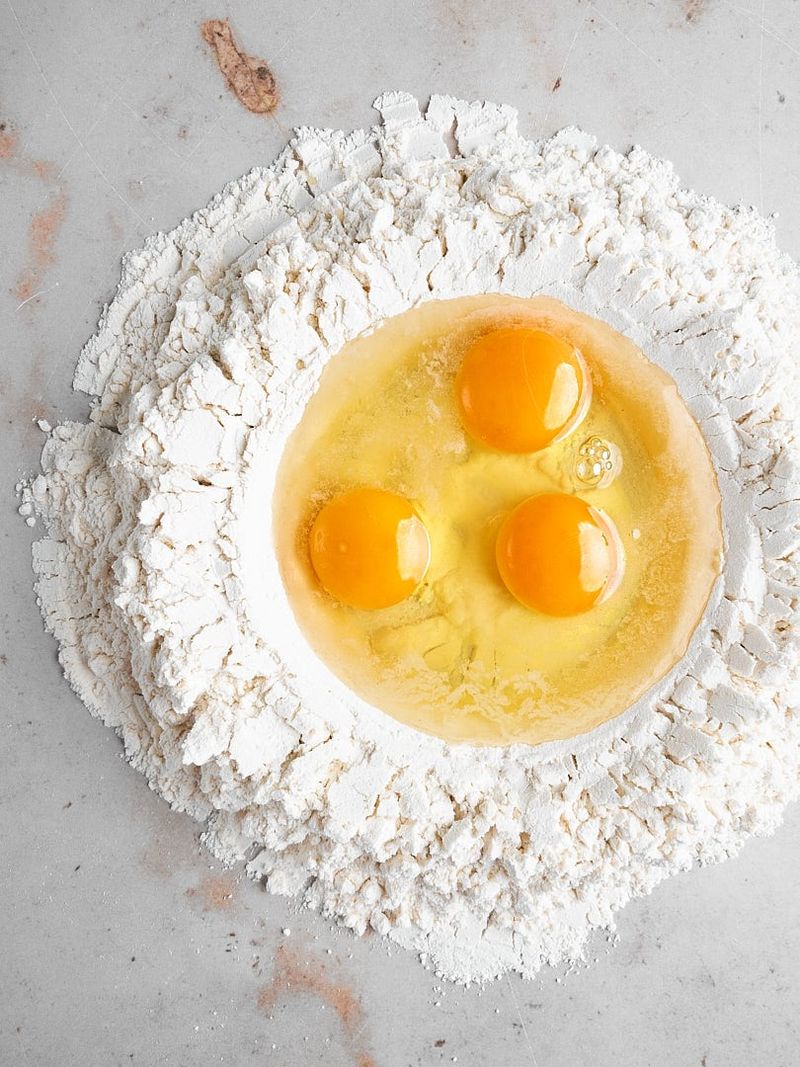
Have you ever noticed the vibrant orange-yellow yolks in farm-fresh eggs? Those deeply colored yolks transform ordinary pasta into something extraordinary, giving your dough a rich golden hue and incomparable flavor.
The protein structure in fresh eggs also creates better elasticity in your dough. For extra richness, try using just the yolks or increasing the yolk-to-white ratio. Some regions of Italy even make pasta with duck eggs for an even more luxurious result!
Room temperature eggs incorporate more easily into flour than cold ones, so pull them from the refrigerator about 30 minutes before you start mixing. This small step makes the kneading process much smoother.
3. Kneading Is Your Workout For The Day
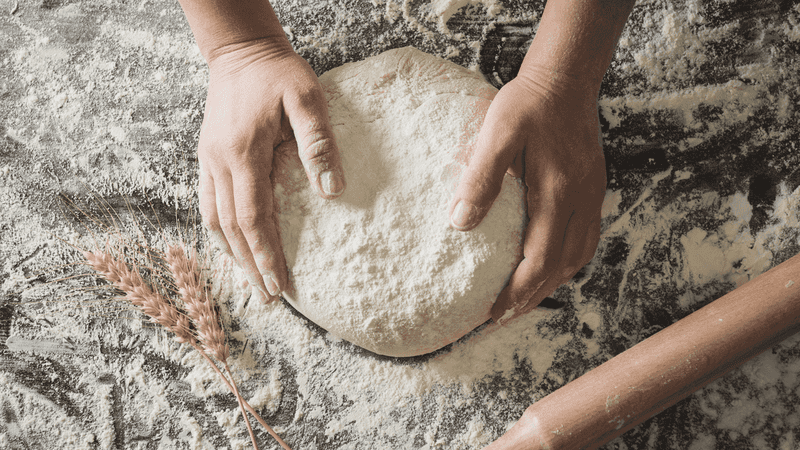
Forget about that gym session – pasta making provides the perfect upper body workout! Proper kneading develops the gluten network that gives pasta its characteristic chew and elasticity. Press forward with your palms, fold the dough back, rotate, and repeat.
You’ll know you’ve kneaded enough when the dough transforms from shaggy and sticky to smooth and springy, usually after about 10 minutes of consistent work. The surface should feel almost like your earlobe when touched – an odd but accurate comparison!
Getting tired? Take a 30-second break, but don’t abandon ship. Those final minutes of kneading often make the difference between good pasta and great pasta. Your arms might protest, but your taste buds will thank you.
4. The Patience Of Resting Dough
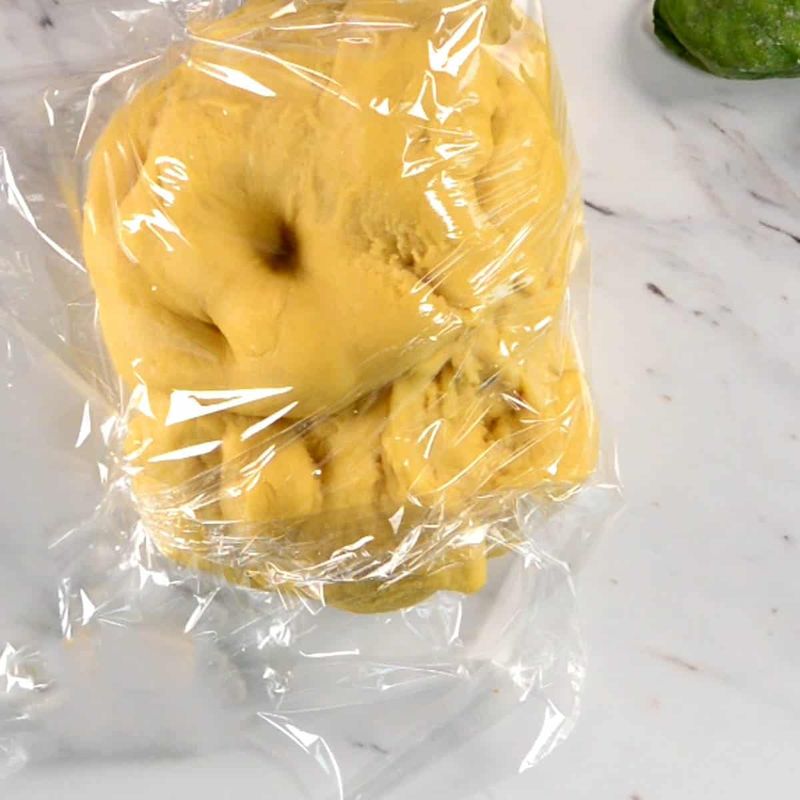
Rushing to roll out fresh pasta dough is like interrupting someone during a good nap – nobody wins. After kneading, wrap your dough tightly in plastic wrap and let it rest for at least 30 minutes at room temperature.
During this resting period, magic happens inside the dough. The gluten strands relax, moisture distributes evenly, and the proteins continue developing. Skip this step and you’ll find yourself wrestling with elastic dough that fights back when you try to roll it.
Use this downtime to prepare your sauce or clean up your work area. The longer you can wait (up to about an hour), the more cooperative your dough will become. Some pasta masters even rest their dough overnight in the refrigerator for exceptional texture.
5. Rolling Pin Wizardry
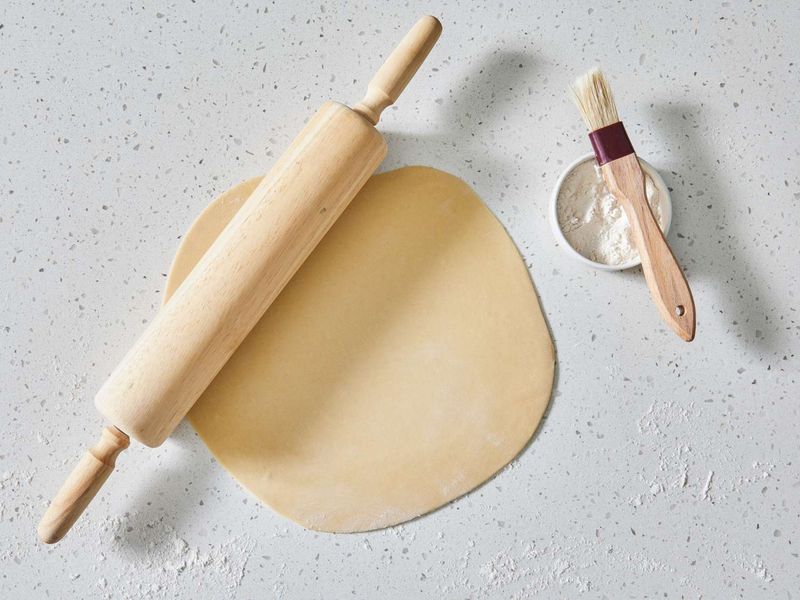
Your rolling pin becomes an extension of your arms when making pasta without a machine. Start with a small piece of dough (about the size of an orange) and flatten it with your palm before beginning to roll. Work from the center outward in all directions, rotating the dough quarter-turns frequently.
Lift and flip the dough occasionally to prevent sticking and ensure even thinness. Hold it up to the light – when you can see your hand’s shadow through the sheet, you’ve reached ideal pasta thinness.
A tapered rolling pin gives you more control over pressure than a straight one. If your dough starts to shrink back while rolling, it needs more rest time. Patience creates pasta so thin you could read a newspaper through it!
6. The Flour Dusting Dance
Mastering the art of flouring your workspace is like learning a delicate dance. Too little flour and your pasta sticks hopelessly to everything; too much and your dough becomes dry and tough.
Semolina flour works beautifully for dusting because its coarser texture prevents absorption into the dough while still preventing sticking. Keep a small bowl of dusting flour nearby and use a light hand – think of gently falling snow rather than a blizzard.
When your pasta sheet starts feeling tacky, lift it completely, dust underneath, and flip it over. This prevents the dreaded situation where perfectly rolled dough refuses to budge from your countertop. Remember that any excess flour can be brushed off before cooking.
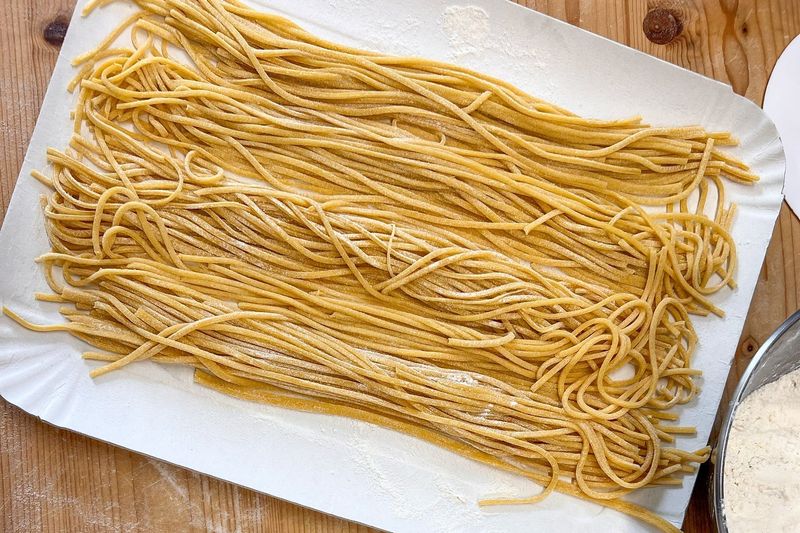
7. Cutting With Precision And Flair
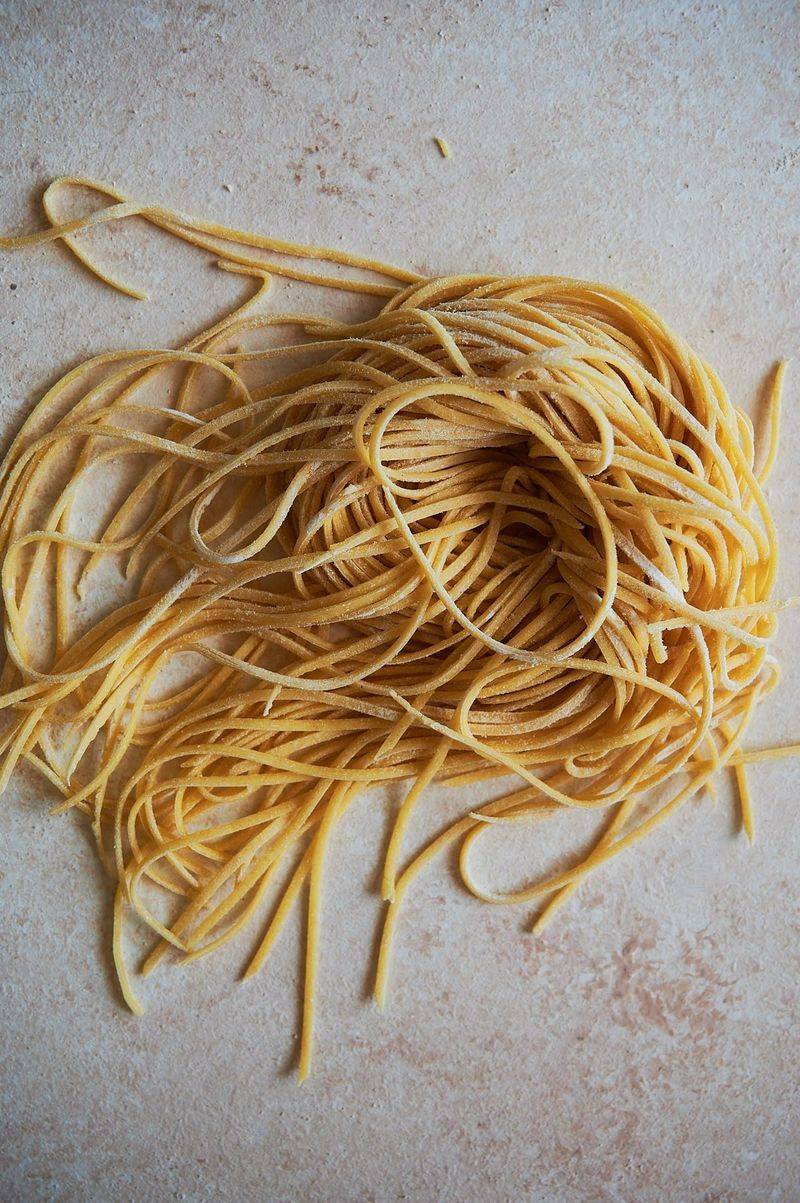
The final transformation from sheet to pasta shape requires confidence and a sharp tool. For ribbon pastas like fettuccine or tagliatelle, dust your sheet lightly, then fold it loosely like a letter or roll it gently into a flat spiral.
Using a sharp chef’s knife or pizza cutter, make clean, decisive cuts of even width. Wobbly, hesitant cutting creates irregular pasta that cooks unevenly. After cutting, immediately unfurl your pasta strands and toss them with a bit more semolina to prevent sticking.
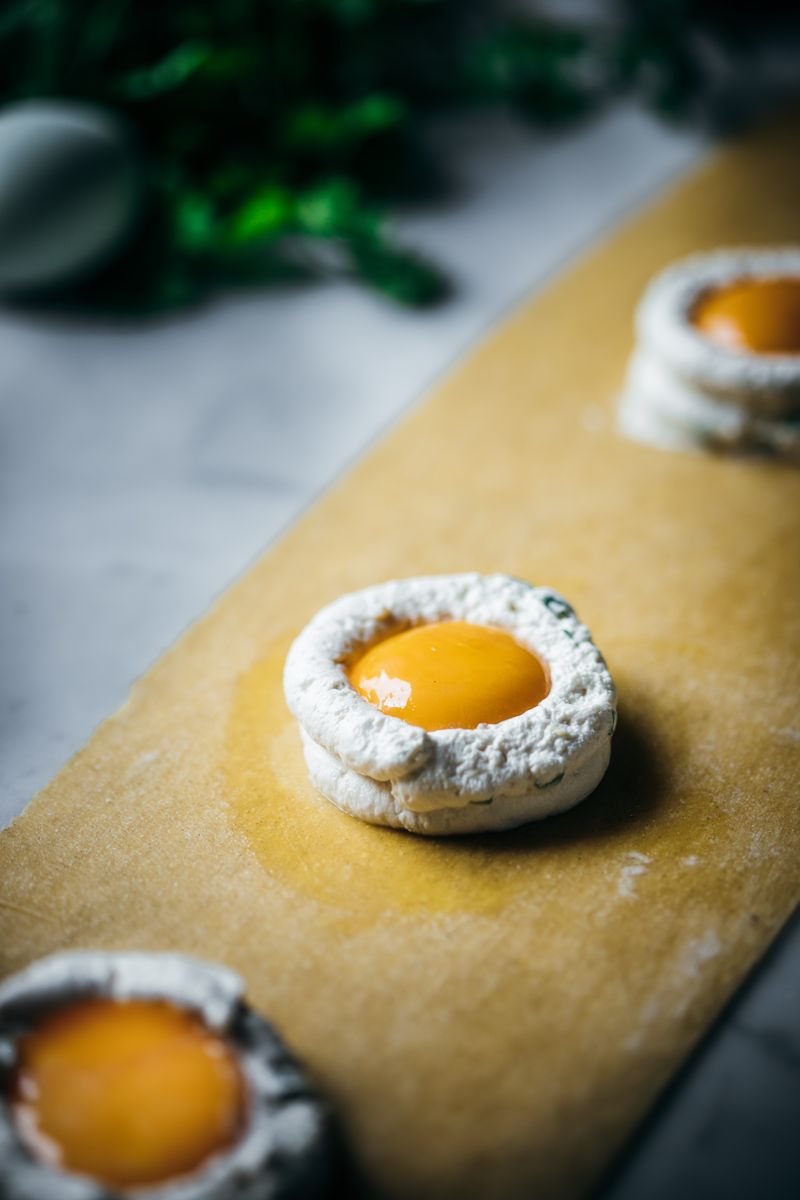
For filled pastas, cut precise shapes with a fluted pasta wheel or cookie cutters. Fresh-cut pasta can be cooked immediately or dried on a floured kitchen towel. The cutting stage is where your pasta gains its identity – embrace it with artistic flair!
Leave a comment