Let’s be honest: we’ve all had those mid-afternoon moments where our stomach is growling, our energy is crashing, and we’re one sip away from crying into our lukewarm coffee. Enter: Oatmeal Date Bars.
These cozy, chewy little squares of joy are here to save your snack time with natural sweetness, wholesome ingredients, and just enough old-fashioned charm to make you feel like someone’s grandma (in the best way).
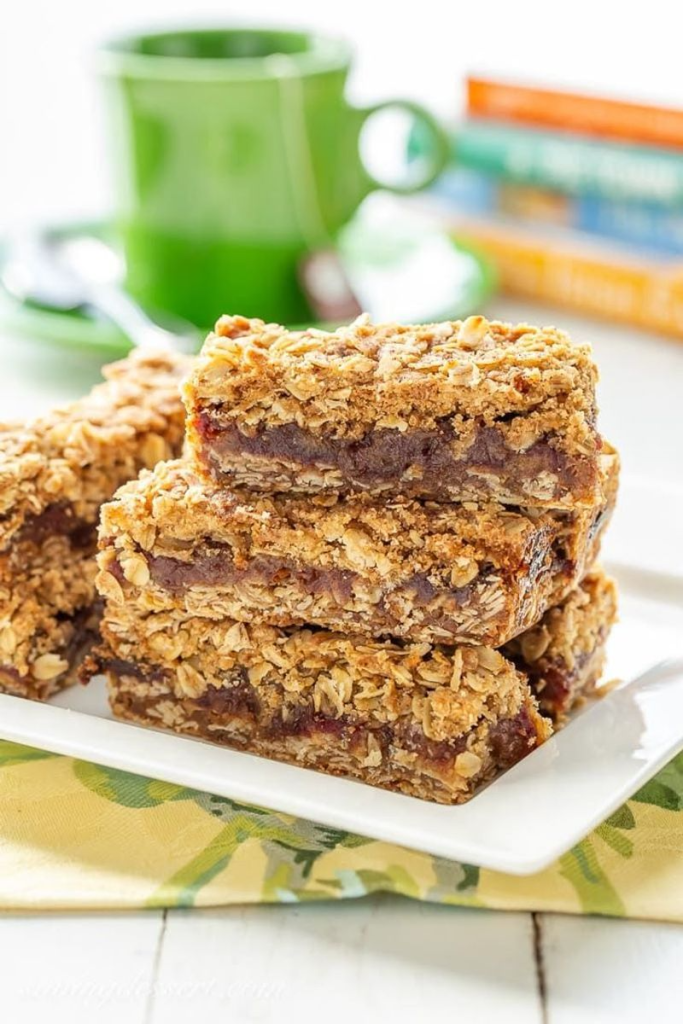
We’re talking soft, sticky date filling tucked between layers of oat crumble—like a hug, but edible. And the best part? You don’t need a mixer, a million ingredients, or any weird health-store stuff you’ve never heard of.
Just some pantry basics, a little stovetop stirring, and an 8×8 pan. That’s it. No drama, no fuss, just good vibes and better snacks.
Why You’ll Love Them
- Naturally sweetened with dates (so you can feel virtuous while eating dessert)
- Fiber-packed oats for that hearty, satisfying chew
- Simple ingredients, no frills, all feels
- Delicious as breakfast, snack, or yes, dessert—because we don’t believe in limiting joy
- Perfect with coffee, tea, or a straight-up cold glass of milk
Whether you’re packing lunches, prepping snacks for the week, or just craving something that tastes homemade (without committing to an entire baking project), these bars are here for you.
Ingredients
For the date filling:
- 1½ cups chopped Medjool dates (pitted, of course)
- ½ cup water
- 1 tablespoon lemon juice
- ¼ teaspoon salt
- Optional: ½ teaspoon vanilla extract (if you’re feeling fancy)
For the oat layers:
- 1½ cups old-fashioned rolled oats
- 1 cup whole wheat flour (or all-purpose if that’s what you’ve got)
- ½ teaspoon baking soda
- ¼ teaspoon salt
- ½ cup coconut oil or unsalted butter, melted
- ⅓ cup maple syrup or honey (your call)
- Optional: ¼ teaspoon cinnamon for that warm, cozy bakery aroma
Instructions
Step 1: Make a date with destiny.
In a small saucepan, combine the chopped dates, water, lemon juice, and salt. Cook over medium heat, stirring occasionally, until the dates soften and the mixture thickens into a chunky, spreadable paste—about 10 minutes.
Don’t rush it—this is where all the flavor magic happens. If you’re using vanilla, stir it in once the mixture is off the heat. Let it cool slightly while you prep the crust.
Step 2: Oat layer magic.
In a large mixing bowl, stir together oats, flour, baking soda, salt, and cinnamon. Pour in the melted butter or coconut oil, followed by the maple syrup (or honey).
Mix until everything’s evenly moistened and crumbly, like the top of a really good fruit crisp.
Step 3: Layer up.
Preheat your oven to 350°F (175°C) and grease or line an 8×8-inch pan with parchment paper (for easy removal later). Press about two-thirds of the oat mixture into the bottom of the pan to form a crust.
Spread the date filling evenly over that, then crumble the remaining oat mixture on top. Gently press it down—just enough to help it stick, not so much that you smother the texture.
Step 4: Bake and wait (the hardest part).
Bake for 25 to 30 minutes, or until the top is lightly golden and your kitchen smells like a warm hug. Let the bars cool completely in the pan before cutting—trust me, this part is non-negotiable.
If you cut them too soon, you’ll end up with a delicious mess (which, honestly, still tastes amazing, but you get it).
Pro Tips & Extras
These bars actually get better after sitting for a few hours. The flavors mellow, the texture settles—chef’s kiss.
- Want more texture? Toss in a handful of chopped walnuts or pecans to the oat mixture.
- Store them in an airtight container at room temp for 3 days, or pop them in the fridge for up to a week. You can even freeze them—just wrap individually and thaw as needed.
- They pair beautifully with a cozy mug of chai, strong black coffee, or even a little oat milk if you’re on-theme.
These oatmeal date bars are like the low-maintenance best friend of the snack world: sweet, dependable, and always there when you need a little pick-me-up.
Whether you’re dodging vending machines at 3 p.m. or looking for a wholesome dessert that doesn’t scream “health food” in a bad way, this recipe checks all the boxes.
Leave a comment