Grilled cheese sandwiches are comfort food at its finest, but there’s a big difference between a basic sandwich and a mouthwatering masterpiece. Whether you’re a college student just starting to cook or someone looking to upgrade your sandwich game, these professional tricks will transform your grilled cheese experience. With just a few simple tweaks to your technique and ingredients, you’ll be creating restaurant-quality sandwiches right in your own kitchen.
1. Mayo Magic

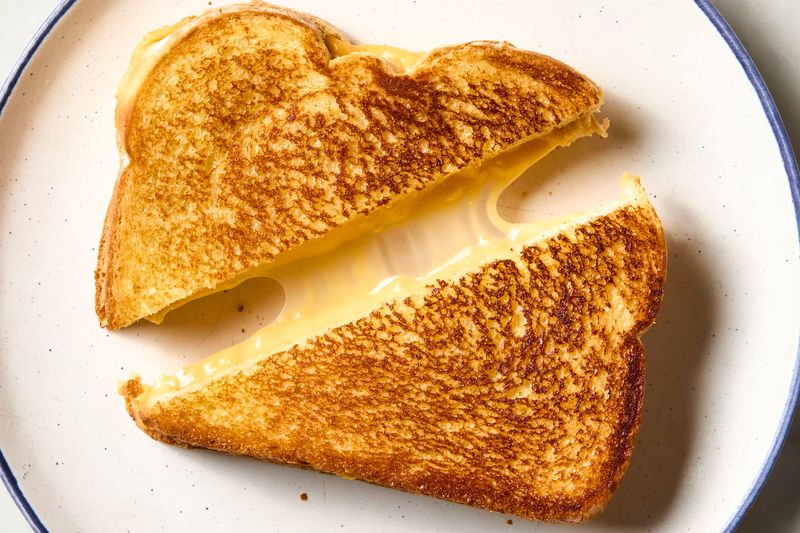
Forget struggling with cold, hard butter that tears your bread. Mayonnaise spreads effortlessly even straight from the refrigerator, creating an evenly golden exterior that crisps up beautifully. The egg and oil in mayo cook into a perfectly crisp crust with a subtle tang that enhances your cheese flavors.
The higher smoke point of mayonnaise also means less chance of burning your sandwich while waiting for the cheese to melt. Many professional chefs swear by this technique for its foolproof results and consistent browning.
Simply spread a thin layer on the outside of your bread slices before placing them in the pan. You’ll never go back to butter once you experience the ultra-crispy, evenly browned exterior mayo creates.
2. Cheese Blend Brilliance
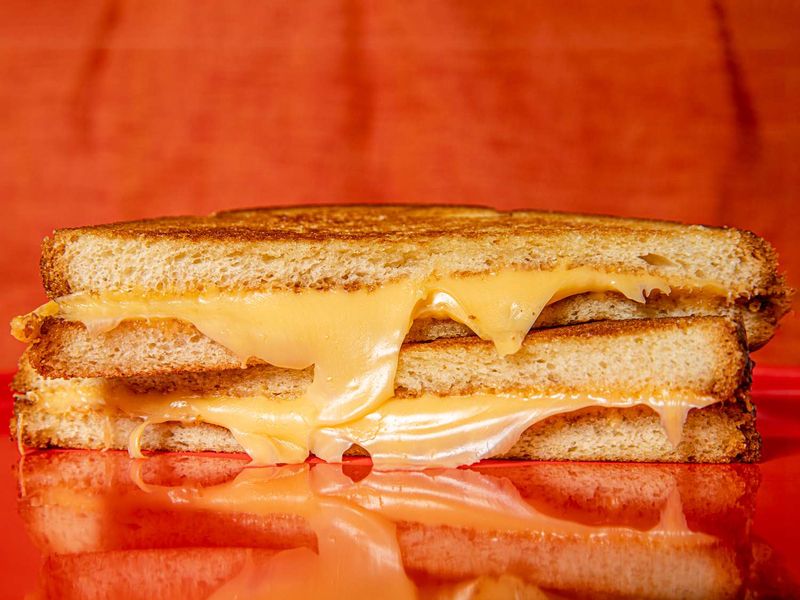
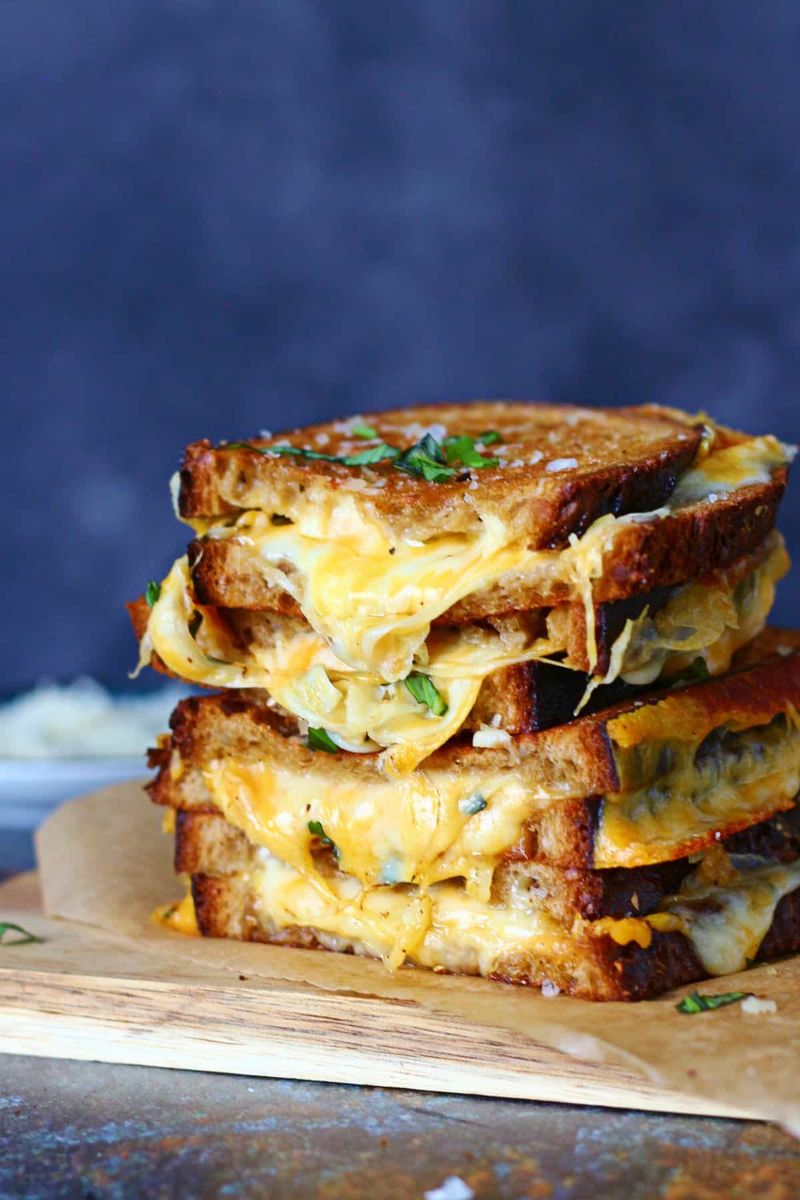
One cheese is good, but three cheeses create magic. Sharp cheddar provides bold flavor, while mozzarella contributes that Instagram-worthy cheese pull everyone loves. Adding a third cheese like gouda or gruyère introduces creamy richness and complexity.
Each cheese serves a specific purpose in the ultimate grilled sandwich. Mozzarella melts beautifully but lacks strong flavor, cheddar offers tang but doesn’t melt as smoothly, and specialty cheeses add unique character.
Experiment with your own combinations based on what you enjoy. Try mixing an aged cheese with a creamy one, or combining mild and sharp varieties. The layering matters too—place your best-melting cheese closest to the bread for optimal adhesion.
3. Patience Pays Off
Rushing is the enemy of great grilled cheese. High heat might seem efficient, but it creates a burned exterior and unmelted center—the worst sandwich disappointment. Medium-low heat allows time for heat to penetrate through the bread to the cheese while gradually developing a golden crust.
Professional chefs know this secret well: temperature control separates amateur sandwiches from masterpieces. Your pan should be just hot enough that a drop of water sizzles gently but doesn’t immediately evaporate.
This method typically takes 3-4 minutes per side, depending on your bread thickness and cheese amount. The extra minutes are worth it when you bite into perfectly melted cheese encased in evenly browned, buttery bread without a hint of burning.
4. Bread Matters

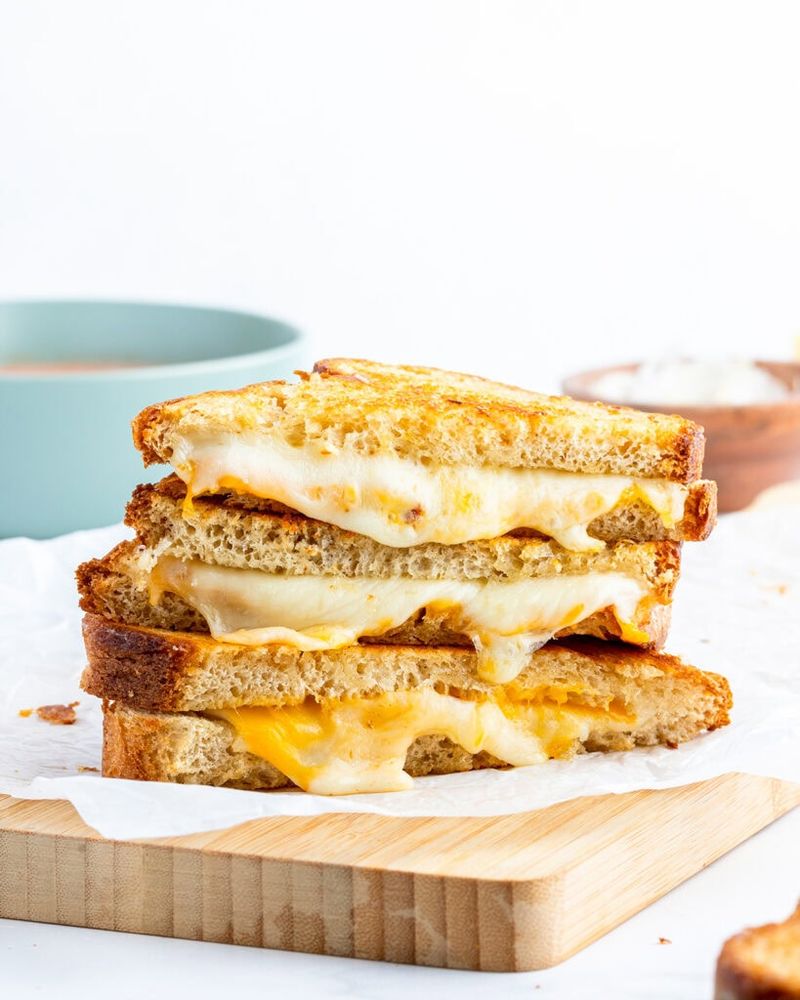
Flimsy white bread might be nostalgic, but it quickly turns soggy under the weight of quality cheeses. Artisanal breads with substance—like sourdough, brioche, or crusty country loaves—stand up to heat and fillings while adding flavor complexity.
The ideal bread slice is between ½-¾ inch thick. Too thin and it falls apart; too thick and your cheese won’t melt before the exterior burns. Look for breads with small, tight crumb structures that won’t allow cheese to seep through.
Sourdough offers tanginess that complements cheese perfectly, while brioche adds buttery richness. Even ordinary sandwich bread improves when left out for 30 minutes before cooking—slightly stale bread actually makes better grilled cheese by absorbing less moisture.
5. Press for Success
A simple cast iron pan makes a perfect sandwich press! After assembling your grilled cheese, place a second heavy pan on top to create even contact with the cooking surface. This restaurant technique ensures consistent browning and helps the cheese melt uniformly.
No second pan? Wrap a brick in aluminum foil or use a kettle filled with water. The gentle, consistent pressure flattens the sandwich just enough without squeezing out the precious cheese.
The weight technique also speeds cooking time by conducting heat through both sides simultaneously. Just be careful not to press too hard initially—apply gentle pressure after the cheese begins melting to prevent squeezing out all your delicious fillings.
6. Flavor-Boosted Spreads
Plain butter works, but infused spreads transform ordinary sandwiches into gourmet experiences. Mix softened butter or mayonnaise with garlic powder, herbs, or spices before spreading on bread. The flavors bloom in the heat, infusing every bite.
Try stirring sriracha into mayo for spicy kick, or fold pesto into butter for Italian flair. Even a pinch of smoked paprika or a few drops of truffle oil can elevate your sandwich to restaurant quality.
Make larger batches of flavored spreads and store in the refrigerator for quick sandwiches anytime. The compound butter technique isn’t just for fancy restaurants—it’s an easy way for home cooks to add professional flavor complexity with minimal effort.
7. Texture Contrast

Melty cheese is divine, but adding contrasting textures takes sandwiches to new heights. Crispy bacon, potato chips, or even apple slices create delightful textural interest against the creamy cheese background.
Layer these crunchy elements between cheese slices rather than directly against the bread. This strategic placement keeps crispy ingredients from getting soggy while ensuring cheese still bonds with bread. Caramelized onions offer both sweetness and slight texture, while thinly sliced jalapeños add heat and fresh crunch.
For beginners, potato chips are foolproof—they’re already perfectly crispy and salted. Simply press a handful between cheese layers just before cooking. The chips soften slightly while maintaining enough structure to create that satisfying textural contrast in every bite.
8. Steam Power
Professional chefs use this simple trick: after your sandwich starts browning, cover the pan with a lid for 30-60 seconds. The trapped steam melts the cheese thoroughly without overcooking the bread. This technique solves the common problem of perfectly browned bread but still-solid cheese.
Use any lid that covers your pan completely. The brief steaming period creates the ideal environment for even cheese melting while maintaining bread crispness. Remove the lid for the final minute of cooking to restore any crispness that might have softened.
This method works especially well with thicker sandwiches or when using cheese varieties that melt slowly. The controlled steam environment ensures every bite contains perfectly melted cheese without pushing cooking temperatures so high that bread burns.
9. Double Toasting
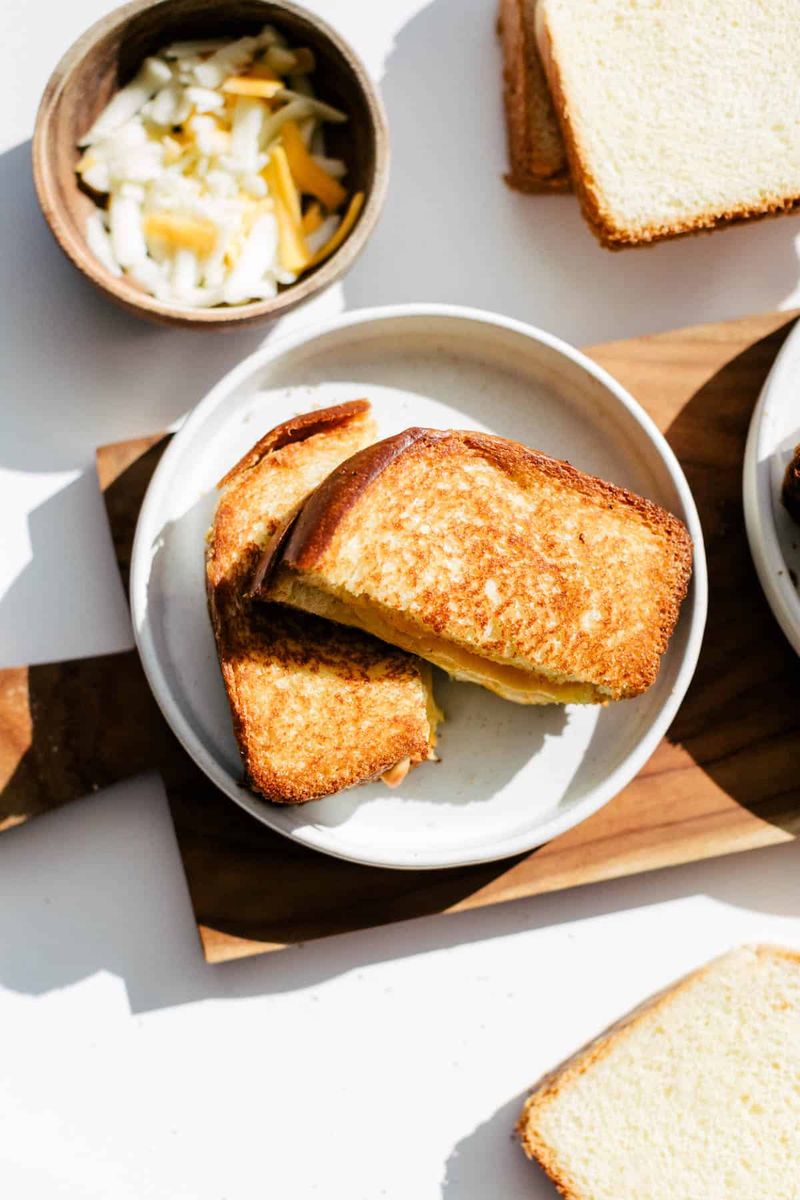
Soggy inner bread layers ruin otherwise perfect sandwiches. Smart cooks lightly toast both sides of each bread slice before adding cheese. This creates a moisture barrier that keeps bread crisp even when loaded with gooey cheese.
To execute this technique, lightly brown both sides of your bread slices in butter or oil. Then remove them, add cheese between the toasted surfaces, and return the assembled sandwich to the pan to finish melting the cheese.
The inside-out approach might take an extra minute, but prevents the disappointment of biting into soggy bread. This method also allows you to use moister cheese varieties like brie or fresh mozzarella without sacrificing structural integrity—the pre-toasted interior surfaces stand up to even the meltiest cheeses.
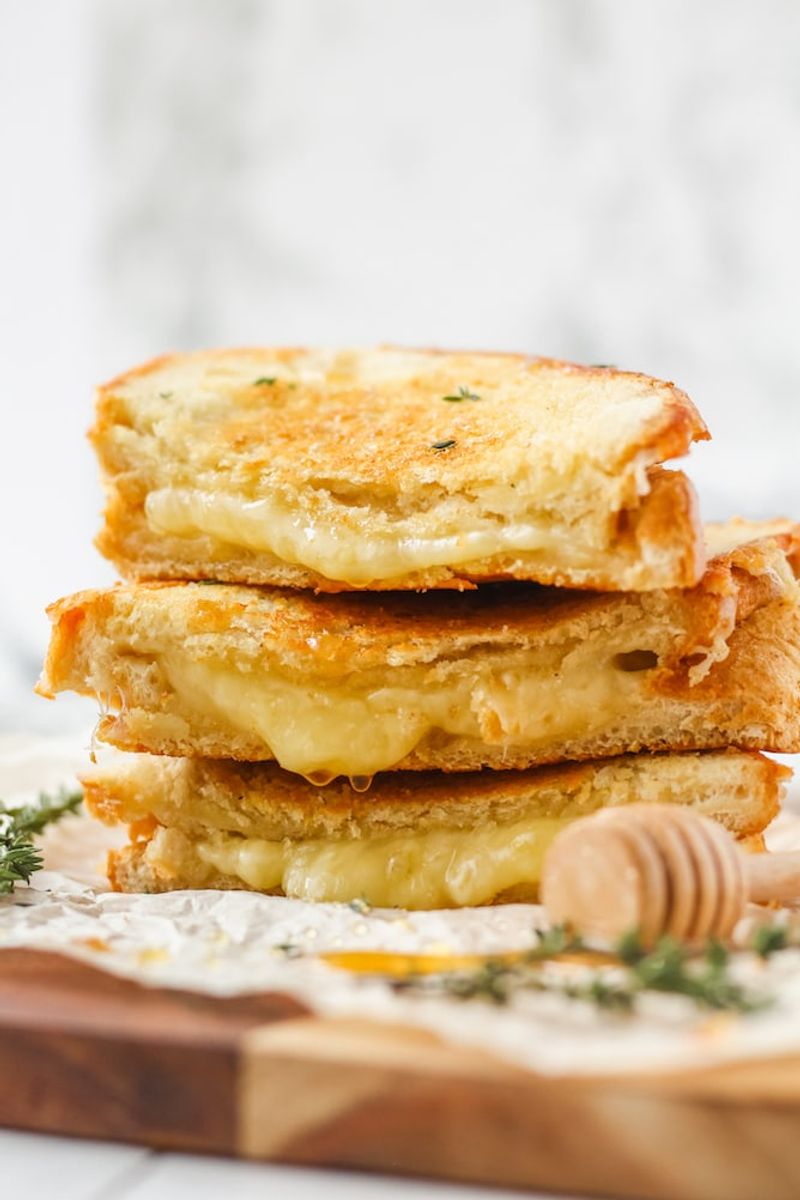
10. Finishing Touches

A perfect grilled cheese deserves perfect accompaniments. Classic tomato soup isn’t the only option—try honey drizzled over your finished sandwich for sweet-savory magic, or sriracha for spicy contrast. These finishing touches transform simple sandwiches into memorable meals.
Pesto, hot honey, or even maple syrup create unexpected flavor combinations that highlight the cheese’s richness. For dipping, consider tomato jam, marinara, or a tangy balsamic glaze that cuts through the richness.
Keep the drizzle light—just a teaspoon of specialty honey or hot sauce is enough to enhance without overwhelming. The best finishing touches complement rather than mask your carefully constructed sandwich. These final flourishes are how restaurant chefs elevate simple dishes into signature specialties.
Leave a comment