Frosting can make or break your baked creations. Whether you’re decorating birthday cupcakes or a wedding cake, the right frosting technique turns ordinary desserts into showstoppers. Many home bakers struggle with lumpy, melting, or overly sweet frosting that ruins their hard work.
These professional secrets will transform your frosting game and have everyone thinking you trained at a fancy pastry school!
1. Room-Temperature Ingredients Matter
The foundation of silky frosting begins before you even start mixing. Cold ingredients create lumps that no amount of beating can fix completely. Set your butter and cream cheese on the counter for about 30 minutes before you plan to make frosting.
The ideal consistency is when you can easily press your finger into the butter, leaving an indent, but the butter still holds its shape. Microwave shortcuts often lead to partially melted butter, which creates a greasy frosting instead of a fluffy one.
Eggs and milk should also be at room temperature for optimal incorporation. This simple step makes the difference between professional-looking frosting and amateur results.
2. Sift Your Sugar For Silky Results
Even the freshest powdered sugar contains sneaky lumps that ruin smooth frosting. Running your sugar through a sieve takes just minutes but eliminates those pesky bumps that show up when piping delicate designs.
For quick results, use a fine-mesh strainer held over your mixing bowl, adding sugar in batches and gently tapping the side. No sifter? Try whirling your powdered sugar in a food processor for 30 seconds before using.
This step becomes especially crucial for special occasions when presentation matters. The extra effort pays off with frosting that spreads like silk and pipes without clogging your decorating tips.
3. Unsalted Butter Gives You Control
Professional bakers rarely use salted butter for frosting because salt content varies dramatically between brands. Starting with unsalted butter provides a blank canvas for precise flavor development.
Adding your own measured pinch of salt enhances sweetness while balancing flavors. Fine sea salt dissolves more readily than table salt, creating a cleaner taste profile without grittiness.
This control becomes particularly important when making delicate frostings like Swiss meringue buttercream or when pairing frosting with already-seasoned cake flavors like salted caramel. Your taste buds will notice the difference even if guests can’t quite identify why your frosting tastes more refined.
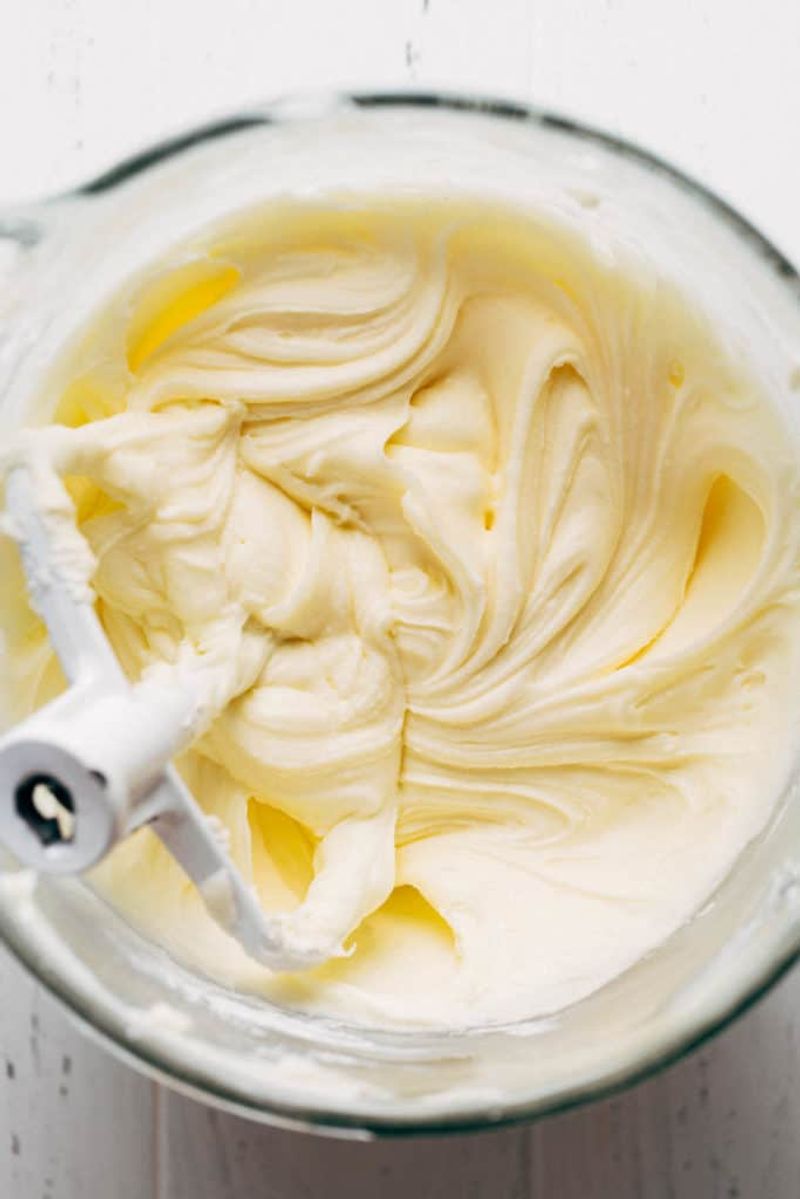
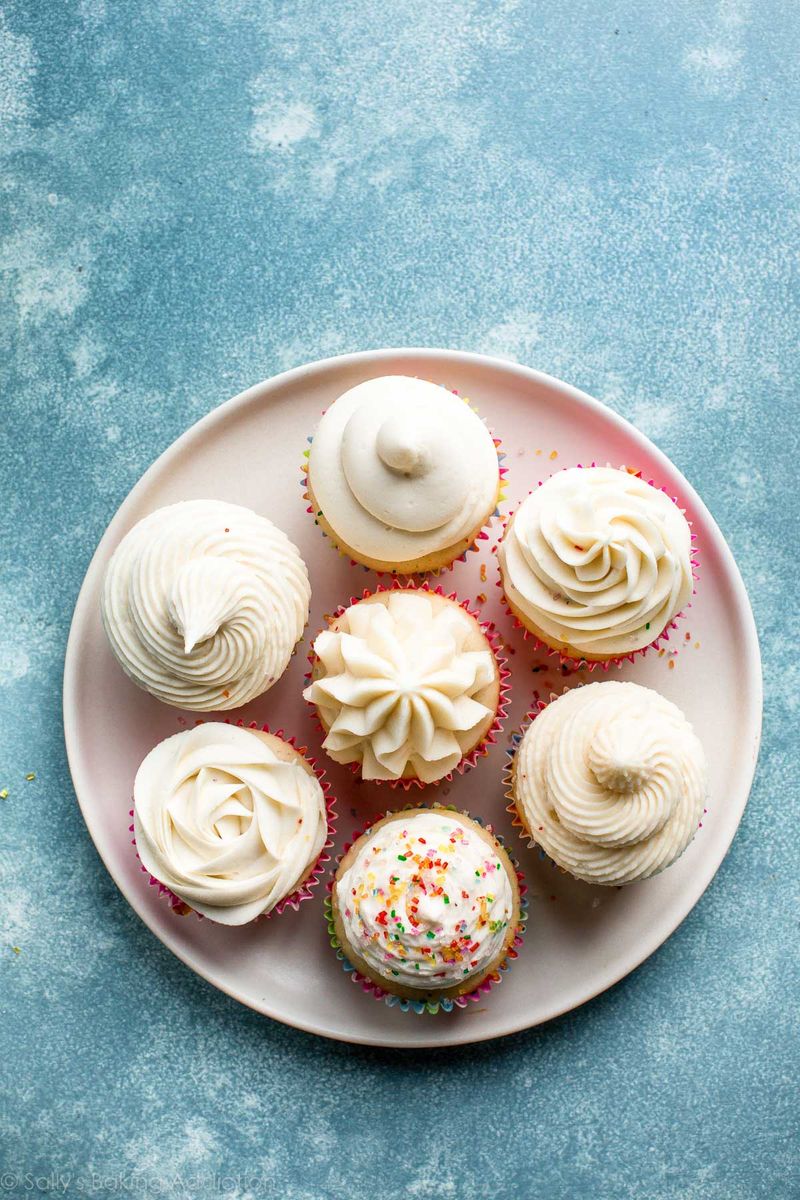
4. Master The Art Of Whipping
Proper aeration transforms dense, heavy frosting into cloudlike perfection. Start mixing on low speed until ingredients combine, then gradually increase to medium-high for 3-5 minutes. The color will lighten noticeably as air incorporates.
Watch for the frosting to change from yellow to almost white for vanilla buttercream. This visual cue signals you’ve reached optimal fluffiness. Scrape down the bowl’s sides and bottom several times during mixing to ensure everything whips evenly.
Be careful not to overwhip, which causes buttercream to separate or become too soft to hold shape. The perfect consistency clings to a spoon without sliding off but isn’t so stiff it tears your cake when spreading.
5. Splurge On Quality Vanilla
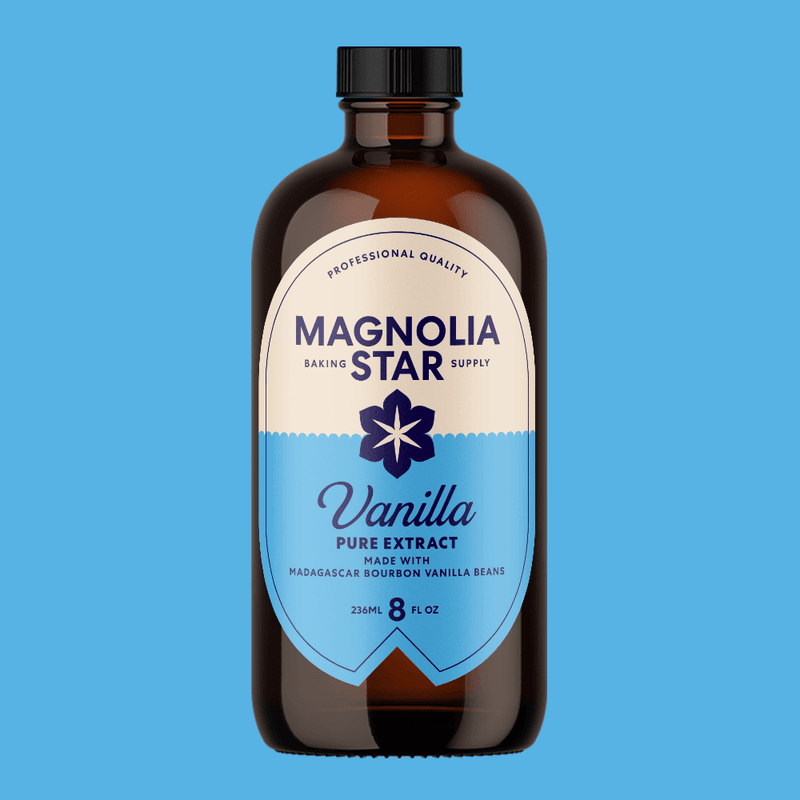
The difference between grocery store imitation vanilla and real vanilla extract transforms ordinary frosting into something memorable. Pure vanilla contains hundreds of flavor compounds that artificial versions simply can’t replicate.
Madagascar bourbon vanilla offers classic, rich flavor, while Tahitian vanilla brings floral notes perfect for lighter frostings. For special occasions, try vanilla bean paste which contains those gorgeous specks that signal quality to anyone who sees your creations.
Store premium vanilla in a cool, dark place but never refrigerate it. While good vanilla costs more upfront, you’ll use less because the flavor is more concentrated, making it worthwhile for bakers who want truly impressive results.
6. The Magic Of Heavy Cream

Heavy cream transforms grainy, overly sweet frosting into a silky dream. Unlike milk, cream’s higher fat content adds richness without thinning your frosting too much. Start with just one tablespoon, whipping thoroughly before adding more.
The cream helps dissolve sugar crystals that cause grittiness while creating a more spreadable texture. For chocolate frosting, warm the cream slightly before adding to help melt chocolate chips or cocoa powder for smoother integration.
When working with cream cheese frosting, add cream at the very end and mix just until incorporated. Overmixing with cream can make cream cheese frosting too loose to hold its shape when piped onto cupcakes or between cake layers.
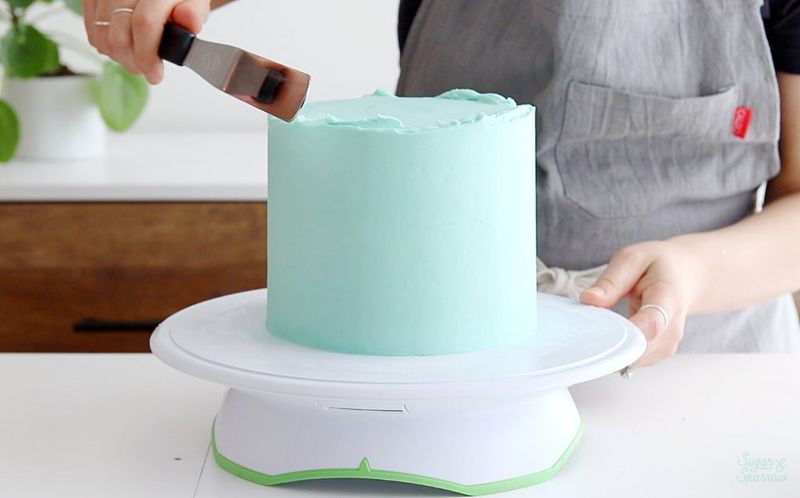
7. Temperature Control For Perfect Piping
Frosting has a sweet spot temperature that makes decorating effortless. Too warm and it slides off your cake; too cold and it tears your cake’s surface. Professional bakers monitor kitchen temperature as carefully as their ingredients.
On hot days, place your mixing bowl in an ice bath for 5-minute intervals, beating between chills until you reach the right consistency. For buttercream that’s too firm, warm the bowl gently with your hands or over a pan of warm water, stirring constantly.
The ideal frosting should hold soft peaks that don’t droop but still spread smoothly. Keep extra frosting covered with plastic wrap directly touching its surface to prevent crusting while you work.
8. Sweetness Balancing Act
Overly sweet frosting overwhelms the cake beneath it. Professional bakers know that balancing sweetness creates more sophisticated flavor profiles that keep people coming back for another bite.
A tiny pinch of salt cuts through sweetness without making frosting taste salty. For cream cheese frosting, an extra ounce of cream cheese reduces sweetness while adding tanginess. Citrus zest or a few drops of lemon juice brighten flavor without altering consistency.
Taste your frosting before applying it to your cake. If it tastes perfect on the spoon, it might seem too sweet on cake. Aim for slightly less sweet than you think necessary since frosting flavor intensifies when paired with cake.
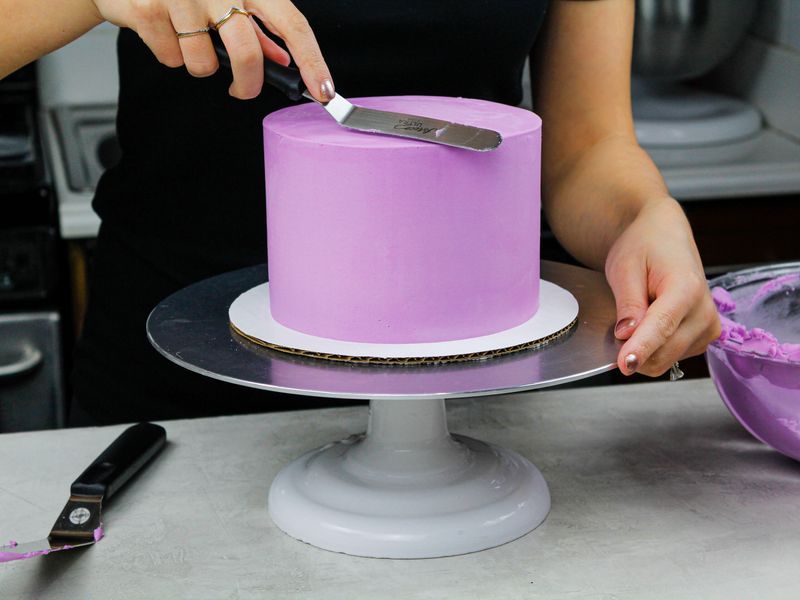
9. Paddle Attachment: The Baker’s Secret Weapon
The type of mixer attachment dramatically affects your frosting’s texture. While wire whips incorporate more air, they also create unwanted air bubbles that ruin smooth finishes on cakes.
Professional bakers switch to the paddle attachment after initial mixing. The final few minutes on low speed with a paddle pushes out air bubbles, creating that flawlessly smooth surface seen on bakery cakes.
If tiny air bubbles still appear, press the frosting gently against the bowl’s sides with a rubber spatula. For the absolute smoothest finish, warm your metal spatula in hot water, dry it quickly, then glide it over your frosted cake to melt away any remaining imperfections.
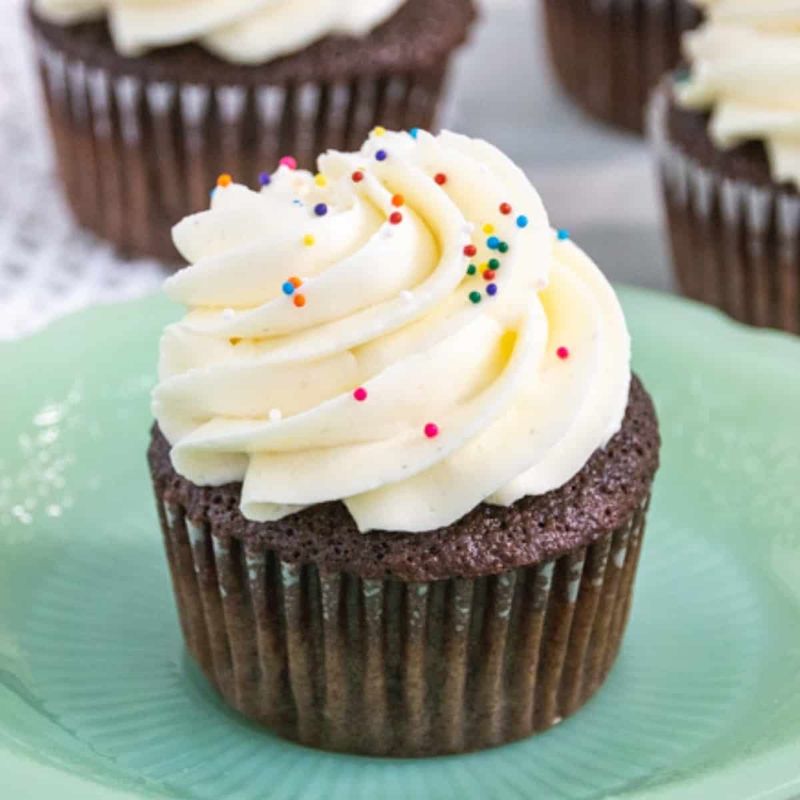
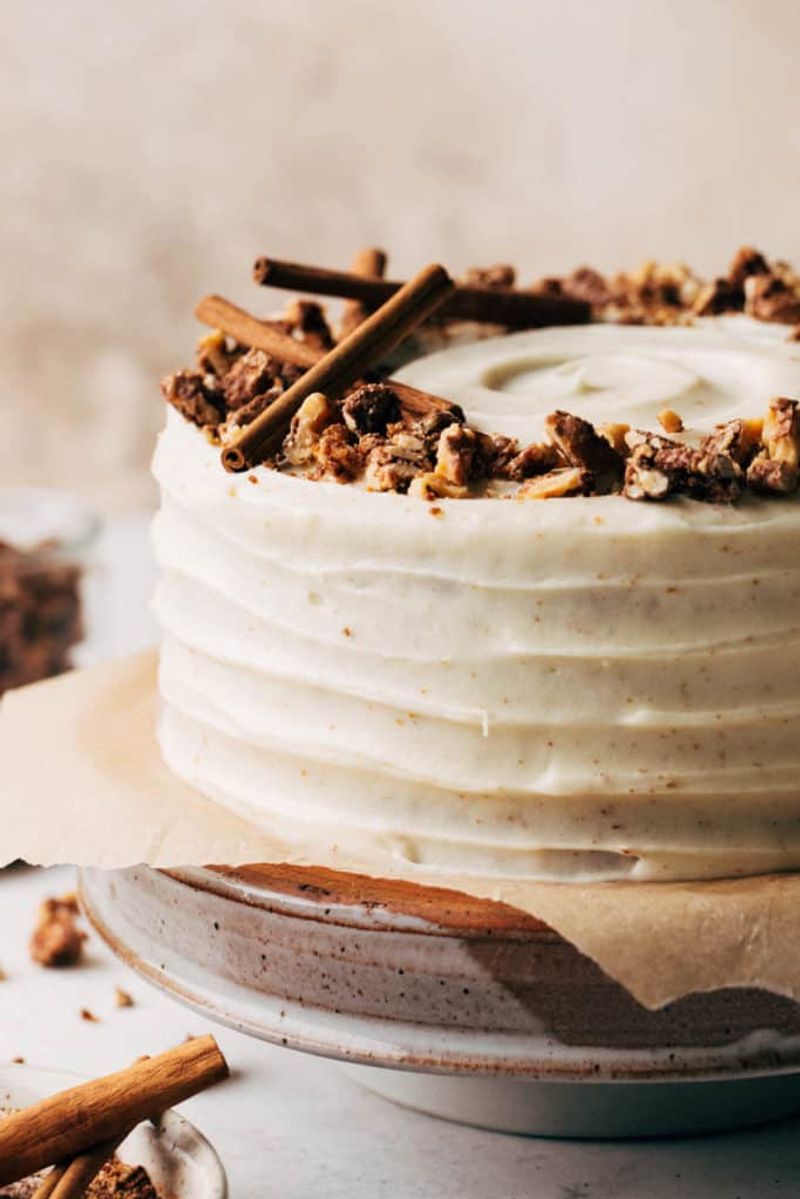
10. Match Your Frosting To Your Dessert

Not all frostings work for every dessert. American buttercream holds up well at room temperature for cupcakes but can feel too sweet and heavy on delicate cakes. Swiss meringue buttercream offers silkier texture for layer cakes but requires refrigeration.
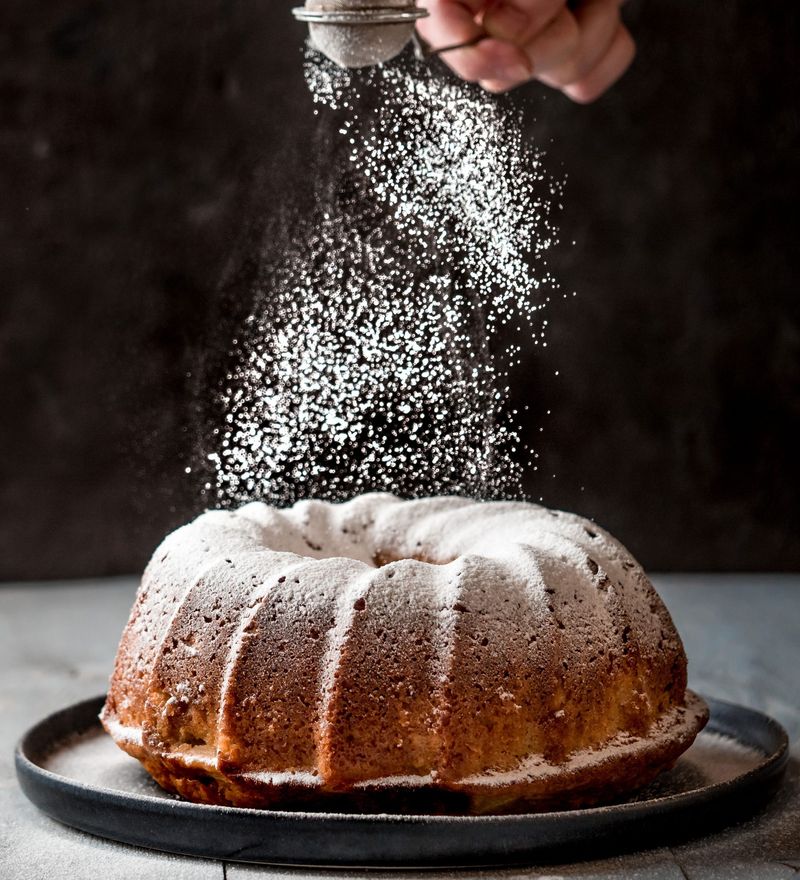
Cream cheese frosting complements carrot cake and red velvet but softens quickly in warm weather. Ganache creates a stunning drip effect on bundt cakes but would overwhelm delicate cupcakes.
Consider your dessert’s flavor profile and serving conditions. A summer outdoor party calls for stabilized whipped cream or shortening-based frosting that won’t melt. Winter celebrations allow for more delicate options like French buttercream that showcase subtle flavors.
11. Color Like An Artist
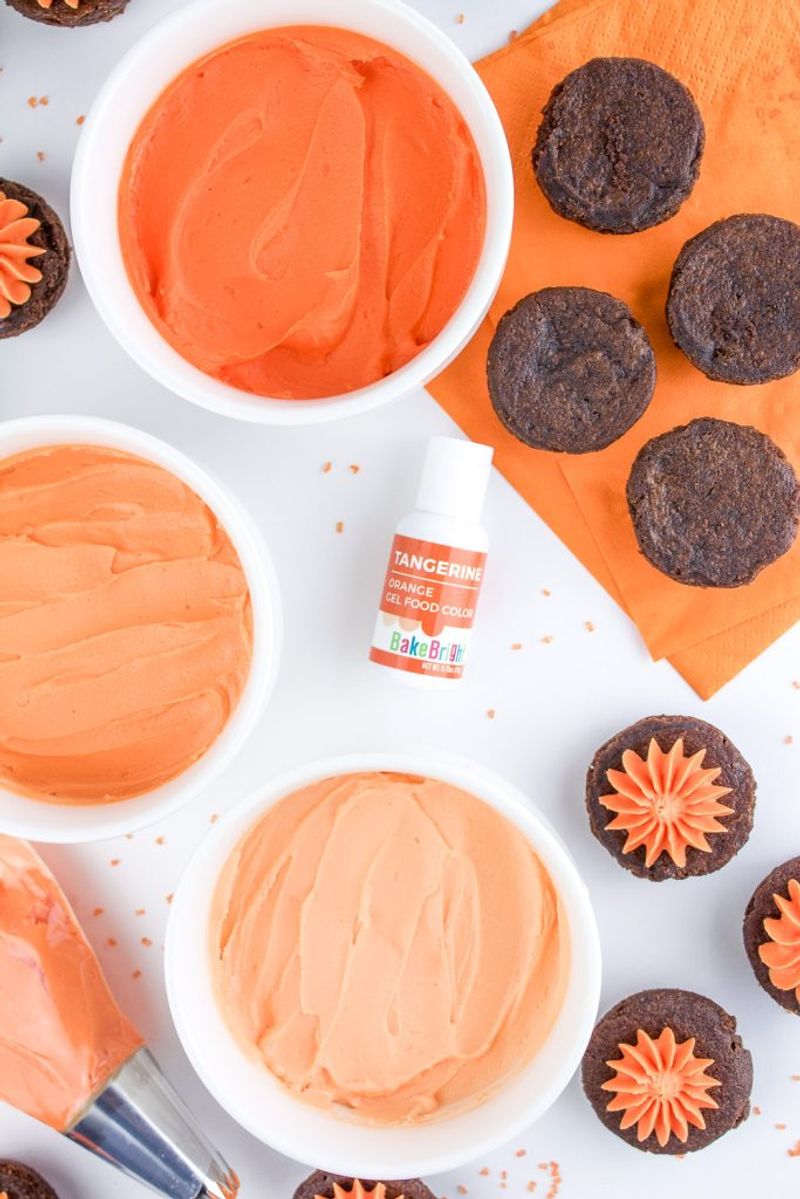
Food coloring can make or break your frosting’s texture and appearance. Liquid food coloring from grocery stores adds unwanted moisture that thins frosting and creates dull colors. Professional bakers use concentrated gel colors that deliver vibrant hues without altering consistency.
Start with a toothpick dipped in gel color, adding gradually until you reach the desired shade. Remember that colors deepen slightly as frosting sets. For delicate pastels, dip the toothpick in color once, then in frosting several times to distribute minimal color.
When creating multiple colors, start with the lightest shade and progress to darker ones. This prevents having to clean your tools completely between colors and minimizes food coloring waste.
12. The Essential Chilling Step
Rushing through cake assembly leads to sliding layers and frosting frustration. Professional bakers build in chilling time between each layer, allowing frosting to set firm enough to support the next layer’s weight.
After applying frosting between layers, refrigerate for 15-20 minutes before continuing. This prevents the dreaded bulging sides that occur when inner layers compress under weight. The refrigerator is your time-saving friend, not your enemy.
For the smoothest final coat, chill your crumb-coated cake for at least 30 minutes until the frosting feels firm to the touch. This creates a solid foundation that makes the final frosting layer glide on effortlessly and helps your cake maintain its shape even when served at room temperature.
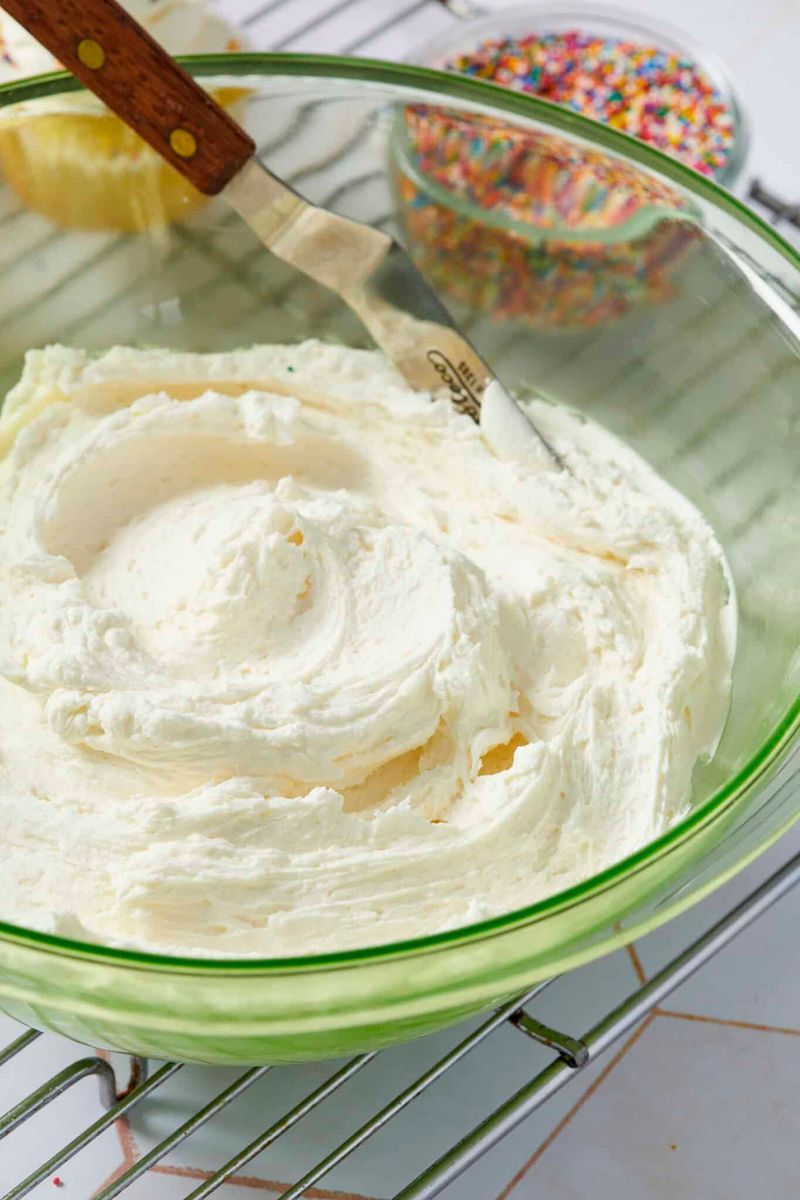
13. Clean Tools Make Clean Designs
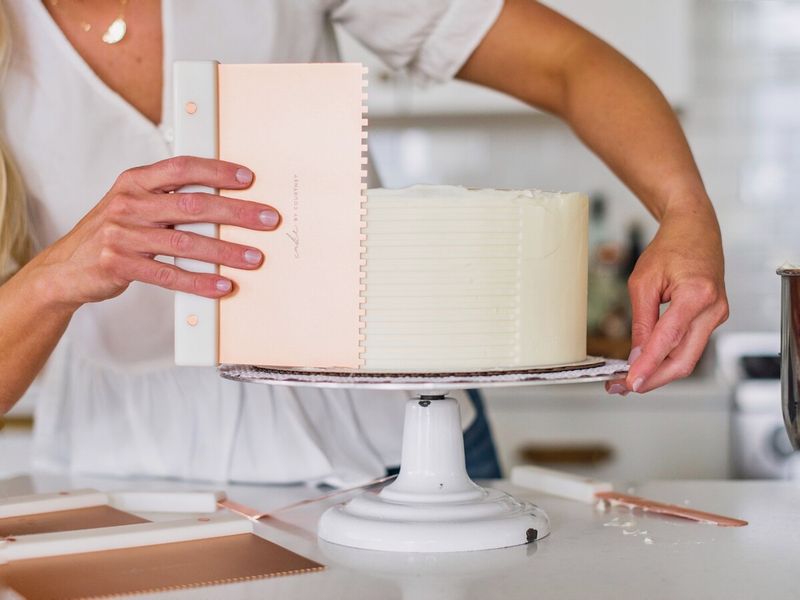
Messy frosting tools create messy results. Professional bakers keep a glass of warm water and clean kitchen towel beside them while decorating. After every few strokes with your spatula or knife, wipe it clean for crisp, controlled lines.
For piping bags, avoid filling them more than halfway. Overfilled bags squish out the top, creating a sticky mess that transfers to your hands and then onto your perfectly clean cake sides.
When switching between colors or tips, having multiple prepared bags ready saves time and prevents frustration. Small binder clips can seal the tops of waiting piping bags, keeping frosting from drying out while maintaining a clean workstation.
14. Crumb Coat: The Foundation Layer
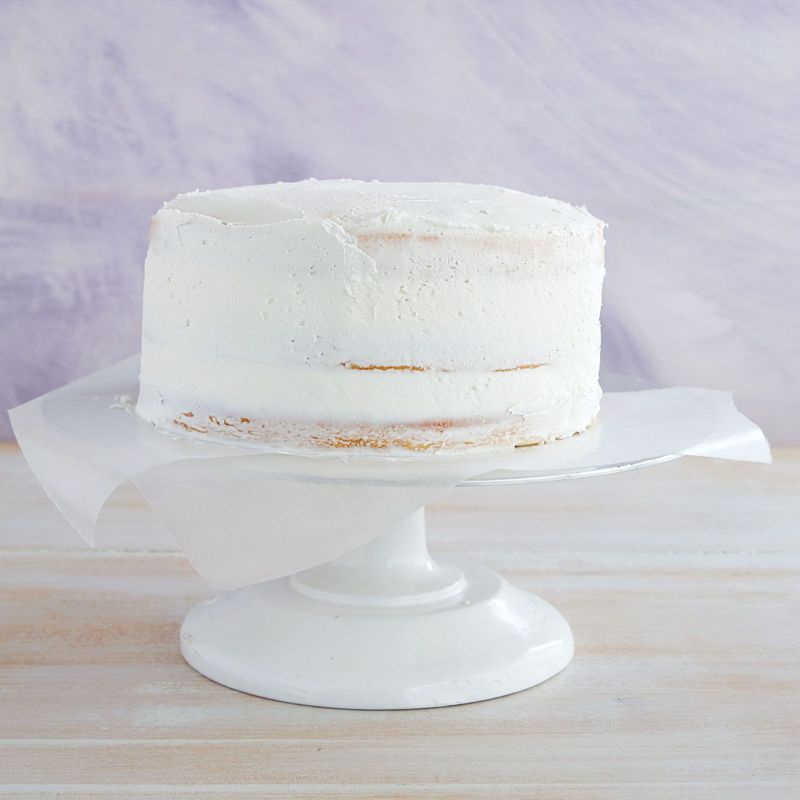
The crumb coat is your insurance policy against cake crumbs showing through your finished frosting. This thin initial layer seals in loose crumbs and creates a smooth base for your final coat.
Apply just enough frosting to barely cover the cake, focusing on creating an even surface rather than hiding the cake completely. Use long, smooth strokes with a bench scraper or offset spatula, removing excess frosting as you go.
After applying the crumb coat, refrigerate your cake for at least 20 minutes until the frosting feels firm and dry to the touch. This patience pays dividends when your final layer glides on without a single crumb in sight, giving you that professional finish that wows everyone.
15. Taste, Adjust, Perfect
The final secret that separates amateur from professional frosting is constant tasting and adjusting. Your frosting might need a flavor boost that only comes from careful attention to balance and nuance.
If your chocolate frosting tastes flat, a tiny pinch of espresso powder intensifies the chocolate flavor without adding coffee taste. Vanilla frosting might benefit from orange or lemon zest for brightness. Cream cheese frosting often needs a touch more vanilla than recipes suggest.
Always taste after each adjustment, giving flavors a moment to develop on your palate. Remember that frosting will taste slightly different once paired with cake, so aim for a slightly more pronounced flavor when tasting it alone.
Leave a comment