Cheese may be the ultimate comfort food ingredient, but it’s also surprisingly easy to mess up. Even confident home cooks unknowingly make small mistakes that can lead to clumpy sauces, rubbery melts, or bland bites. The truth is, how you store, shred, and cook cheese matters more than you think. Luckily, a few simple tweaks can make a big difference in flavor and texture. Whether you’re building a gooey grilled cheese or topping off a pasta bake, steering clear of these slip-ups will take your cooking to the next level. Here are 9 common cheese mistakes—and how to fix them.
1. Settling for Pre-Grated Parmesan
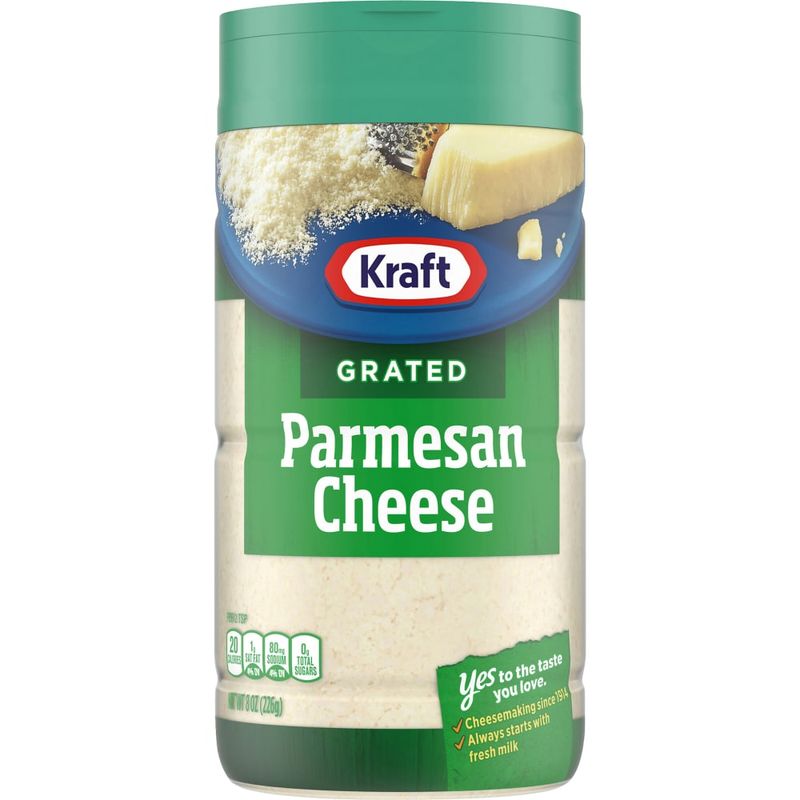
That convenient container of pre-grated Parmesan seems like a time-saver, but it’s actually robbing your dishes of authentic flavor. Those shelf-stable varieties contain anti-caking agents and preservatives that create a powdery texture and dull taste.
Fresh Parmesan has a complex, nutty profile that can’t be matched by its processed counterpart. The difference becomes especially noticeable in dishes where Parmesan is the star, like cacio e pepe or Caesar salad.
Take the extra minute to grate Parmigiano-Reggiano yourself. Your taste buds will thank you, and you’ll actually save money since a wedge lasts longer than you might think when properly stored.
2. Grabbing Pre-Shredded Cheese for Melting
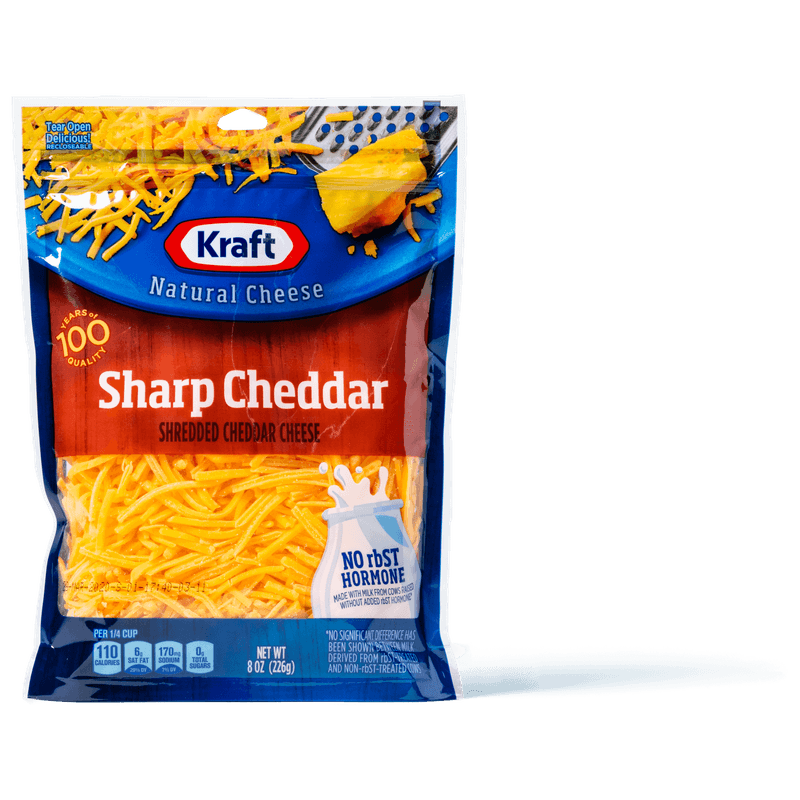
Grocery store cheese aisles tempt us with bags of pre-shredded varieties promising convenience. What they don’t advertise is the coating of anti-caking agents like cellulose, potato starch, and natamycin that prevent proper melting.
These additives create a barrier between cheese shreds, resulting in clumpy, oily melts instead of that dreamy, smooth texture you’re after. Your homemade mac and cheese deserves better!
Invest in a quality box grater or food processor attachment. The few extra minutes spent shredding your own cheese yields dramatically improved melting, flavor release, and texture in everything from quesadillas to casseroles.
3. Grating Cheese When It’s Too Warm
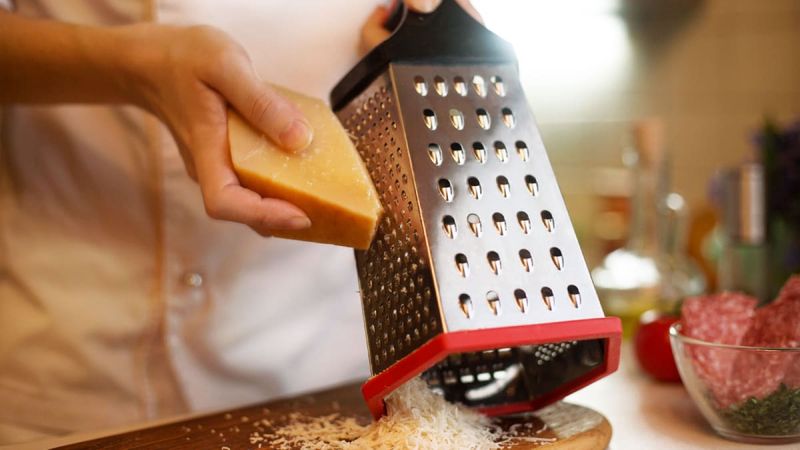
Struggling with cheese that gums up your grater and creates a sticky mess? Room temperature cheese might be convenient for serving, but it’s a disaster for grating. Soft, warm cheese smears across grater holes instead of forming neat shreds.
Cold cheese maintains its structure during grating, resulting in fluffy, distinct pieces that melt beautifully. The firmer texture also protects your knuckles from accidental scrapes as you work.
Pop your cheese in the freezer for 15 minutes before grating. This quick-chill method firms up the cheese just enough for clean shredding without fully freezing it, making the process faster and less frustrating.
4. Wrapping Cheese in Plastic
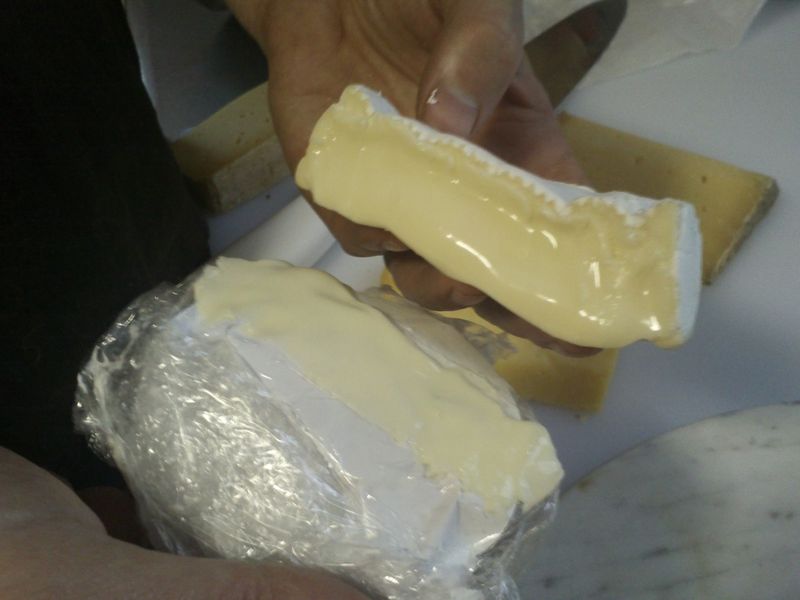
Your beautiful cheese deserves better than suffocating in plastic wrap! This common storage method traps moisture against the cheese’s surface, creating the perfect breeding ground for unwanted mold and off-flavors.
Cheese needs to breathe while staying protected. It’s alive with active cultures that continue to mature over time, requiring a delicate balance of air circulation and humidity control.
Wrap cheese in specialized cheese paper, parchment, or wax paper first, then loosely in plastic if needed for extra protection. Store in your refrigerator’s vegetable drawer where temperature remains most consistent, and your cheese will reward you with better flavor and significantly extended shelf life.
5. Rushing Your Grilled Cheese
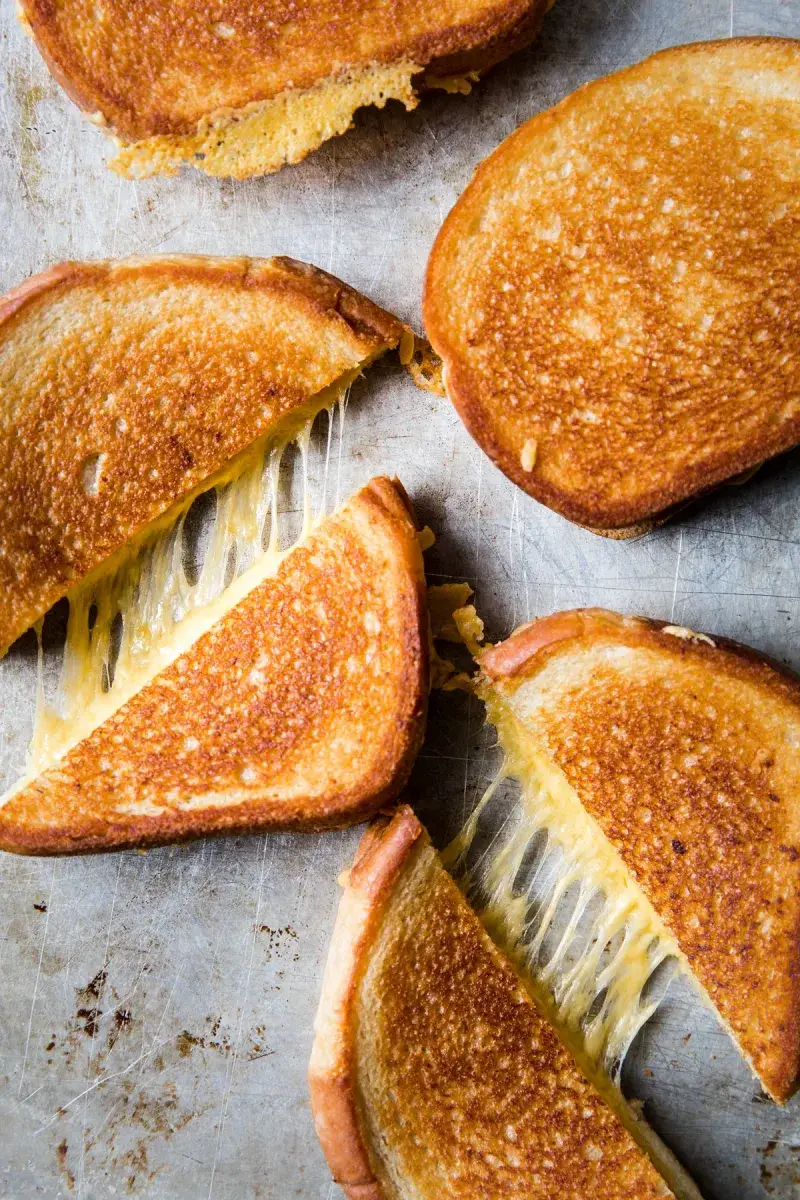
High heat might seem like the fast track to lunch, but it’s actually the enemy of perfect grilled cheese. Cranking up the temperature burns the bread while leaving the cheese center cold and unmelted – a disappointing sandwich tragedy.
Patience is the secret ingredient here. Low to medium heat allows time for heat to transfer through the bread and melt the cheese completely while gradually developing that golden-brown exterior we all crave.
Try adding a cover to your pan for a minute to trap heat and help the cheese melt thoroughly. Another pro tip: spread mayonnaise instead of butter on the outside of your bread for an evenly crisp, perfectly golden crust that never burns.
6. Choosing the Wrong Cheese for Burgers
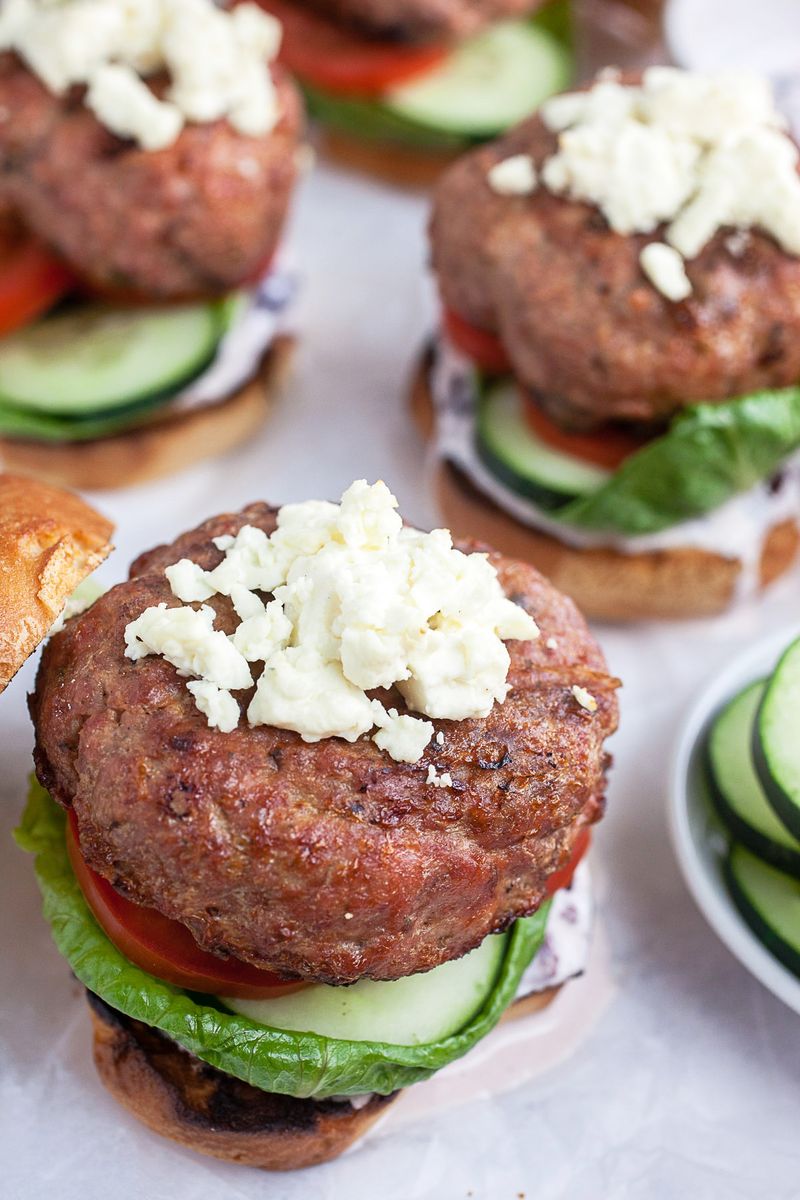
Ever bitten into a burger topped with fancy cheese that refused to melt? Not all cheeses are created equal when it comes to heat resistance. High-moisture varieties with elastic proteins like mozzarella and American melt beautifully, while aged cheeses often separate into oils and solids.
Moisture content and acidity levels determine meltability. Young, soft cheeses generally perform better under heat than their aged counterparts.
For burger perfection, stick with reliable melters like medium cheddar, Swiss, Monterey Jack, or good old American. If you’re set on using a fancy aged cheese, try combining it with a meltier variety or shredding it finely to help it along. Your burger deserves that perfect cheese pull!
7. Using Fresh Mozzarella When You Need Low-Moisture
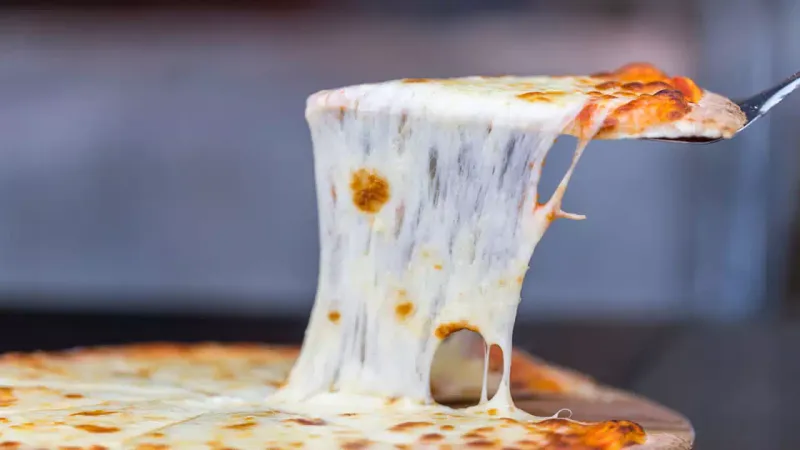
That gorgeous ball of fresh mozzarella floating in water makes a divine caprese salad, but it’s all wrong for your pizza. Fresh mozzarella contains too much moisture, releasing water as it heats and leaving you with a soggy, puddle-topped pizza.
Fresh and low-moisture mozzarella serve completely different purposes. The fresh variety shines in cold preparations or as a finishing touch, while its drier cousin was specifically developed for melting applications.
For pizza, lasagna, or any baked dish requiring melted cheese, reach for blocks of low-moisture mozzarella. If you must use fresh, drain it thoroughly on paper towels for at least 15 minutes and slice it thinly to help moisture evaporate during cooking.
8. Pairing Strong Cheese with Delicate Seafood
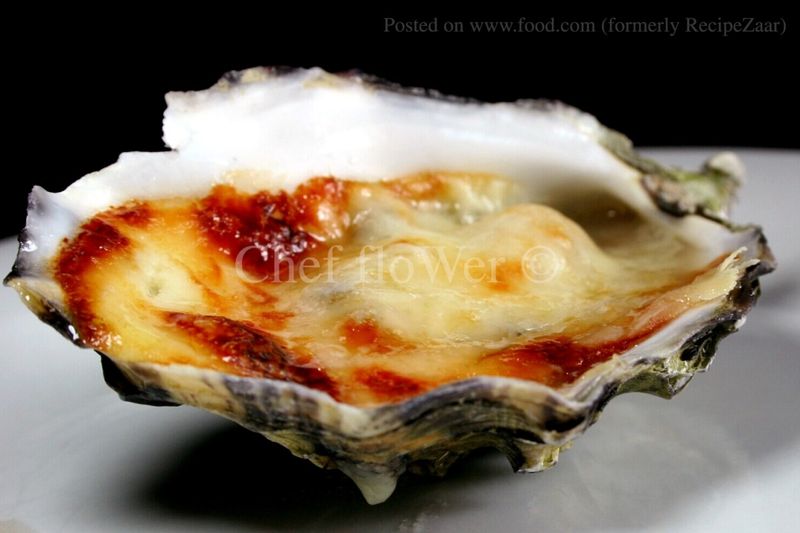
The old Italian cooking rule about never mixing cheese with seafood exists for good reason. Bold, aged cheeses can completely overwhelm the subtle flavors of many seafood varieties, creating a flavor clash rather than harmony.
This doesn’t mean the combination is always forbidden. The key is balance and thoughtful pairing. Delicate white fish might disappear under a blanket of sharp cheddar, but crab and mild cream cheese have been friends forever.
When experimenting with seafood and cheese pairings, choose milder varieties like fresh mozzarella, ricotta, or mascarpone. Apply with a light hand, and consider the overall flavor profile of your dish. Some successful combinations include Greek feta with shrimp, mild goat cheese with scallops, or Parmesan in seafood risotto.
9. Overheating Your Fondue

The dream of silky-smooth cheese fondue can quickly turn into a separated, grainy nightmare when subjected to excessive heat. Cheese proteins tighten and squeeze out fats when overheated, resulting in an oily, clumpy mess instead of that velvety texture you’re after.
Gentle, gradual heating is crucial for emulsification. Adding a stabilizing agent like cornstarch or flour helps maintain that perfect consistency by preventing protein bonds from getting too tight.
Prepare fondue in a heavy-bottomed pot over medium-low heat, stirring constantly in a figure-eight motion. Once melted, transfer to a fondue pot with a gentle heat source. Keep the temperature low enough that it’s barely bubbling at the edges, and remind guests to stir occasionally while enjoying.
Leave a comment