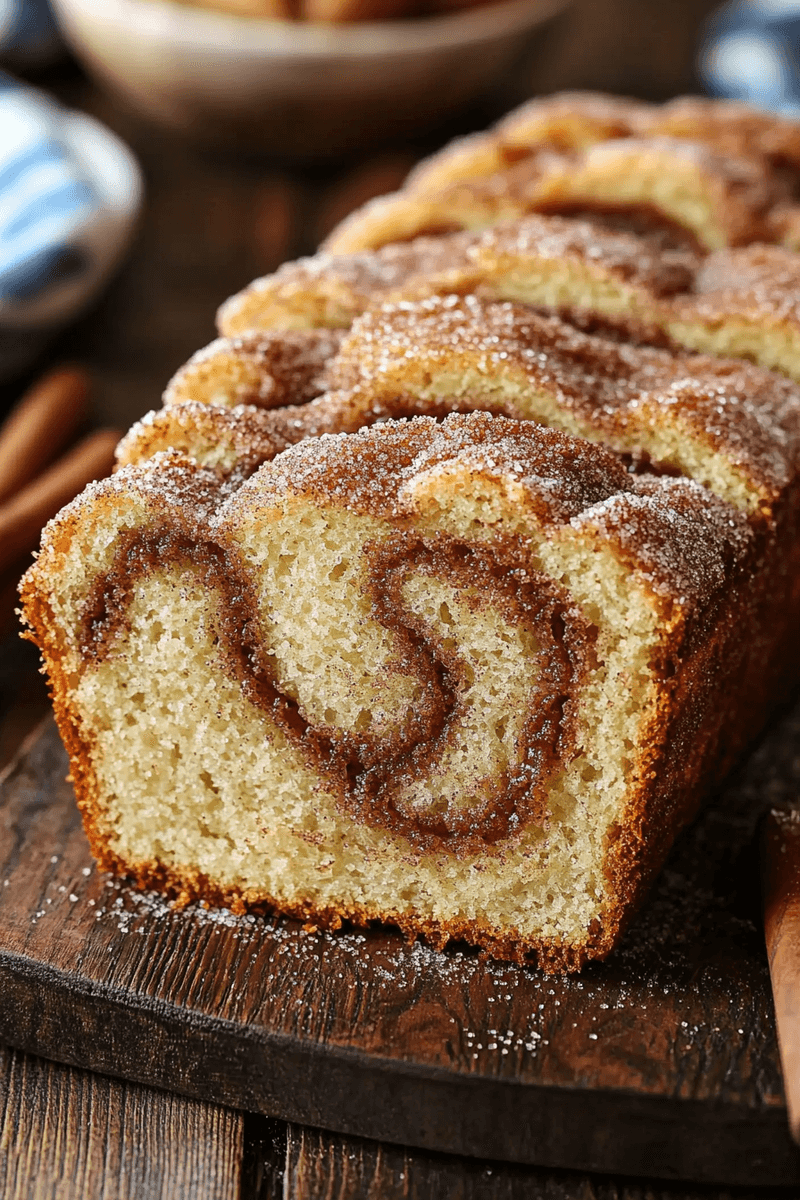
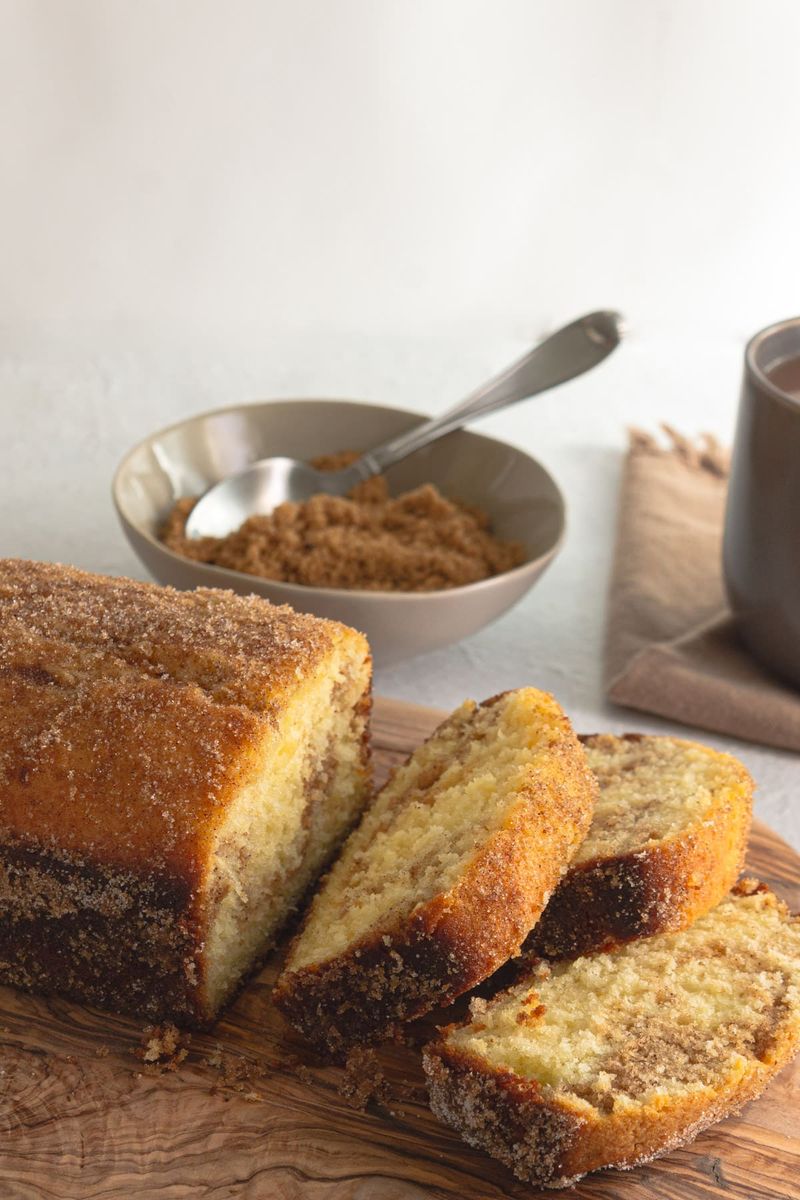
If you’re a fan of cinnamon sugar and love the idea of combining it with the comforting texture of bread, you’re going to adore this cinnamon sugar donut bread.
It’s easy to make, incredibly delicious, and perfect for any occasion. Whether you’re an experienced baker or a novice, these pro tips will help you create the perfect loaf every time.
Let’s get into the heart of the doughy deliciousness and make your kitchen smell like a bakery in no time!
1. Choose the Right Flour
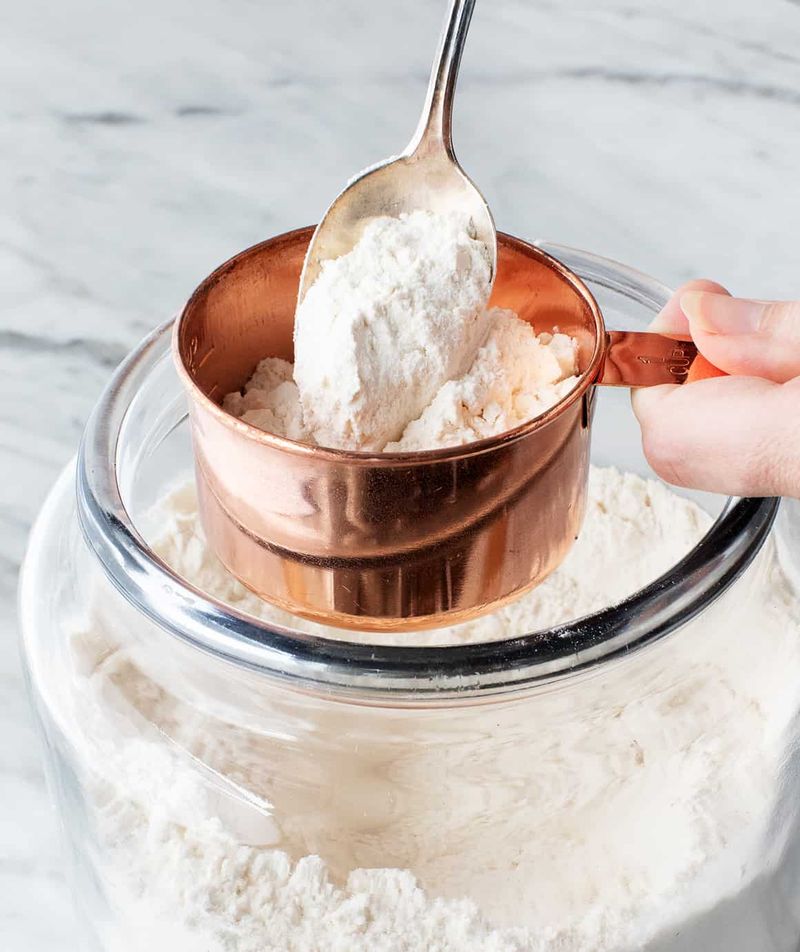
Flour is the foundation of any bread. Selecting the right type is critical for achieving that perfect donut bread texture. All-purpose flour works well for a softer crumb, giving you that melt-in-the-mouth feel. If you’re after a chewier texture, consider using bread flour instead.
Bread flour has a higher protein content, which can provide more elasticity and structure. This choice also affects how the bread rises and its final crumb. Mixing different flours can add a unique texture.
However, be mindful of the ratios if you decide to mix. Too much bread flour could make it overly dense. Experiment and find the balance that suits your preference.
It’s like finding your rhythm on the dance floor – once you nail it, the result is magical.
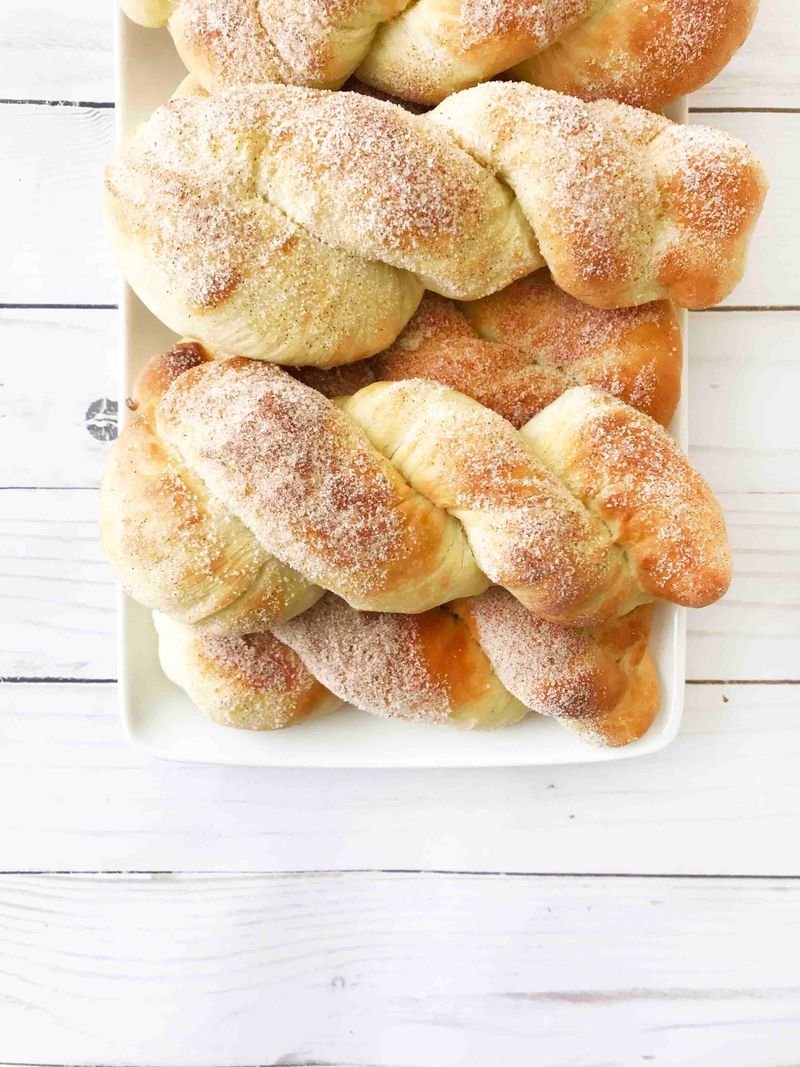
2. Perfect the Cinnamon-Sugar Ratio
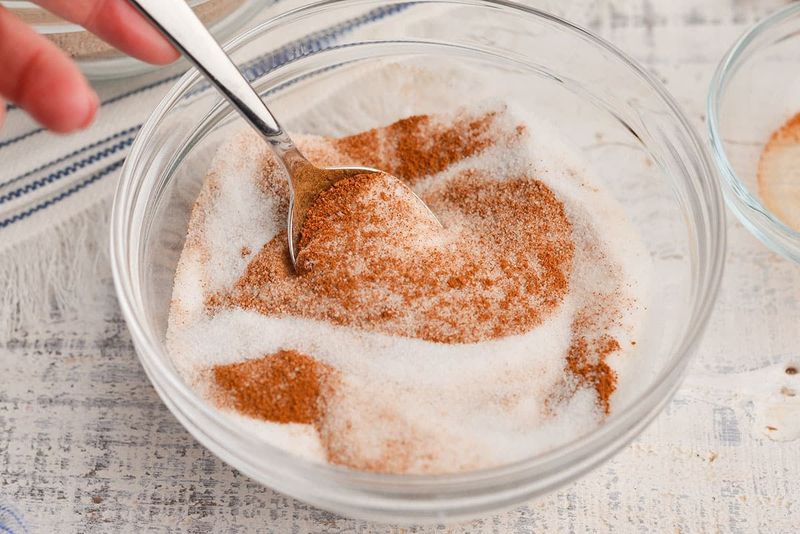
Cinnamon sugar is more than just a topping; it’s the soul of this bread. Balancing the cinnamon and sugar ratio can make or break your loaf. You might enjoy a stronger cinnamon kick or perhaps a sweeter note.
Start with the classic ratio of 1:4, cinnamon to sugar. It offers a balanced sweetness with a hint of spice. Feel free to adjust based on your taste preference.
Keep in mind, the type of cinnamon can also impact the flavor. Ceylon cinnamon is milder and sweeter, while cassia has a more robust and spicier profile. Choose according to your palate.
A sprinkle of cinnamon sugar on top before baking adds an extra layer of flavor, creating a delightful crust.
3. Ensure Your Ingredients Are Fresh
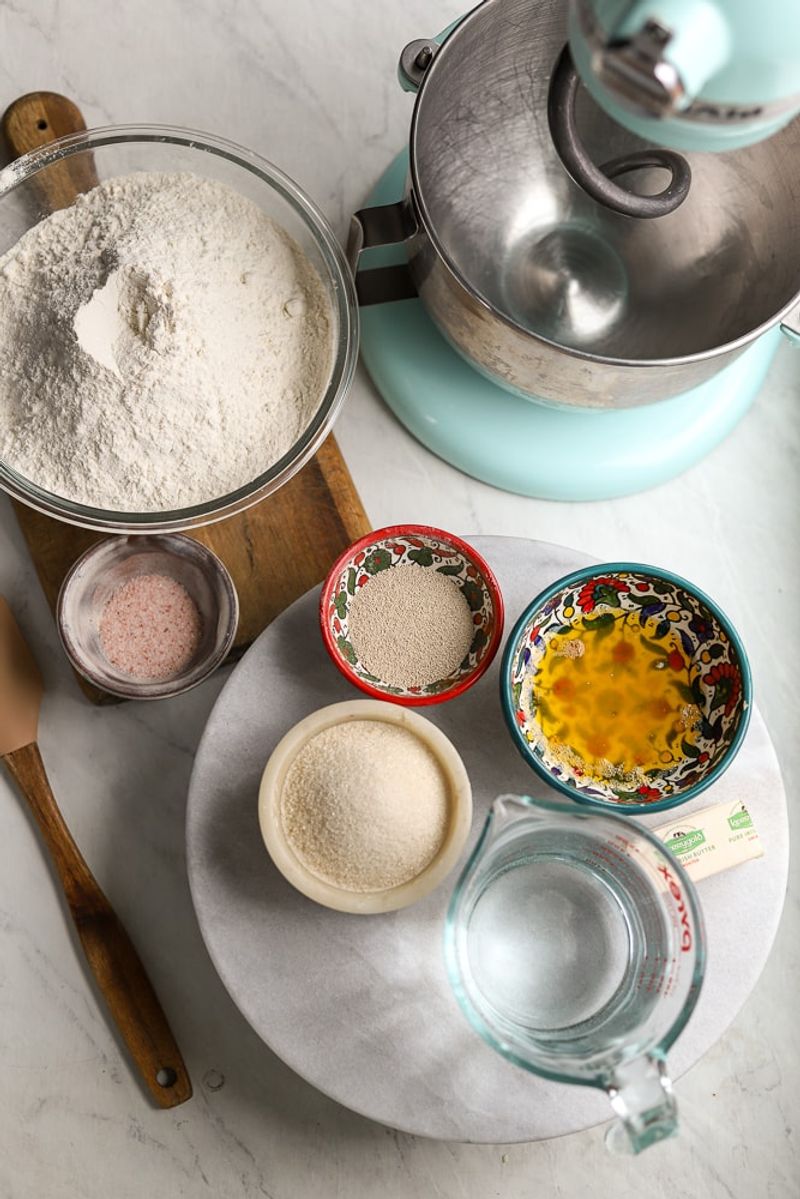
Fresh ingredients are the secret behind the best-tasting bread. Stale ingredients like old flour or expired baking powder can negatively affect your bread’s quality. Always check expiration dates before you begin.
Eggs should be fresh for better binding and rise. Fresh butter contributes to a richer flavor, and active yeast ensures a proper rise.
If you’re uncertain about your yeast’s freshness, perform a quick test. Combine it with warm water and sugar; it should foam within a few minutes.
Keeping ingredients fresh and ready is like maintaining a friendship – nurture them, and you’ll be rewarded with warmth and joy.
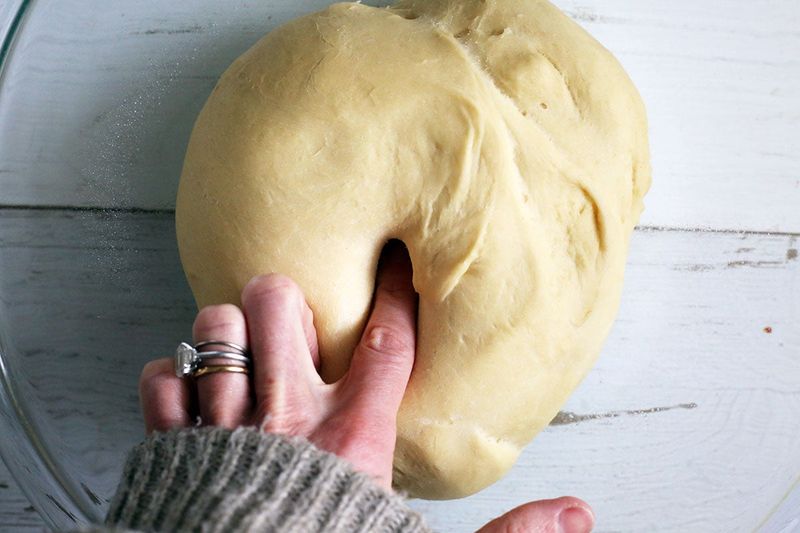
4. Master the Art of Kneading
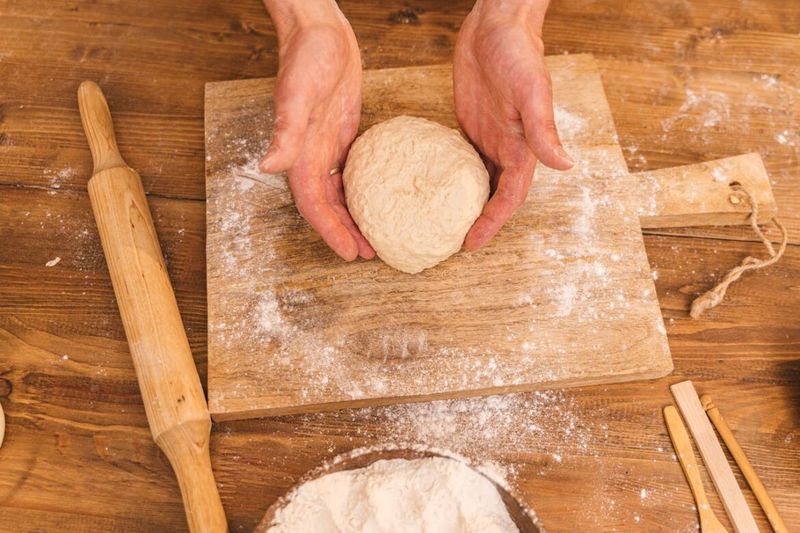
Kneading is where the magic happens. This process develops gluten and gives your bread its structure. It may seem intimidating, but it’s easier than you think.
Start by pressing and folding the dough with the heel of your hand, turning it slightly as you go. It should become smooth and elastic after about 10 minutes of kneading.
If you’re new to this, try the windowpane test. Stretch a small piece of dough; it should be thin enough to let light through without breaking.
Kneading is like a mini workout session, invigorating your dough and your spirits. It’s therapeutic and rewarding.
5. Get the Temperature Right

Temperature plays a crucial role in baking bread. From rising to baking, each step demands attention to temperature. Your dough should rise in a warm, draft-free environment.
Proofing at around 75°F ensures even fermentation. If your home is cold, try using the oven light to create warmth.
Baking temperature is equally vital. Preheat your oven to 350°F for a golden crust and fluffy interior. An oven thermometer can ensure accuracy.
Think of it as setting the stage for a performance; everything must be just right for the best outcome.
6. Create the Perfect Dough Consistency
Achieving the right dough consistency is key to successful bread. It should be soft and elastic, not too sticky or too dry.
Begin by mixing the ingredients until the dough pulls away from the bowl’s sides. Add flour gradually if it’s sticky, or a touch of water if too dry.
The dough should feel smooth, like a soft pillow. Resting the dough allows gluten to relax and enhances texture.
Using a damp cloth to cover it prevents drying out. This stage is like nurturing a plant – the right conditions lead to flourishing results.
7. Add a Personal Twist
Personalization makes baking fun. Adding your special touch can elevate the classic cinnamon sugar donut bread. Consider mixing in nuts for a crunchy texture or chocolate chips for added sweetness.
Each addition offers a new flavor dimension. Dried fruits like raisins or cranberries add a tart contrast, while a hint of vanilla enhances the aroma.
Experimenting with flavors is like painting a canvas; each stroke adds character. Feel free to explore and discover what complements your taste.
This is your bread, your creation. Let it reflect your personality and preferences.
8. Ensure Proper Rising Time
Rising time is crucial for texture and flavor. Dough needs time to develop and double in size. It should rise in a warm place until it has doubled, which can take 1-2 hours.
Impatience can lead to underdeveloped flavors and denser bread. Give it time, like letting a story unfold.
For a richer taste, consider a second rise. This step develops more complex flavors and a better crumb.
A well-risen dough is a promise of light, fluffy bread. Be patient and let nature take its course.
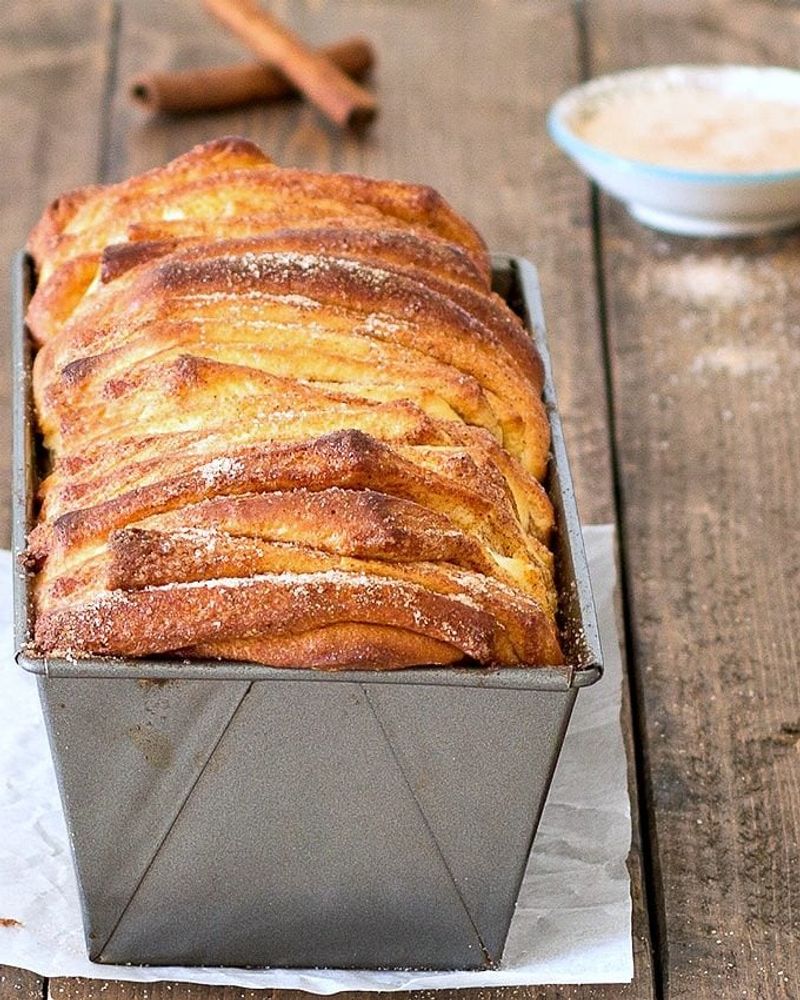
9. Achieve the Perfect Bake
A perfect bake is the grand finale. All your efforts culminate in this moment. A golden crust and a fluffy interior are the signs of success.
Bake at 350°F for about 40 minutes. The bread should sound hollow when tapped on the bottom – a good indicator it’s done.
Allow it to cool before slicing, tempting as it may be. This cooling time is vital for setting the crumb.
It’s like unveiling a masterpiece. Enjoy the aroma and relish the taste of your creation.
10. Enjoy with Pairings
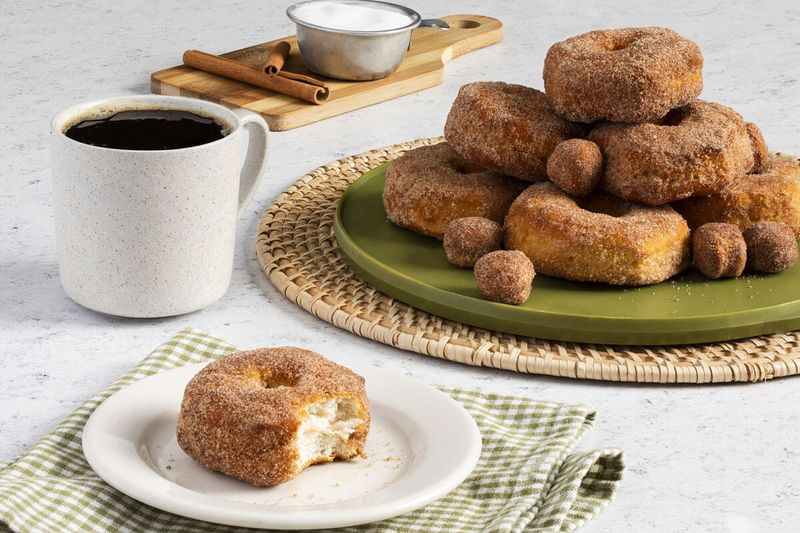
Enjoying your bread with the right pairing enhances the experience. A steaming cup of coffee or a glass of milk complements the sweet, spicy flavors.
A pat of butter or a drizzle of honey can add richness. It’s the perfect treat for breakfast or an afternoon snack.
Sharing it with friends or family makes it even more delightful. Food is meant to be shared, after all.
Every bite is a celebration of your baking journey, a moment to savor and enjoy.
11. Store Properly to Keep Fresh
Storing your bread correctly ensures it stays fresh longer. Once cooled, wrap it in plastic or store it in an airtight container.
This prevents it from drying out and maintains its flavor. If you plan to keep it for more than a few days, consider freezing it.
Slice before freezing for convenience. Thaw at room temperature or toast directly from frozen.
Proper storage is like keeping a secret safe – it retains its quality and flavor for future enjoyment.
Leave a comment