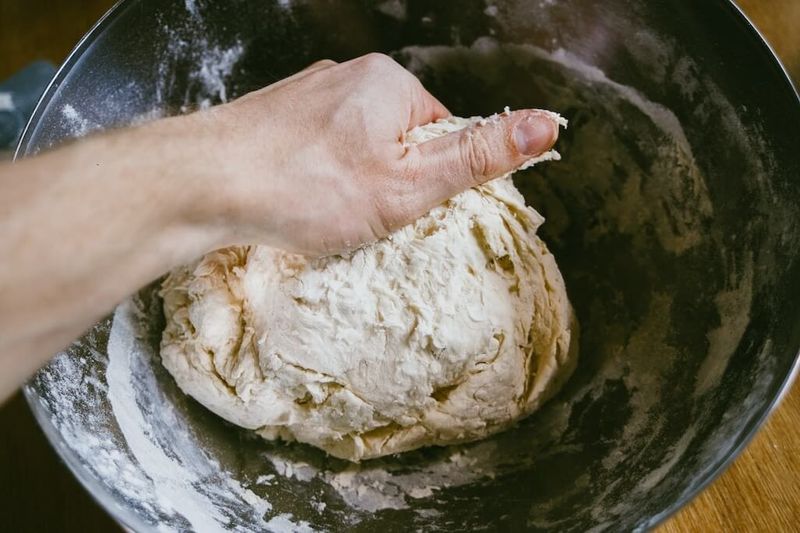
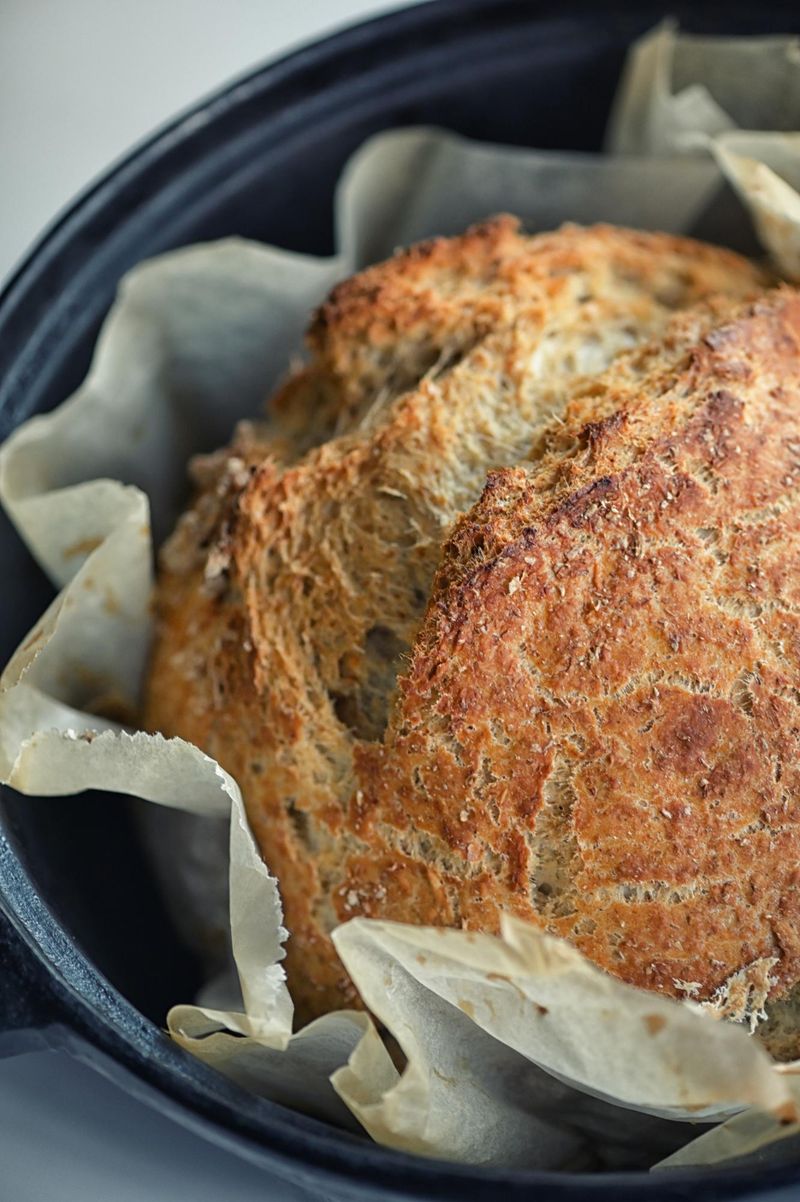
Sticky sourdough dough can frustrate even experienced home bakers. That telltale goop clinging to your fingers might make you want to toss your dough straight into the trash. Don’t worry! Professional bakers deal with sticky dough all the time and have developed practical techniques to tame even the most unruly sourdough. These ten expert tips will transform your bread-making experience from sticky disaster to perfect loaf.
1. Understand Your Hydration Ratio
The magic number that determines how sticky your dough feels is its hydration percentage. When you’re just starting out, aim for 65-70% hydration rather than jumping straight to those Instagram-worthy 80%+ loaves.
Lower hydration creates dough that’s easier to handle while still producing delicious bread with good crumb structure. Think of it like learning to drive in a sedan before trying a race car.
As your skills improve, you can gradually increase water content. Many sourdough problems vanish once you match your hydration level to your experience and flour type.
2. Wield a Bench Scraper Like a Pro
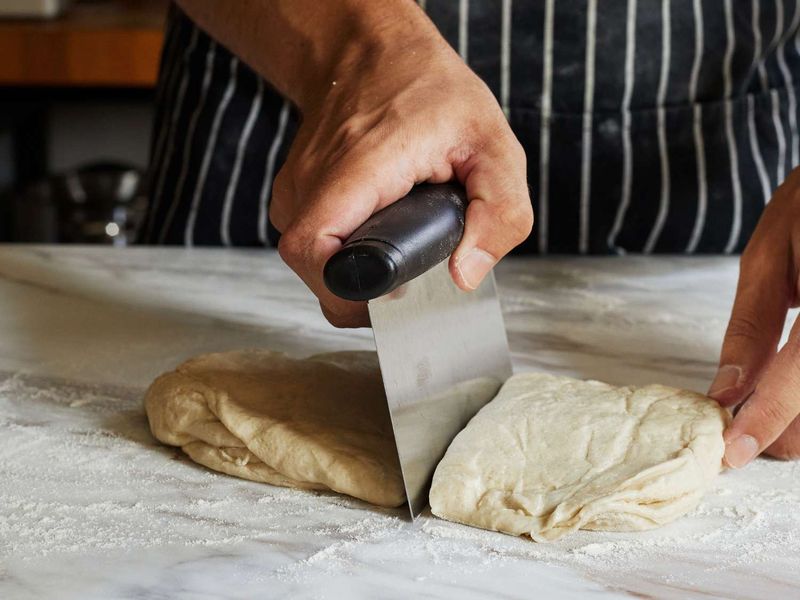
Metal bench scrapers are the secret weapon in every professional baker’s toolkit. This simple tool keeps your hands clean while maintaining the dough’s integrity during those tricky transfers and shaping steps.
Use the scraper’s flat edge to gather sticky dough from your work surface with a smooth, confident motion. The sharp corner helps divide dough and clean stubborn bits from your countertop.
For less than $10, this humble tool transforms your bread-making experience. Many bakers keep multiple scrapers handy—plastic ones for bowls and metal ones for work surfaces.
3. Resist the Flour Shower Temptation
When panic sets in with sticky dough, dumping cups of flour seems like the obvious solution. Resist this urge! Excessive flour throws off your carefully calculated recipe and results in dense, dry bread.
Instead, lightly dust just your fingertips and tools—not the dough itself. A minimal approach preserves the dough’s moisture balance while giving you enough traction to work.
Remember that proper fermentation naturally reduces stickiness over time. Patience often solves what flour cannot, as the developing gluten network gradually transforms your dough’s texture.
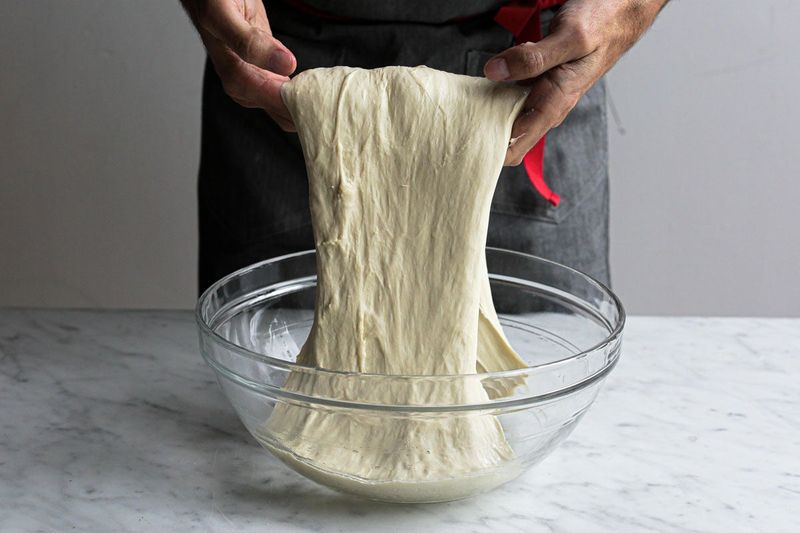
4. Master the Stretch and Fold Technique
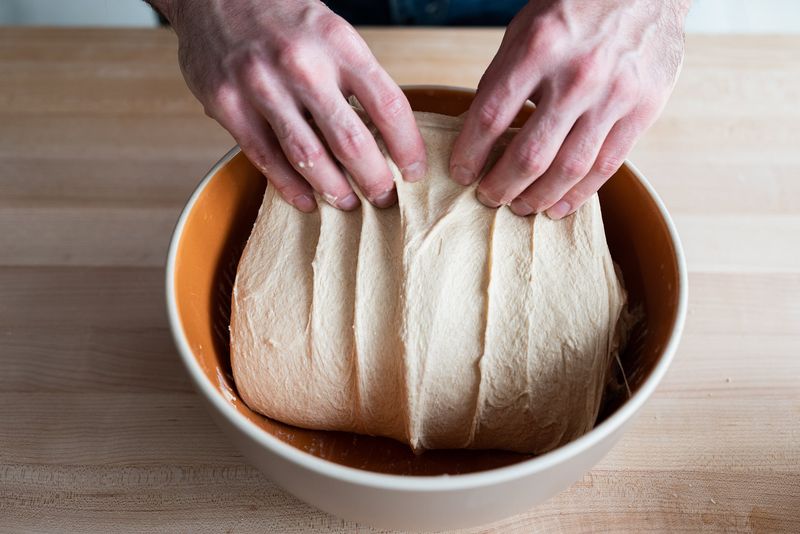
Traditional kneading turns sticky dough into a messy nightmare. Professional bakers instead use gentle stretch and folds—grabbing a section of dough, stretching it upward, and folding it over the rest.
This technique strengthens gluten while keeping your hands relatively clean. Perform a set of stretch and folds every 30 minutes during bulk fermentation, completing 4-6 sets total.
You’ll notice the transformation as your dough becomes smoother and more elastic with each set. The final dough holds its shape better and feels less like superglue on your fingers—all without adding extra flour.
5. Wet Hands Are Happy Hands
Water acts as a remarkable barrier between sticky dough and your skin. Before touching high-hydration dough, dip your hands in a bowl of clean water and shake off the excess.
The thin water film prevents dough from adhering to your fingers without affecting the recipe’s hydration significantly. Some professional bakers keep a spray bottle nearby for quick hand misting between folds.
For extremely wet doughs, try the oil method instead—a few drops of neutral oil rubbed on your palms creates an even more effective barrier. These simple techniques eliminate frustration while preserving your dough’s perfect texture.
6. Embrace the Power of Autolyse
Professional bakers swear by autolyse—a fancy term for mixing just flour and water, then walking away. This 20-60 minute rest period allows flour proteins to fully hydrate before you add salt and starter.
During autolyse, enzymes in the flour begin breaking down complex carbohydrates. The dough becomes more extensible and significantly less sticky when you return to finish mixing.
For extra-sticky doughs, try extending your autolyse to 2-3 hours. The transformation can be remarkable, turning what would have been a sticky mess into smooth, manageable dough that responds beautifully to shaping.
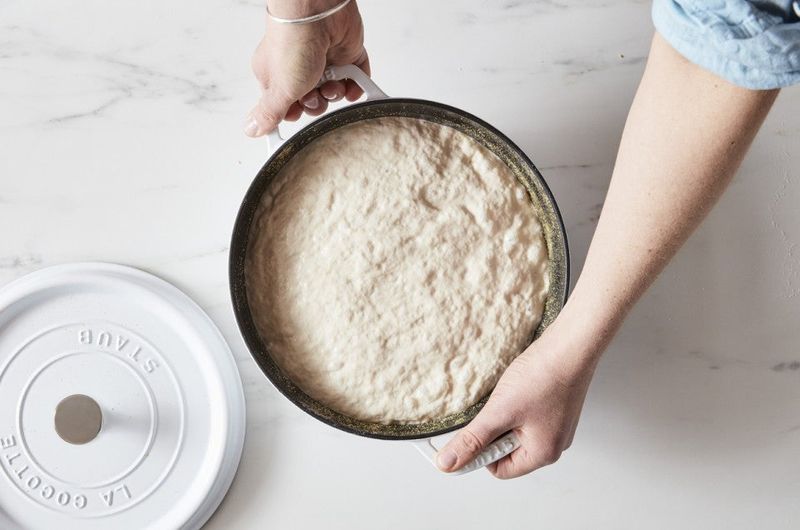
7. Harness the Power of Cold
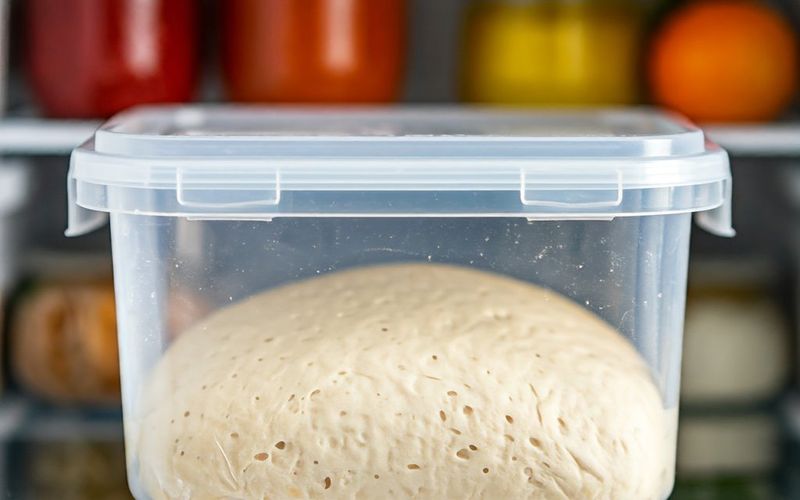
Temperature dramatically affects dough behavior. When your dough feels unmanageably sticky, pop it in the refrigerator for 20-30 minutes before attempting to shape it.
The chill firms up butter particles and slows fermentation activity. Your dough becomes less slack and more cooperative without changing its fundamental properties.
Many artisan bakeries refrigerate their dough overnight not just for flavor development but for easier handling. The cold dough holds its shape better during scoring and transfers more cleanly to hot baking surfaces—a win-win for both texture and appearance.
8. Choose Your Flour Wisely
Not all flours behave the same way when wet. Bread flour, with its higher protein content (typically 12-14%), forms stronger gluten networks that better contain moisture without becoming gluey.
European-style T65 or T85 flours absorb water differently than standard all-purpose varieties. If you’re struggling with stickiness, experiment with flour blends—adding 10-20% whole wheat can dramatically improve dough handling.
Fresh flour matters too. Older flour loses its absorption power over time, potentially creating wetter dough than expected. Professional bakers rotate their flour stock regularly and adjust recipes based on each batch’s unique properties.
9. Perfect the Preshape Pause
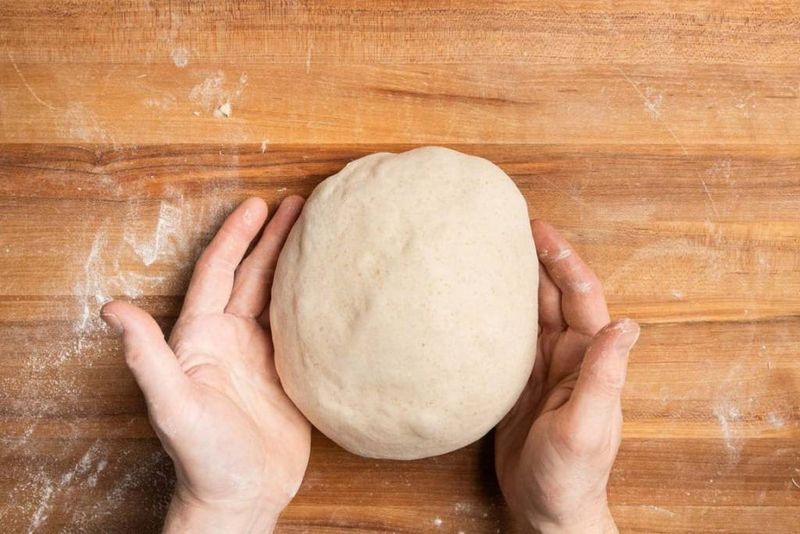
Rushing from bulk fermentation straight to final shaping creates unnecessarily sticky situations. Professional bakers always include a preshaping step with a 15-30 minute rest afterward.
This intermediate step gently tightens the dough’s surface tension without degassing it completely. The short rest allows gluten to relax just enough for final shaping while maintaining structure.
Use minimal flour during preshaping—just enough to form a loose round. After resting, the dough’s surface dries slightly, creating a tacky rather than sticky texture that’s much easier to handle during the crucial final shaping.
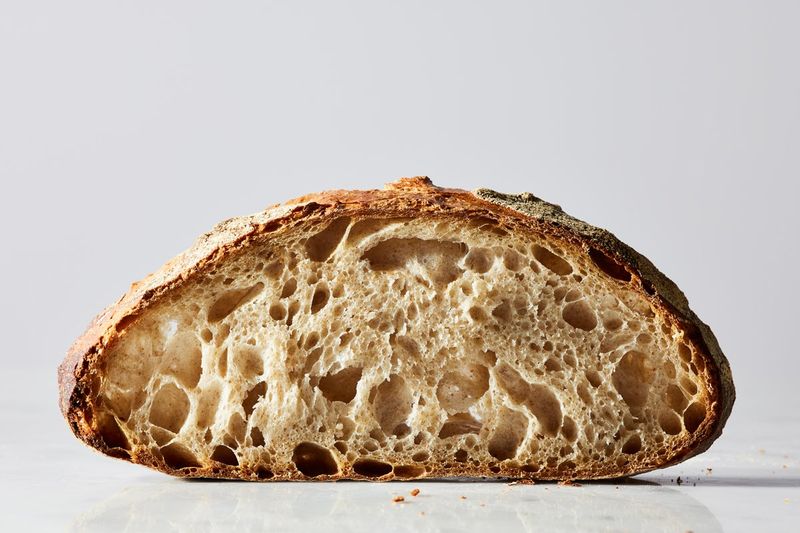
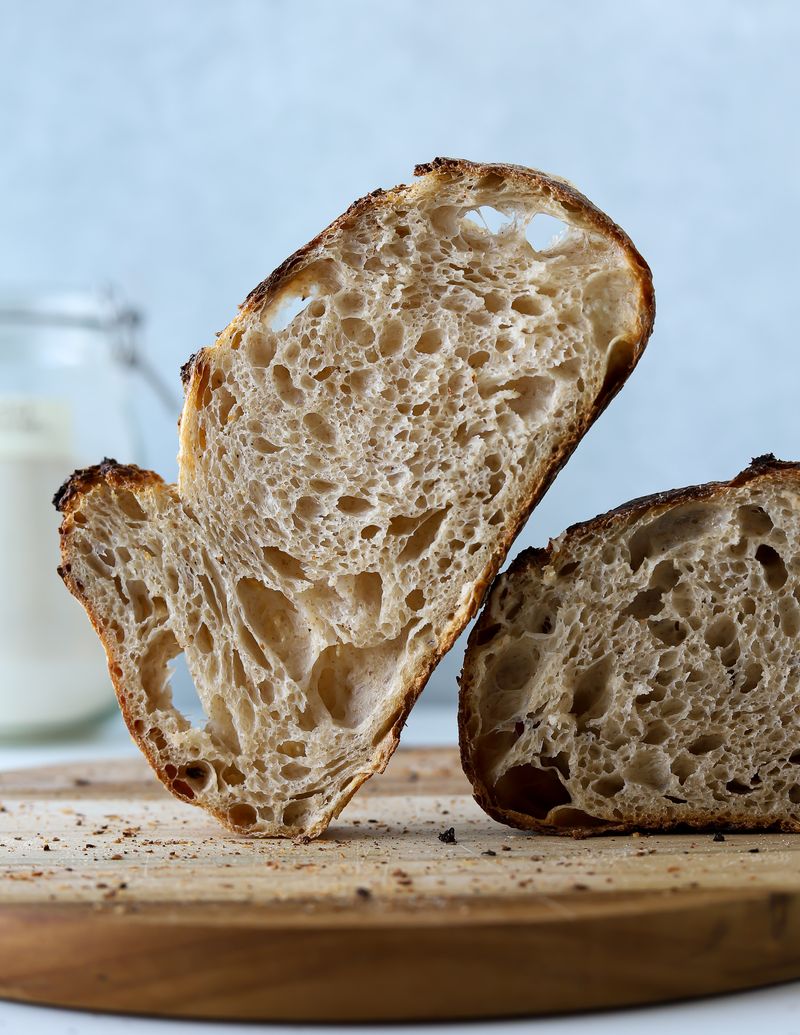
10. Embrace Some Stickiness (It’s Normal!)
Here’s the secret professional bakers don’t always share: great sourdough is supposed to feel somewhat sticky! That moisture creates those beautiful open crumbs and crisp crusts we all crave.
Learn to distinguish between workable stickiness and truly problematic dough. If it stretches without tearing and gradually gains tension during folding, you’re on the right track despite some stickiness.
With practice, you’ll develop a feel for when to intervene versus when to trust the process. Remember that many award-winning loaves started as doughs that would terrify beginners—your comfort zone will expand with each bake.
Leave a comment